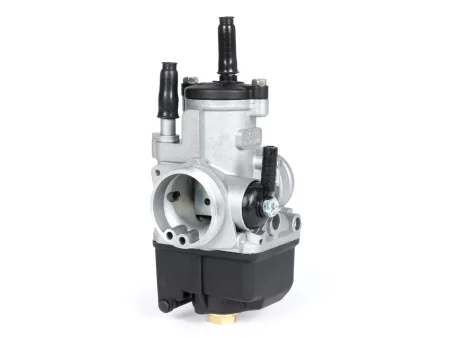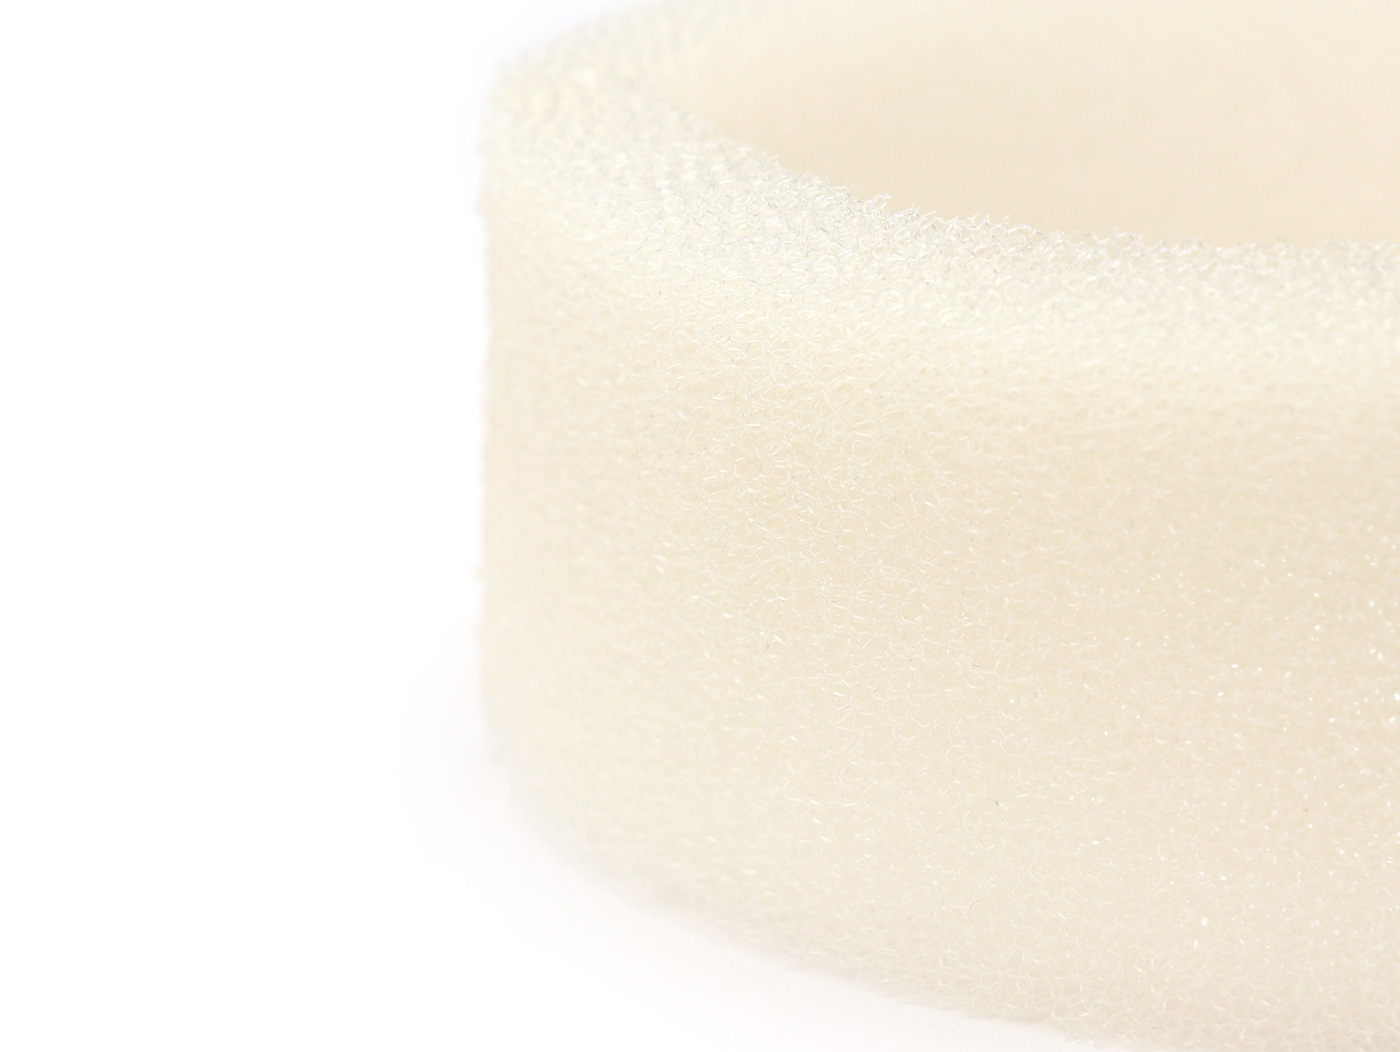

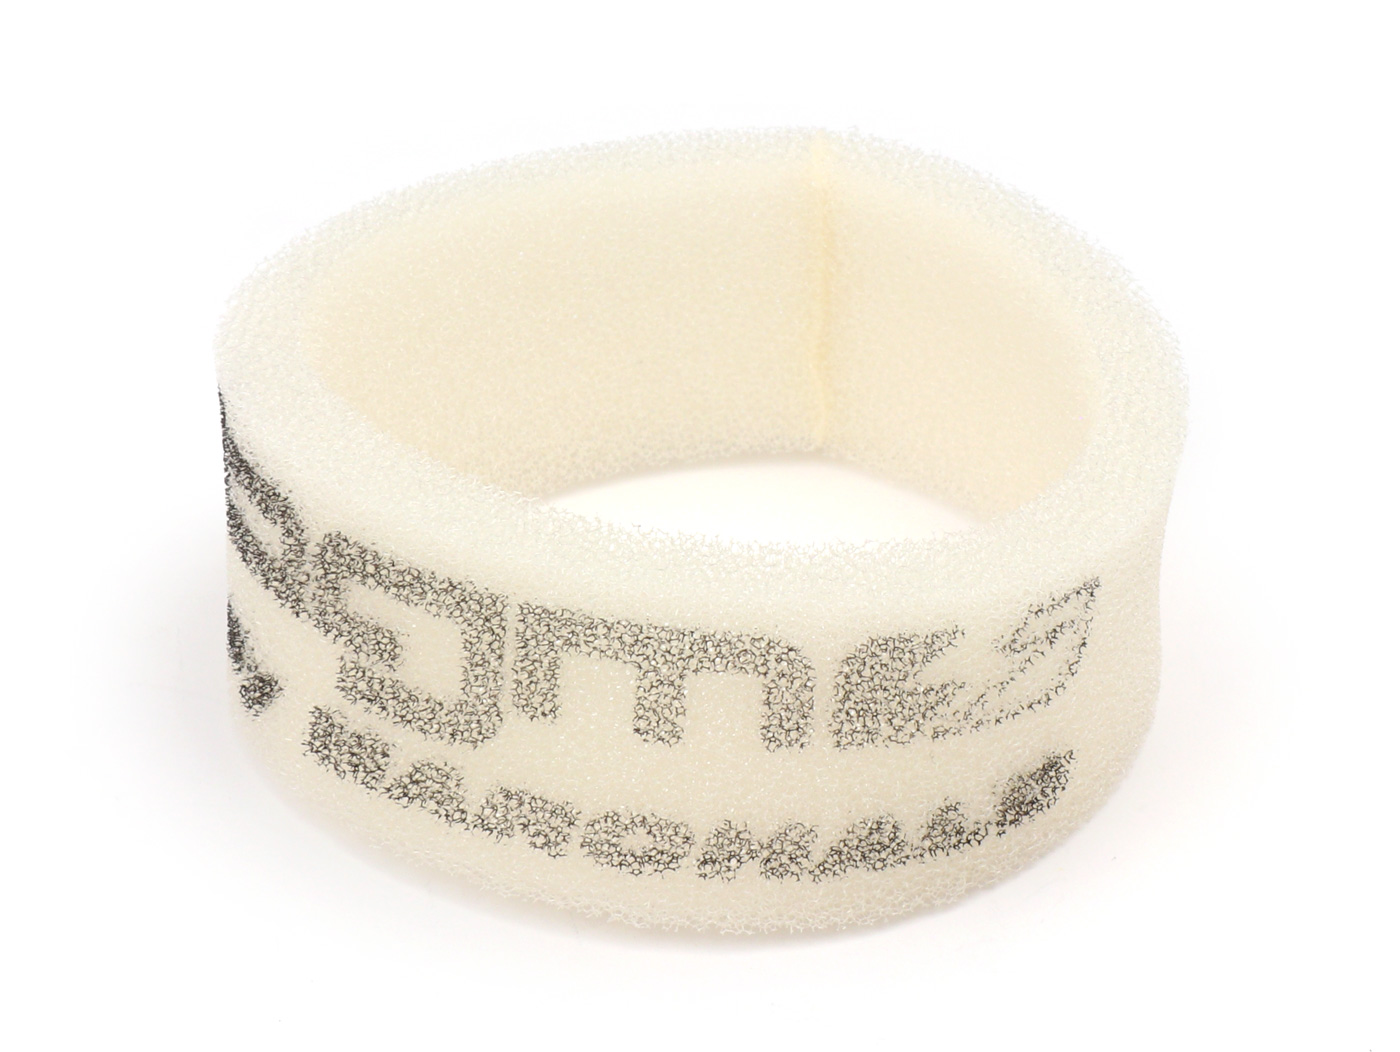
Veel Motovespa Largeframe models hebben de identieke luchtfilter inzetstukken geïnstalleerd. Vaak ontbreekt dit belangrijke onderdeel voor de bescherming van de motor of is het in a niet bruikbare state. Daarom hebben we vervaardigd een hoge kwaliteit light filter insert for Spanish license Vespa Largeframe models. su_spacer]
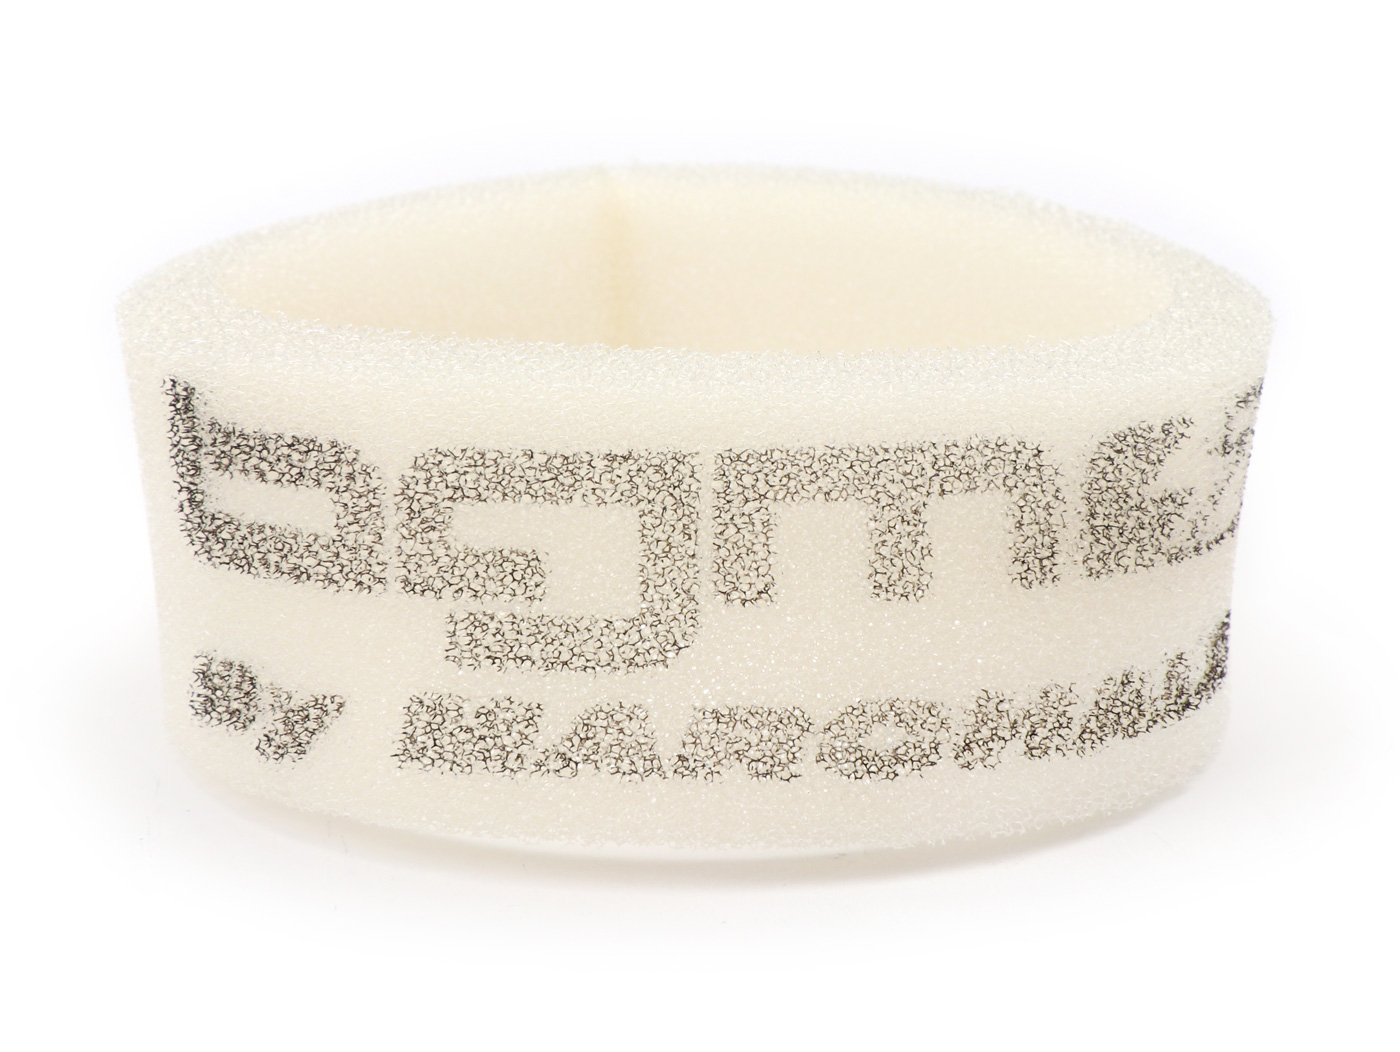
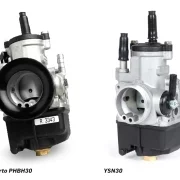
High quality filter fleece from Marchald (Italië), according to bgm PRO. Geschikt voor de motoren met directe inlaat (carburateur zit direct op de cilinder) van de Largeframe Motovespa engines.
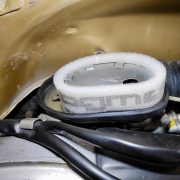
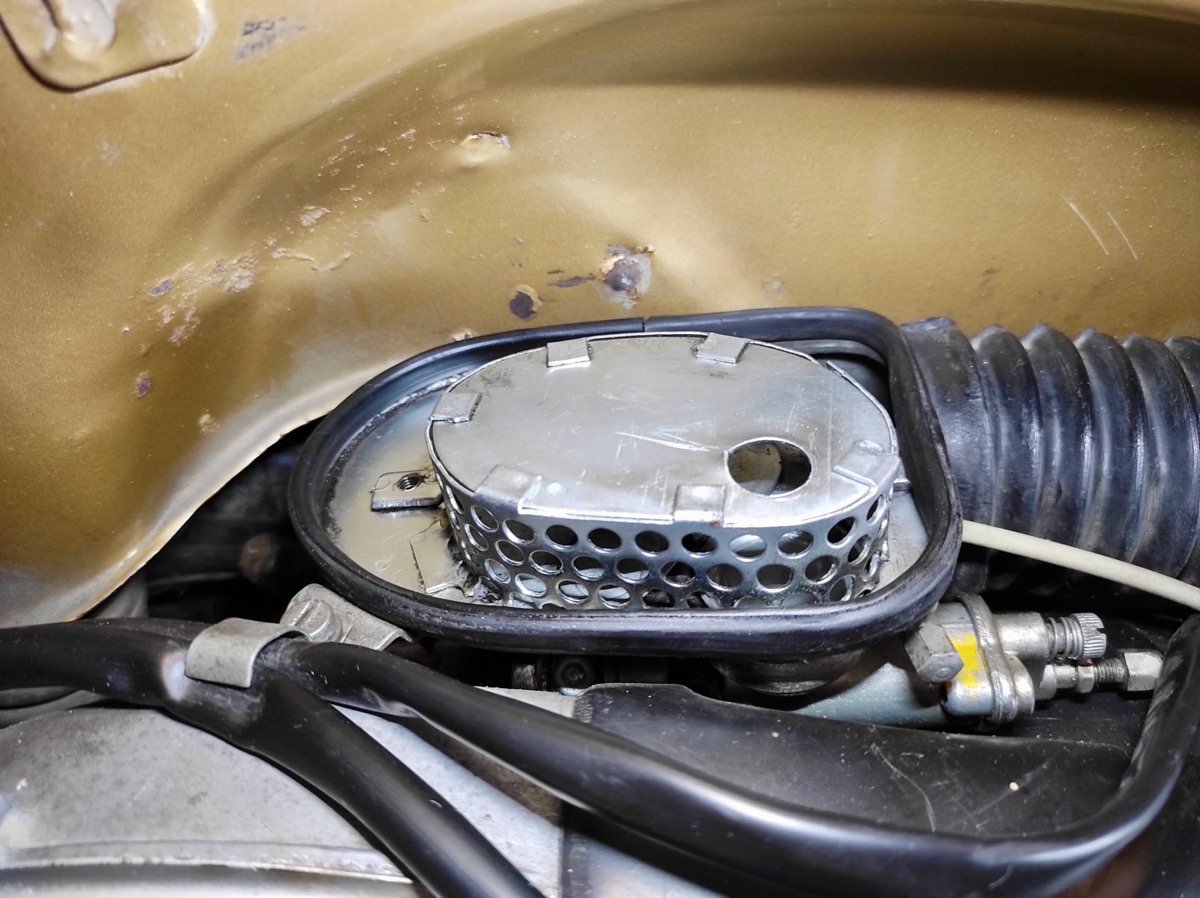
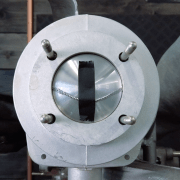
The changing of the light filter element is clear. After the bewijderen van de right zijkap, heeft u meteen zicht op de luchtfilterkast.

Het deksel was confirmed with twee M5-schroeven. Deze can be released with a sleufschroevendraaier maat 5 to 6.
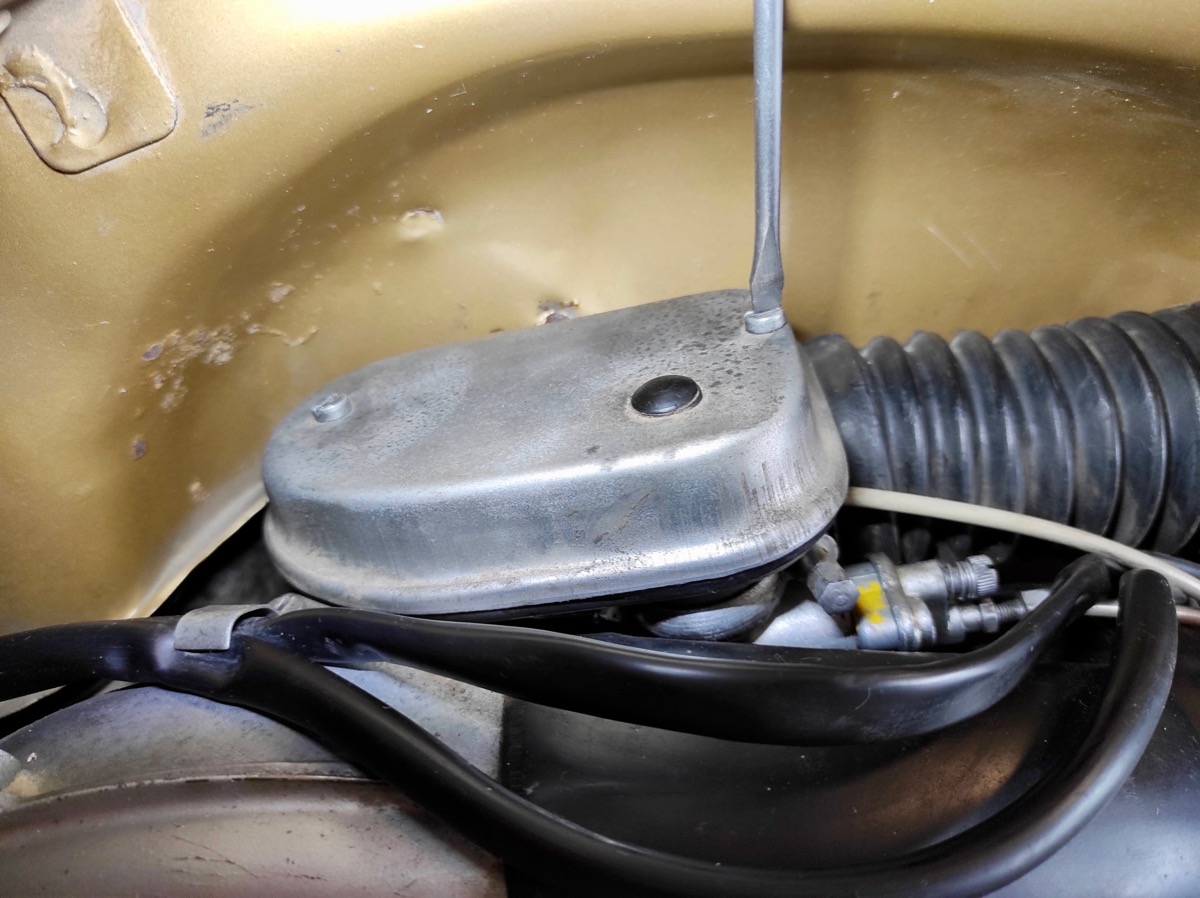
Na het bewijderen van de twee schroeven, kan het deksel eenvoudig naar boven been bewijderd. Here, in ons voorbeeld, de originele light filter insert van de Motovespa is not necessary!
The light filter element has been installed and can be used in the case of the filter house.
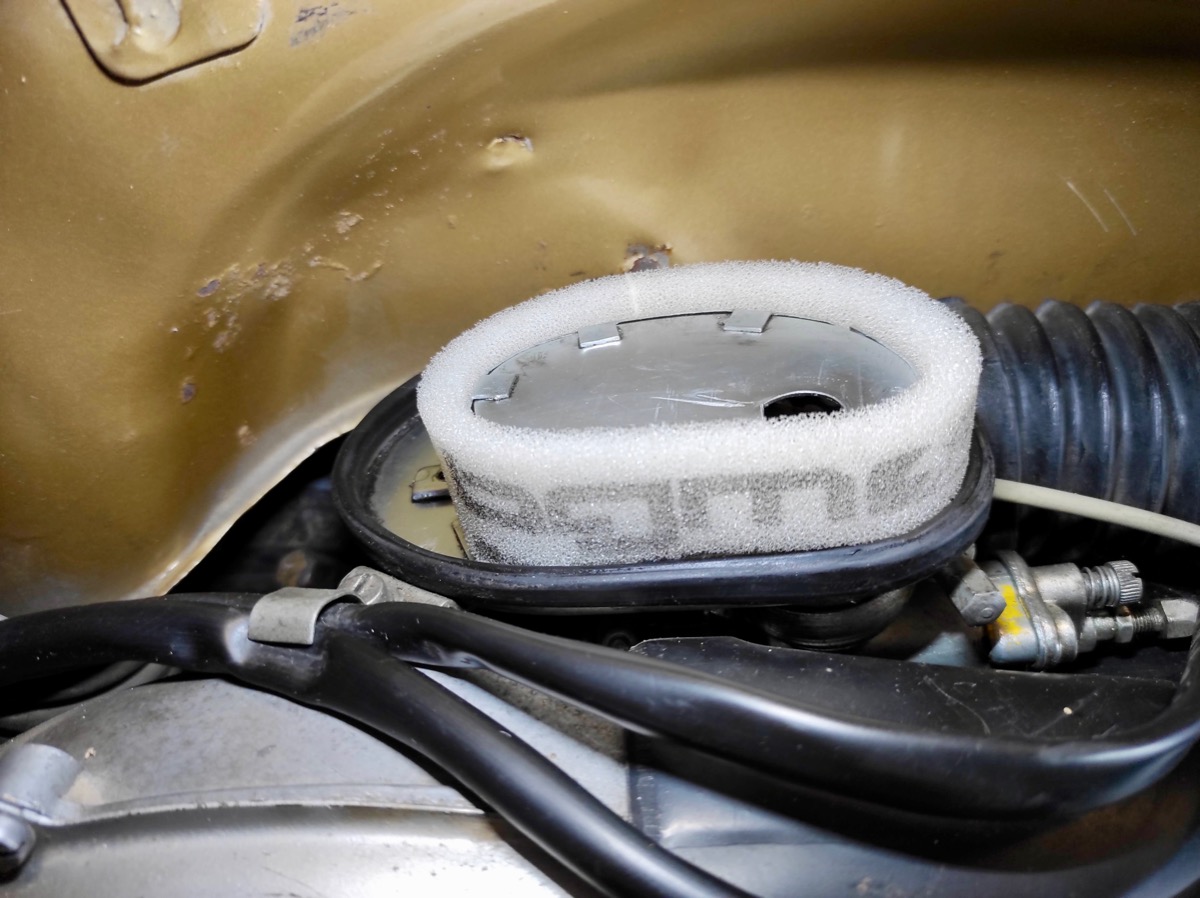
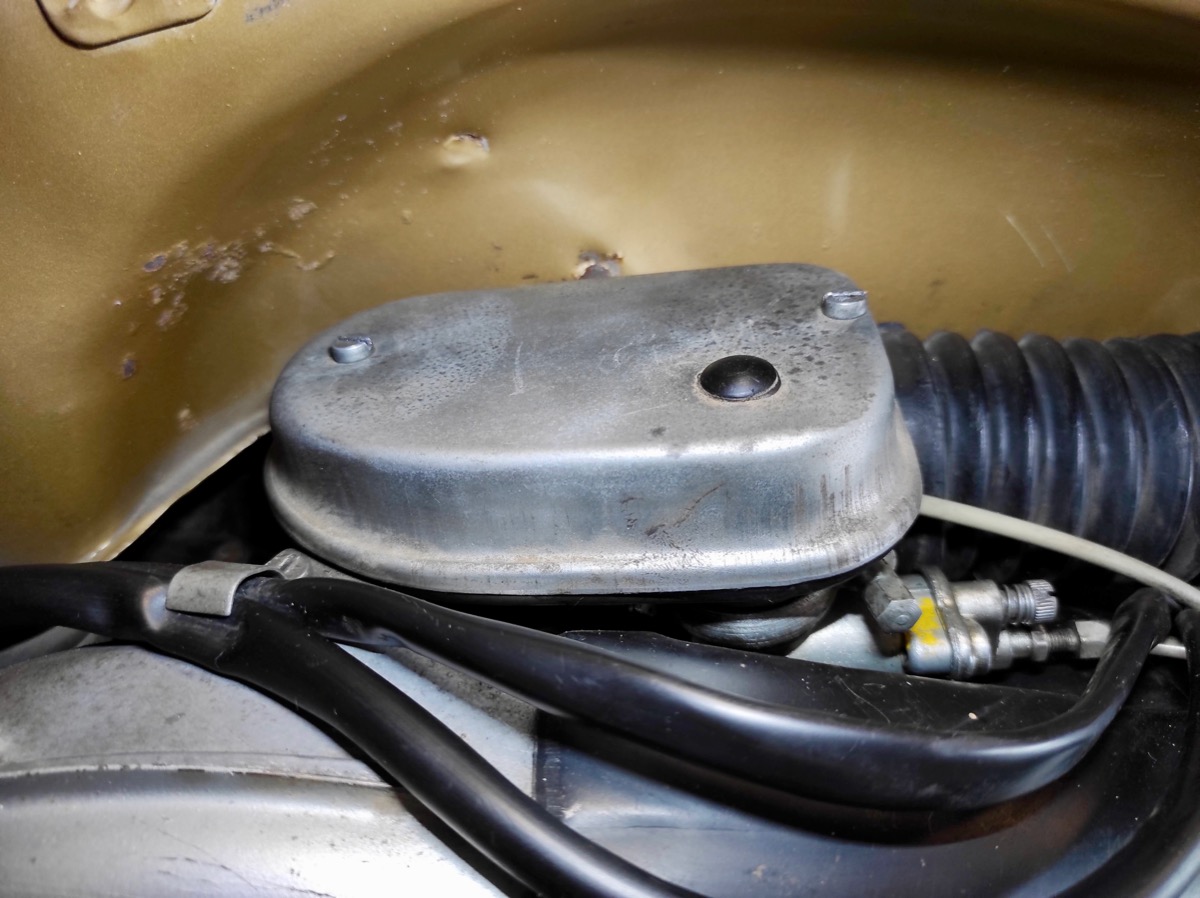
The remaining part of the case of the air filter element slides into the ground toestand on the top of the case of the air filter box toe. Plaats het deksel van der Luftfilterkast terug met de twee Schroeven, Plaats het zijpaneel terug en de vanging is voltooid.
Om nog betere filterprestaties te verrijgen, het light filter element can be used with light filter foil. This is really not absolutely noodzakelijk vanwege het hoogwaardige filter material van the bgm PRO filter.
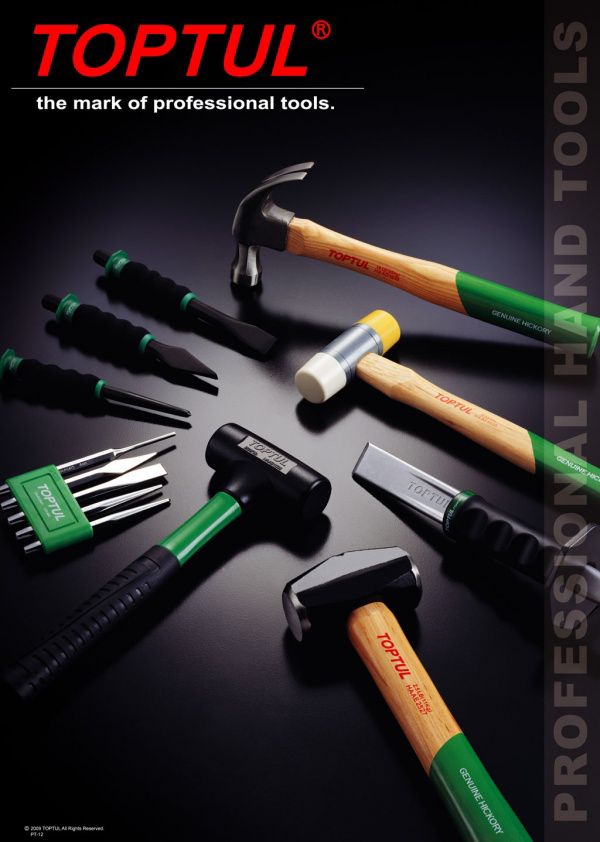
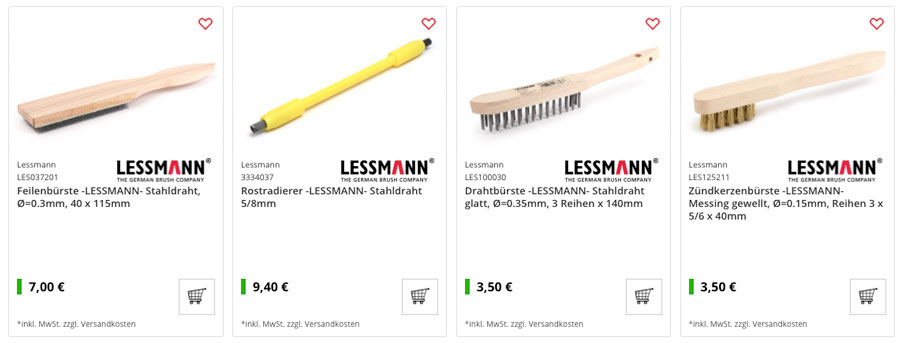
U heeft waarschijnlijk een klassieke staalborstel in uw gereedschapskist. Zo'n all-round borstel van de doe-het-zelfzaak is practical en heeft veel toepassingsgebieden, maar met little moeite kan het nog veel beter: Here laat ik u 4 small ones Wire brushes from LESSMANN (Made in Germany) for speciale toepassingen, die het werk aan uw scooter gemakkelijker maken tijdens reparatie en onderhoud!
![]()
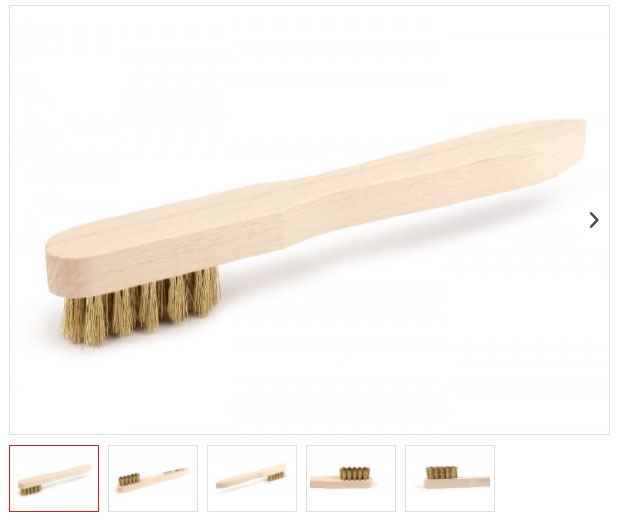
 Staalborstel voor het schoonmaken van vijlen. U hoeft geen nieuw existed in copen as het niet sea het overlooked effect heeft, vaak is een opschoning van het seine al voldoende! Deze speciale borstel van Lessmann is sent for het cleaning van de slagen van metaalvijlen, zodat het snijeffect weer fully available. The vijlreinigingsborstel is bijzonder voor het Verwijderen van spanen en sterk hechtende metals zoals koper, brass, brons and aluminum.
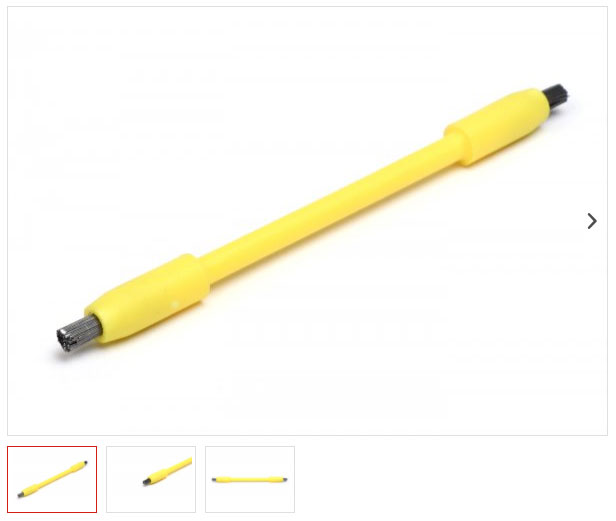
Hoge kwaliteit roest gum met stalen borstelharen. The borstel is ideal for a zorgvuldige reparatie van uw voertuig with original lak waarbij het gedeeltelijke plaatwerk is roasted, that niet vlak moet been. Sleutelwoord: O-ave redding. Met de roestgum can oxidedeeltjes moeiteloos been bewijderd, zelfs op reeds damaged oppervlakken. De borstelharen aan both zijden hebben verschillende dictes voor nauwkeurig work. Daarna kan het gebied been passed with a Geschikt middel (bv multifilm). CONCLUSION: Geweldig small geredschap with a groot effect en plezierfactor

Deze kwaliteitsstaalborstel is bijzonder geschikt voor het Verwijderen van large vuil zoals roest. Het is niet geschikt voor gebruik op oppervlakken van plastic, aluminum, koper, enz.
Brass borstel voor het clean van de massa- en middenelectrodes van bougies. Omdat borstels van staal het oppervlak onnodig ruw maken, hecht nieuw vuil zich nog beter dan voorheen, voor het clean van bougies moet altijd een borstel van een zachter materiaal dan staal been used.
At Scooter Center you get Lessmann commutesThe history of the building and the building of the workshop in the work area and the repair/repair work of the van scooters. So'n small bristles can be useful zijn en really vergemakkelijken het beautiful work on uw scooter / Vespa / Lambretta, etc.!

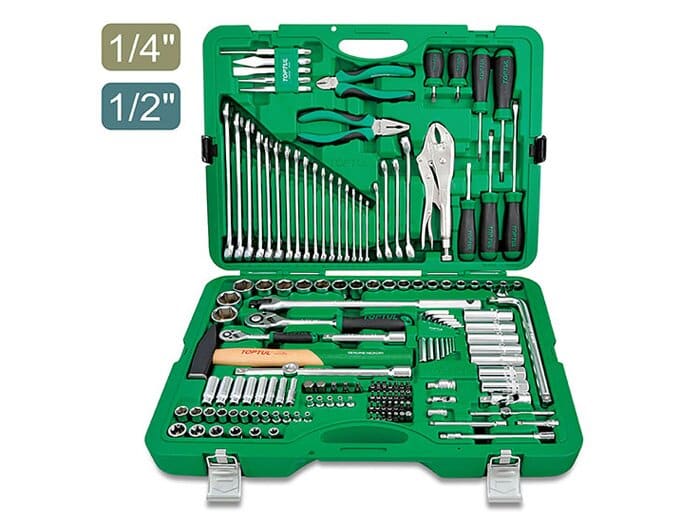
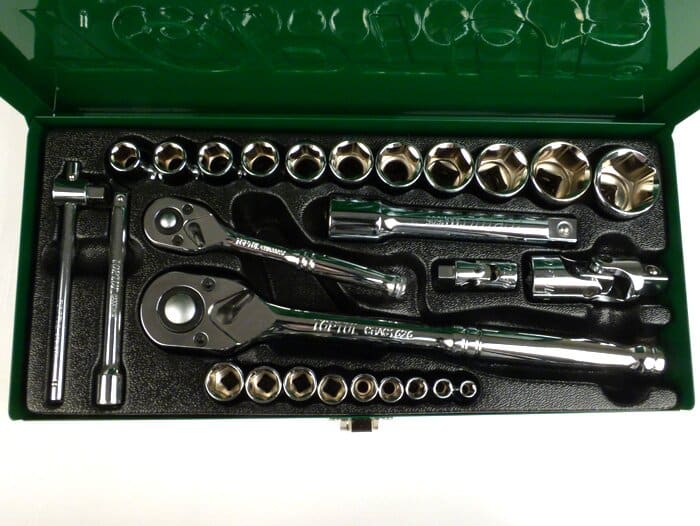
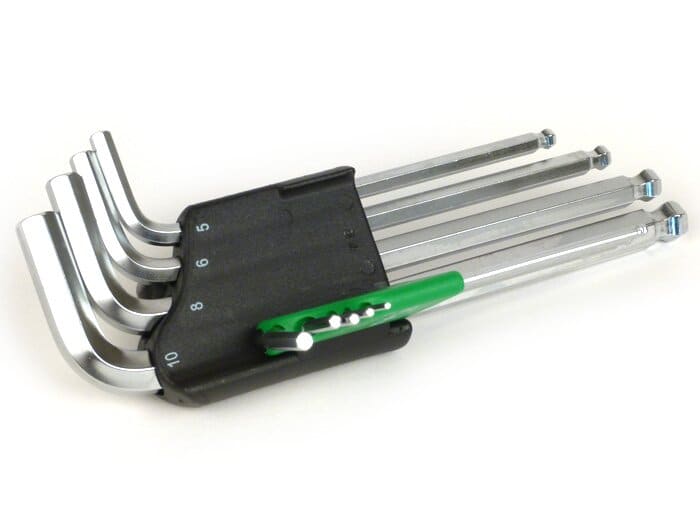
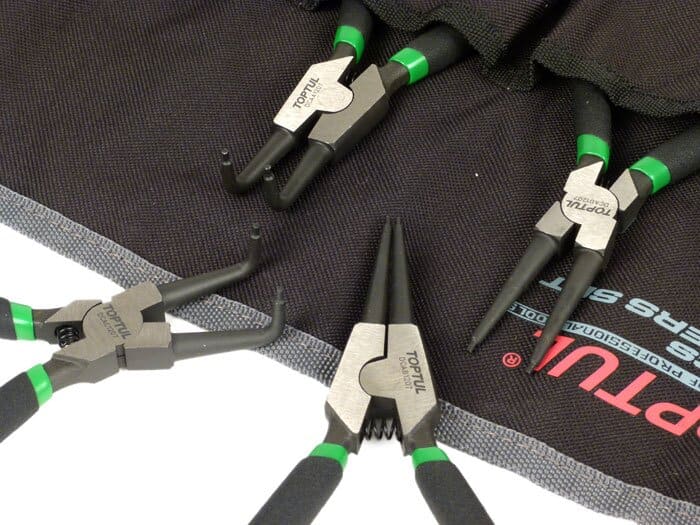
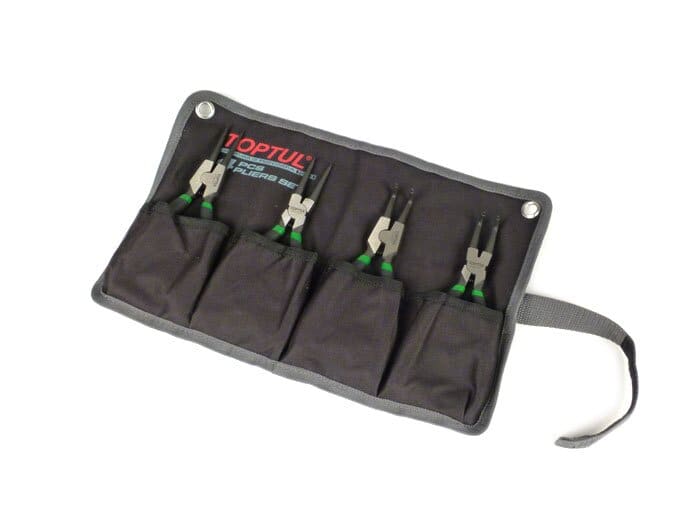
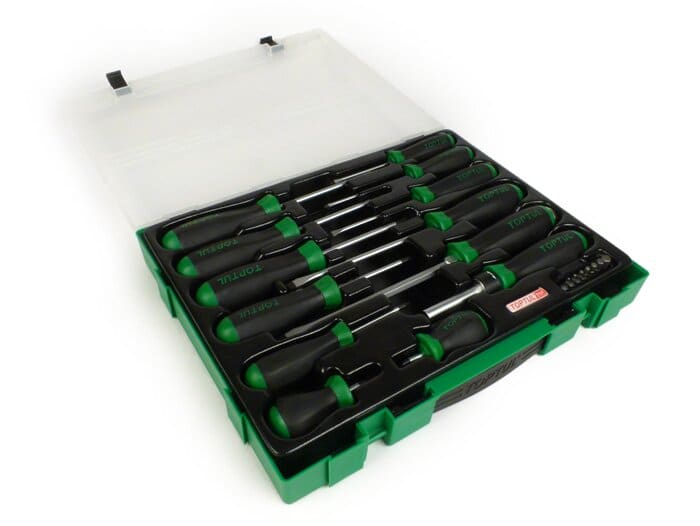
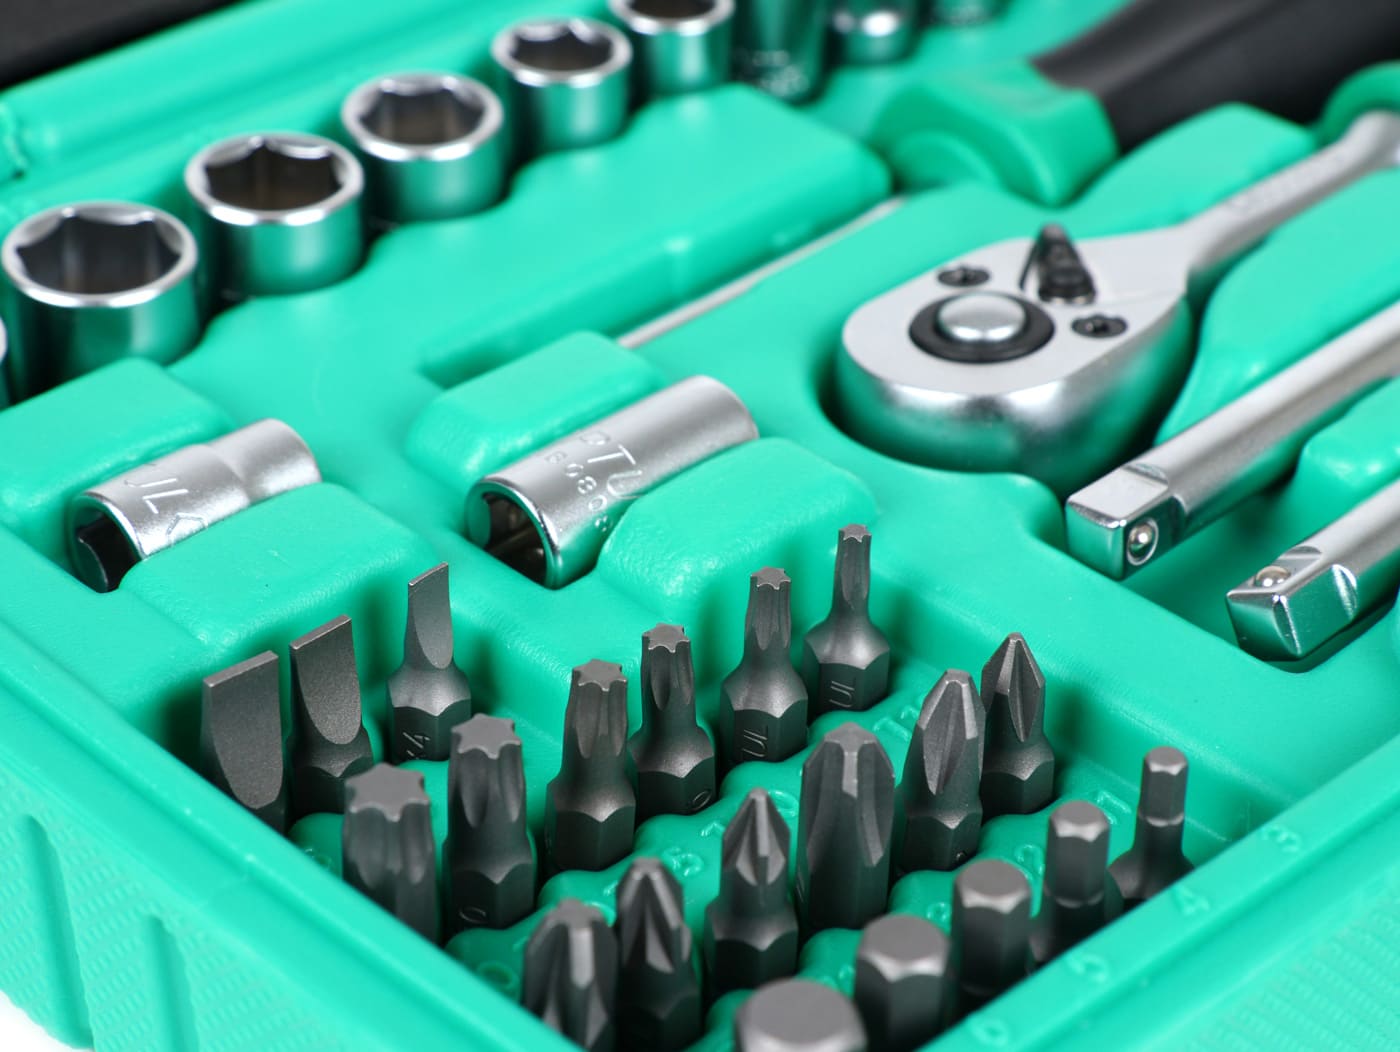
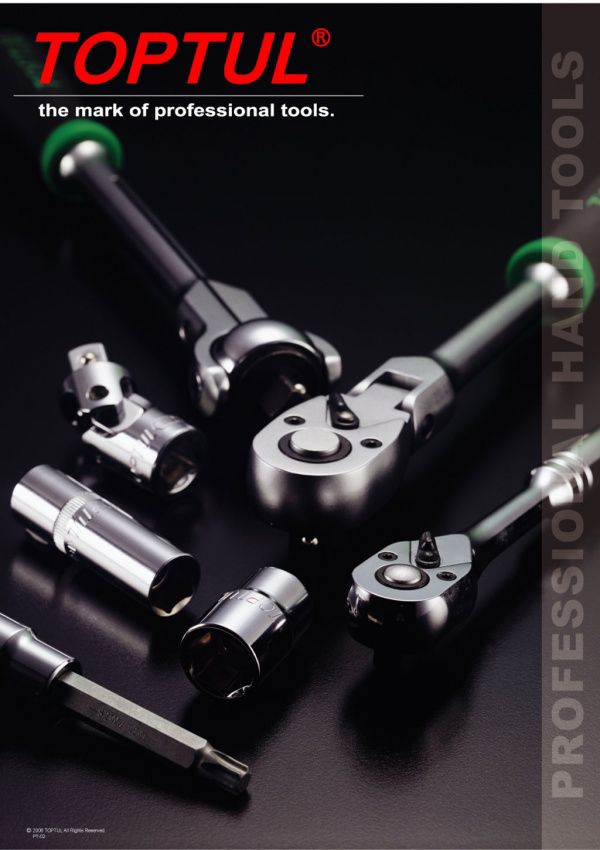
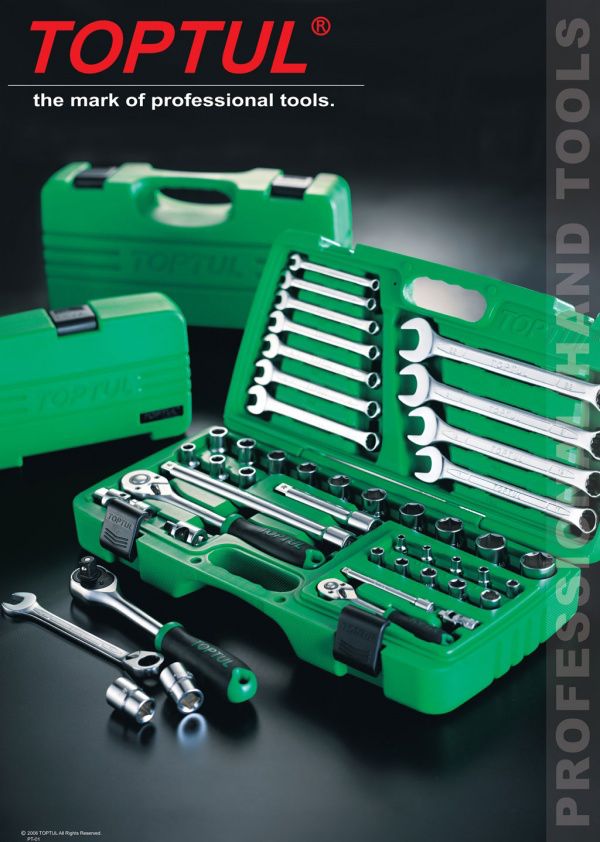
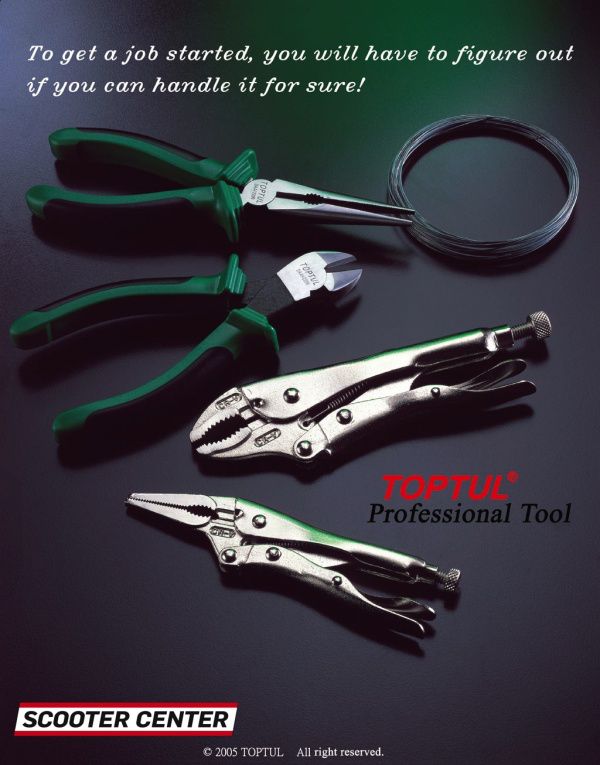
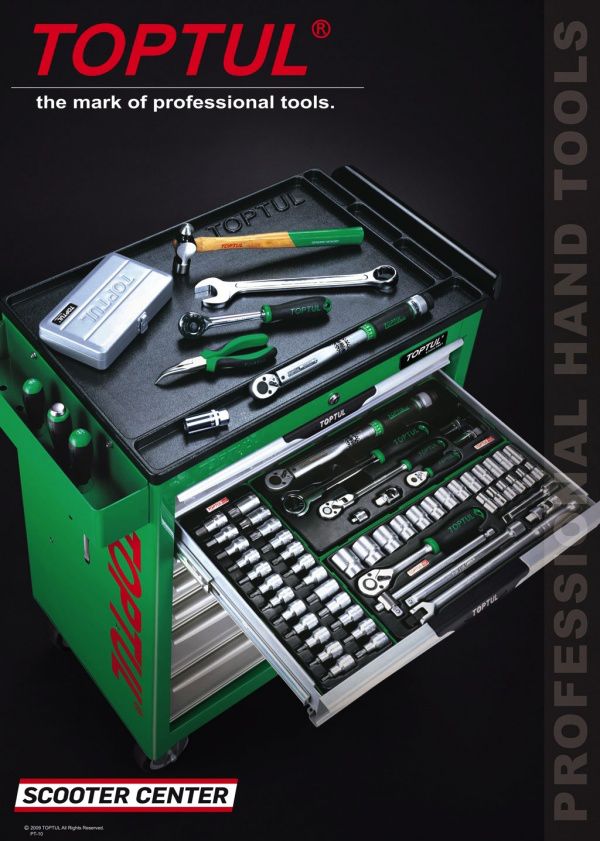
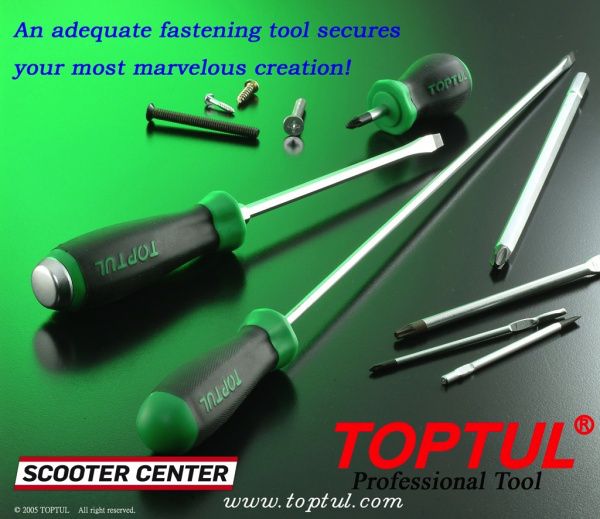
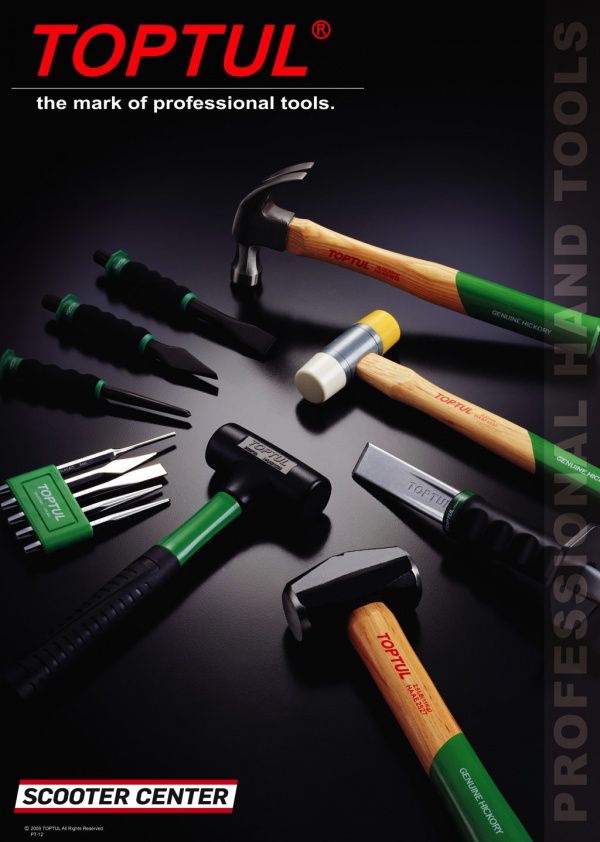
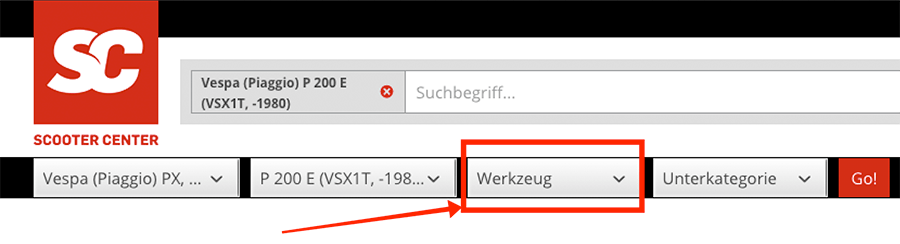
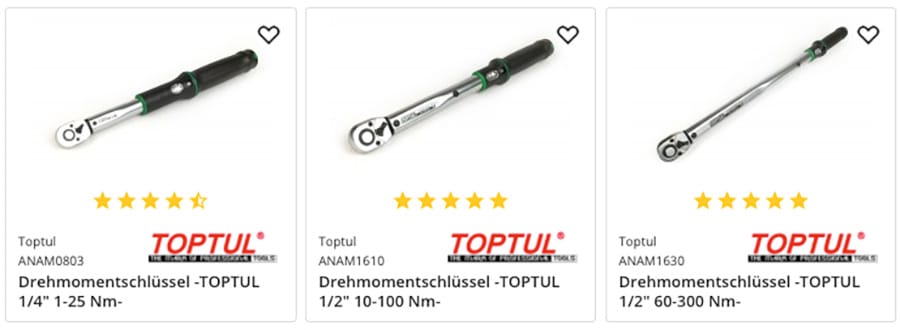
We raise a large levering ontvangen, dus de populaire TOPTUL reedschappen It's easy to get information.

TOPTUL produces at sea in the 20th year of operation of high quality and is absolutely available in one price/prestatie vergelijking. TOPTUL producten zijn bij ons al jaren in dagelijks Gebruik op Vespa, Lambretta & Co. en overtuigen keer op keer.
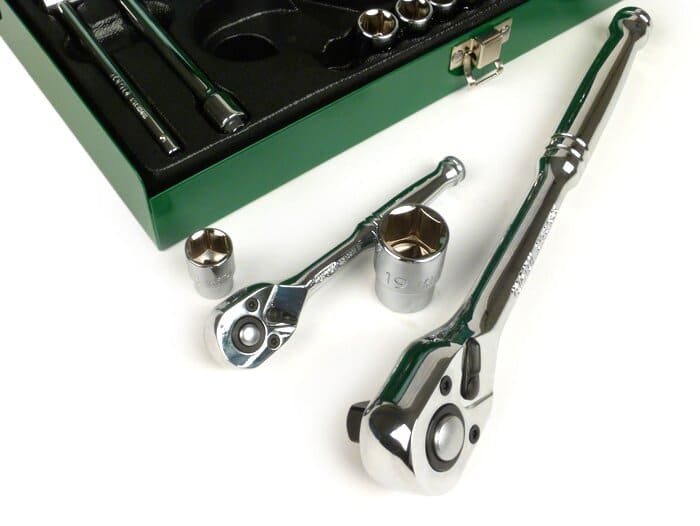
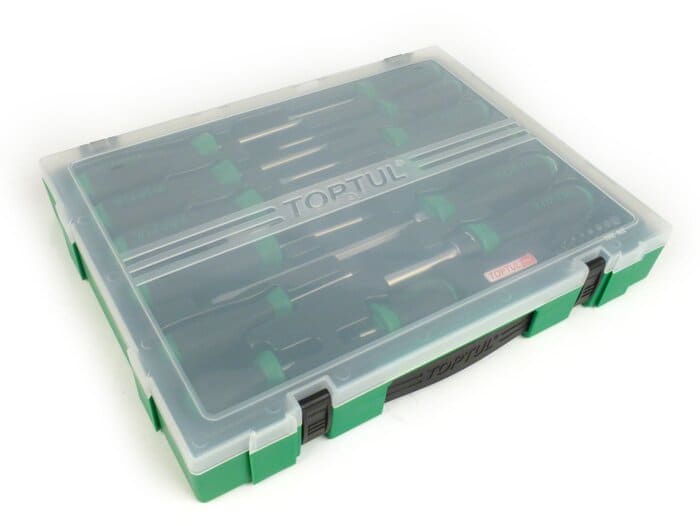
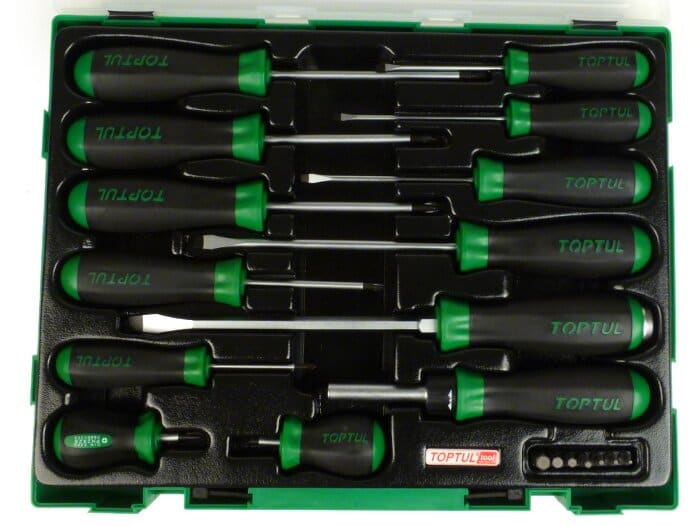
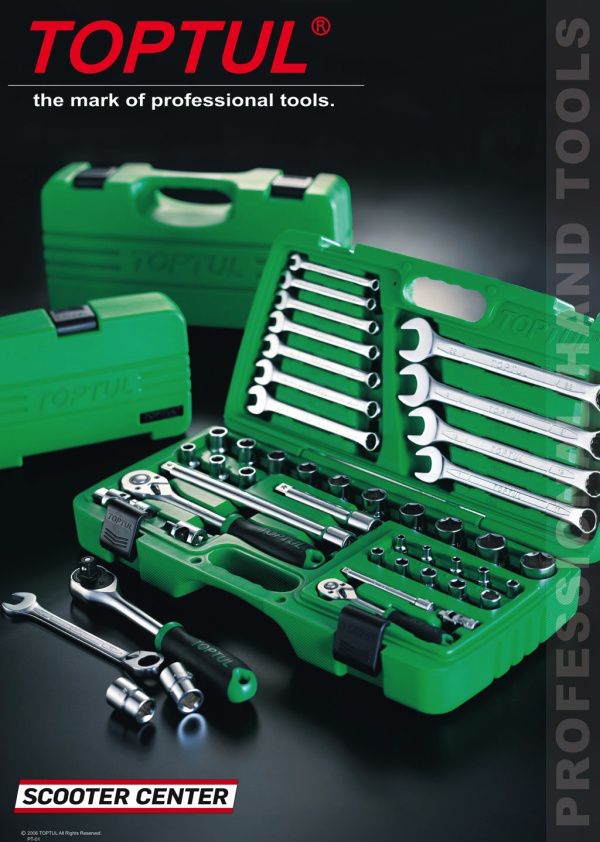
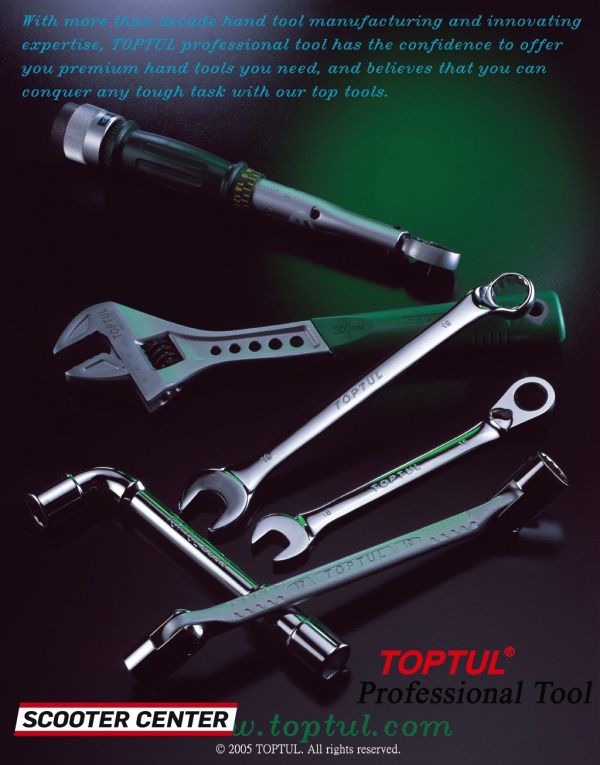
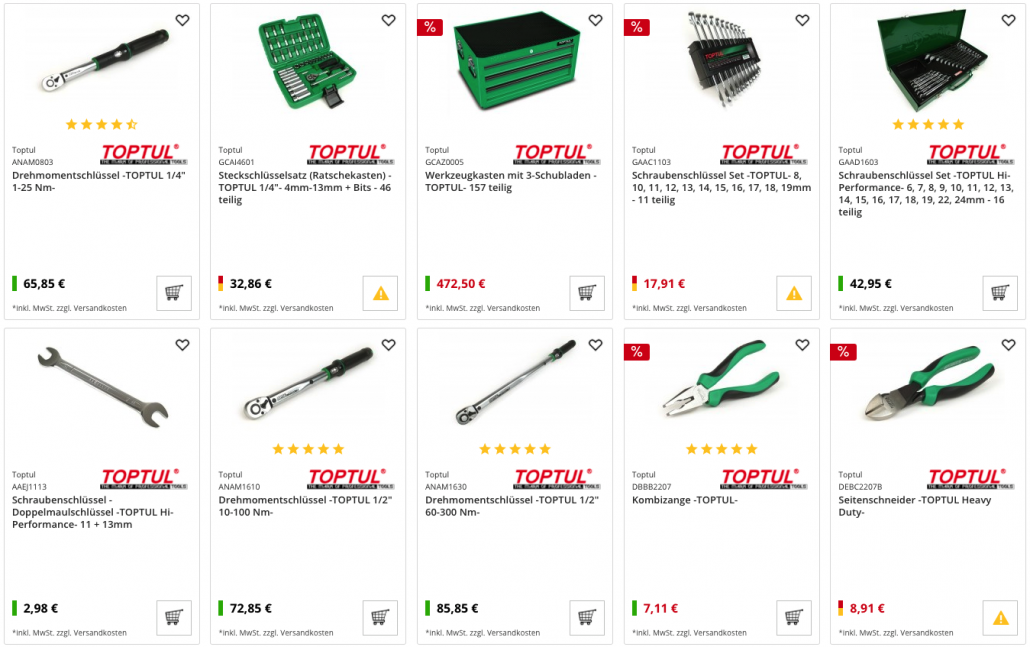
Kijk bijvoorbeeld maar eens naar de fijn verdeelde tanden van de rates. Het massieve en robuuste ontwerp met 72 tanden bereikt a hechting van bad 5 grades (1/72 slag). This betekent that he nauwkeurig en zone Plaatsen can be worked, zelfs op zeer Krappe Plaatsen, met little work route for ratel. TOPTUL are responsible for implementing standards such as DIN / ISO / ANSI or exceeding them. The internal quality control is very strict and there is still a dead line in an individual meeting protocol that is used at every moment. With our own experience we can see TOPTUL products on each of the “intensified workloads” with a built-in structure.
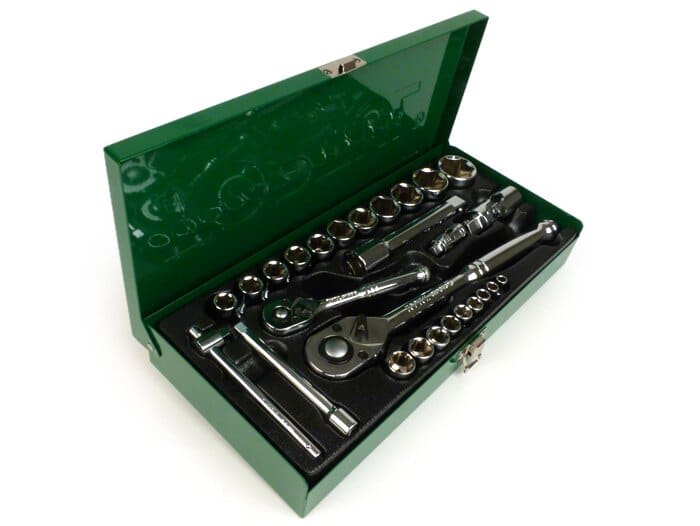
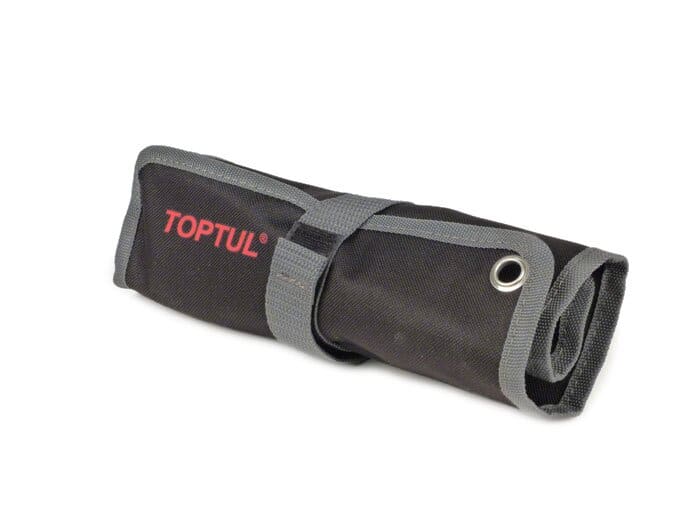
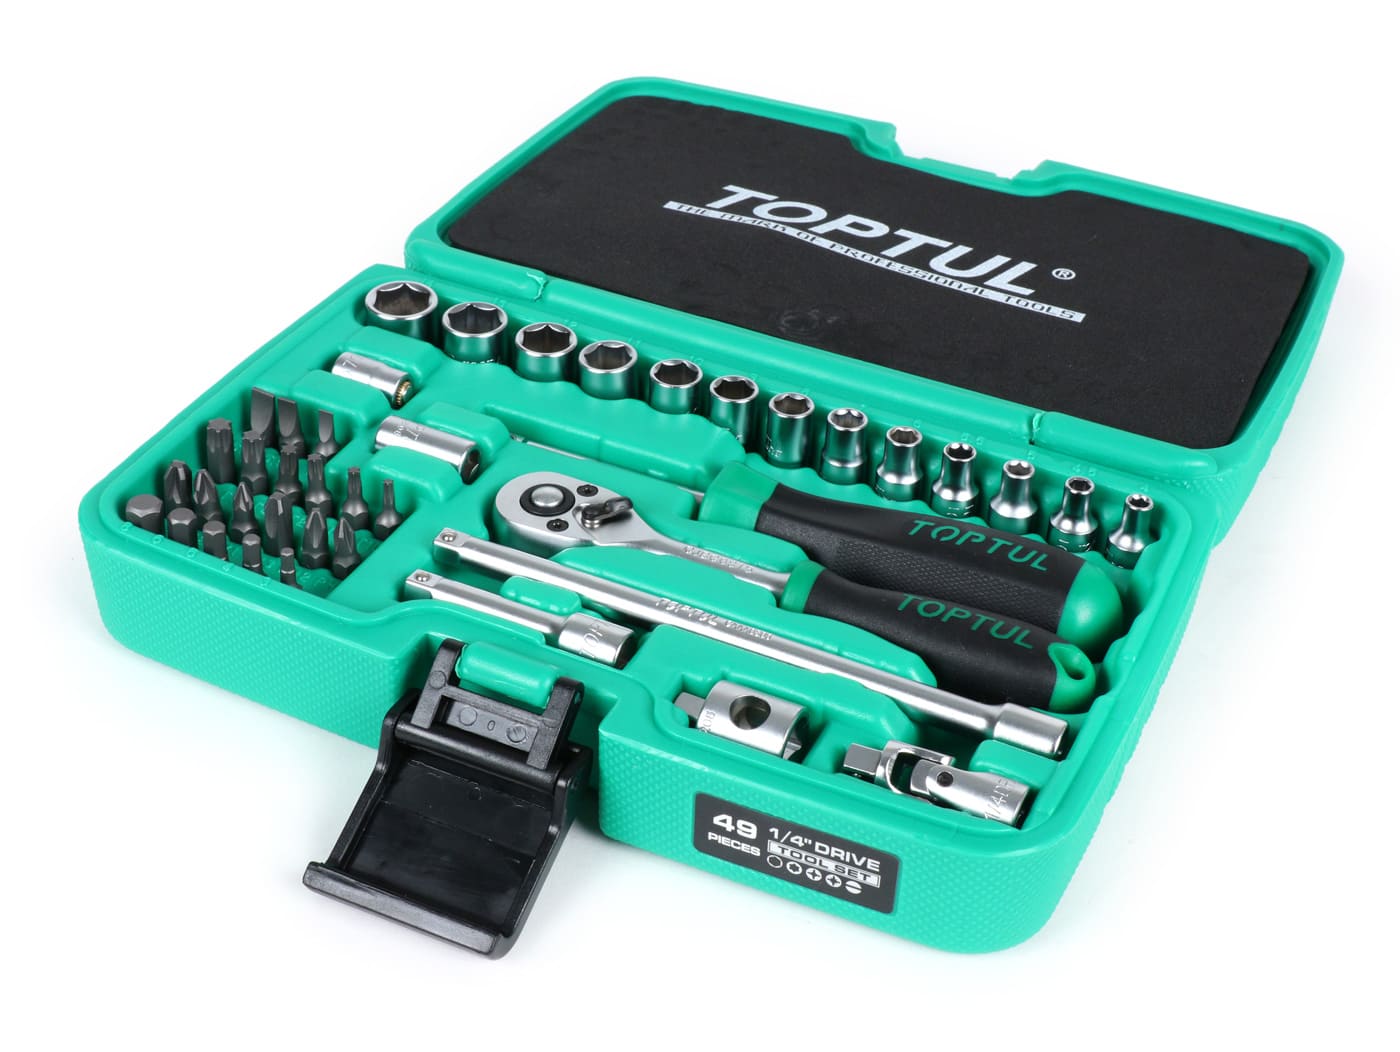
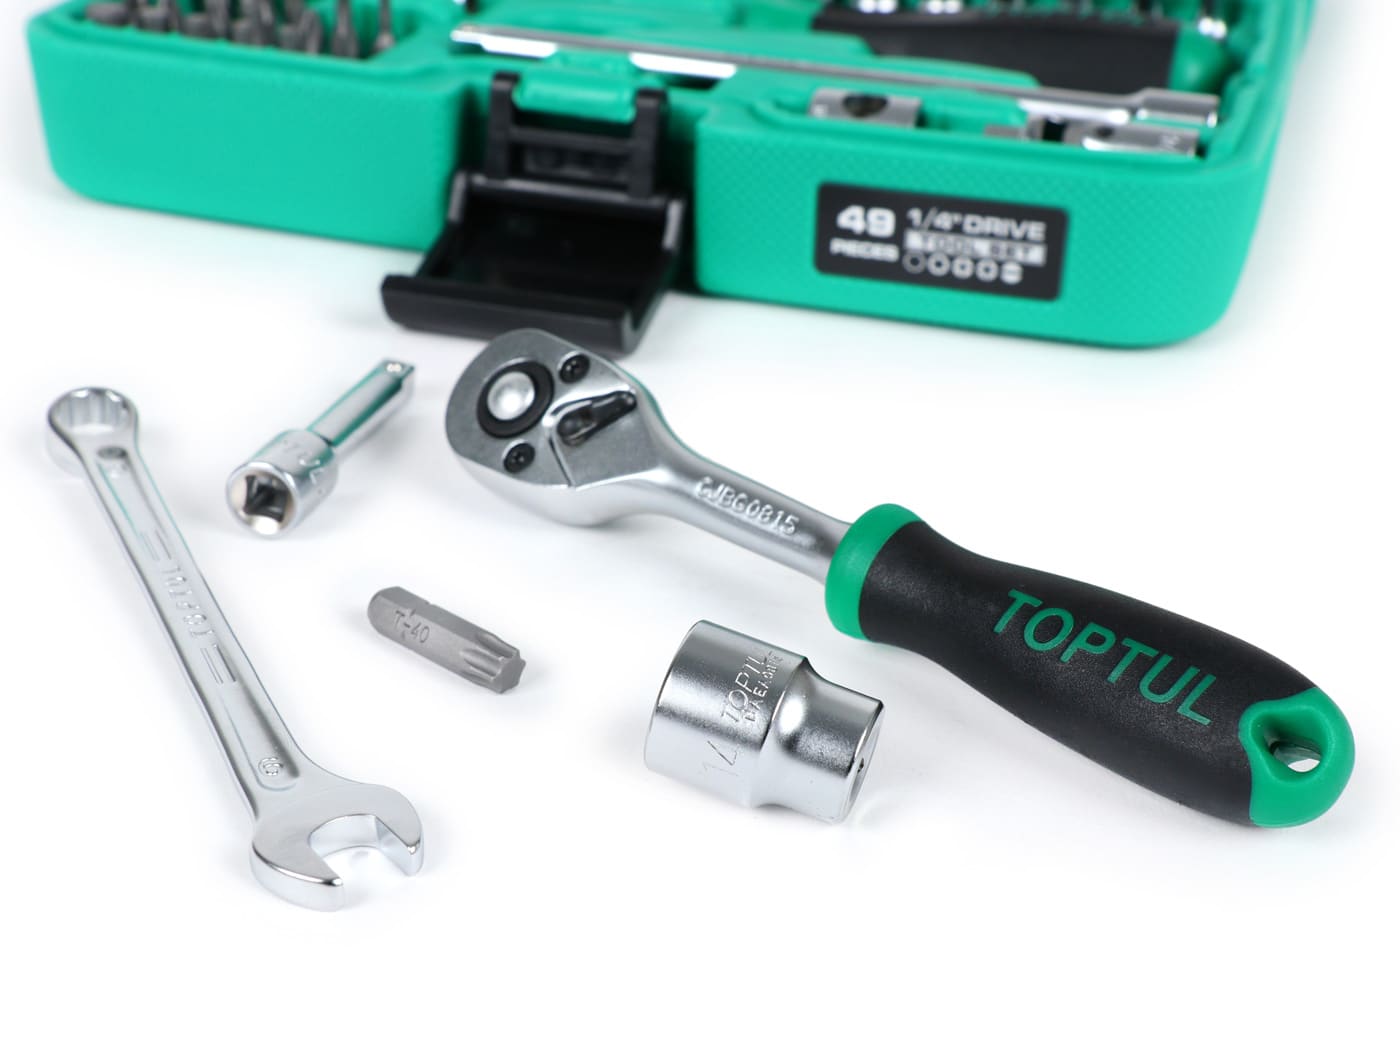
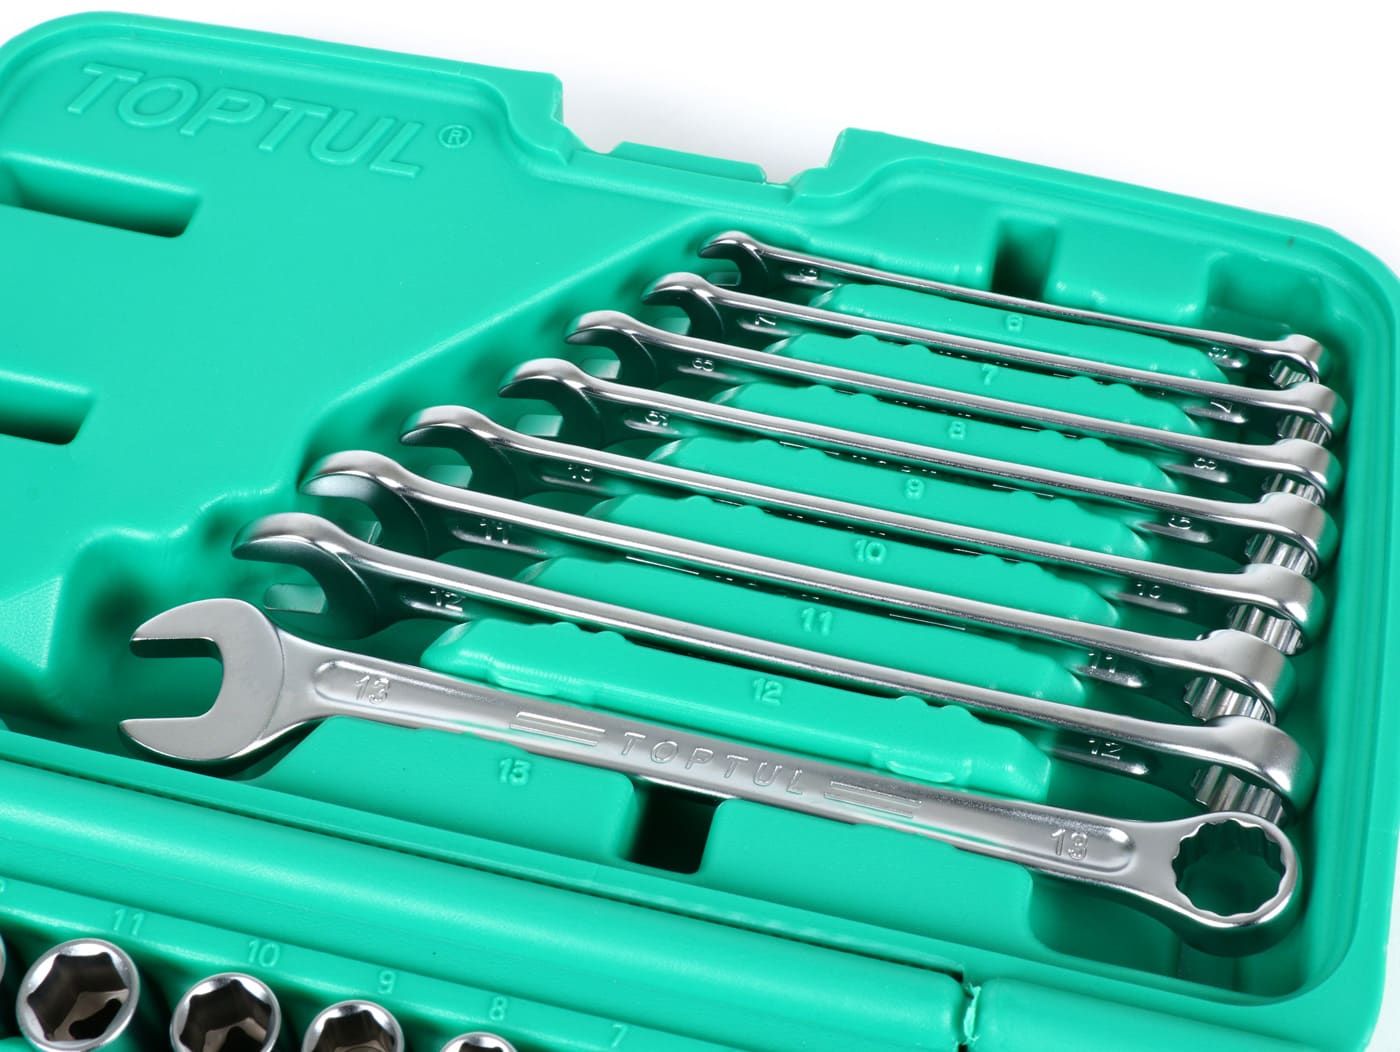
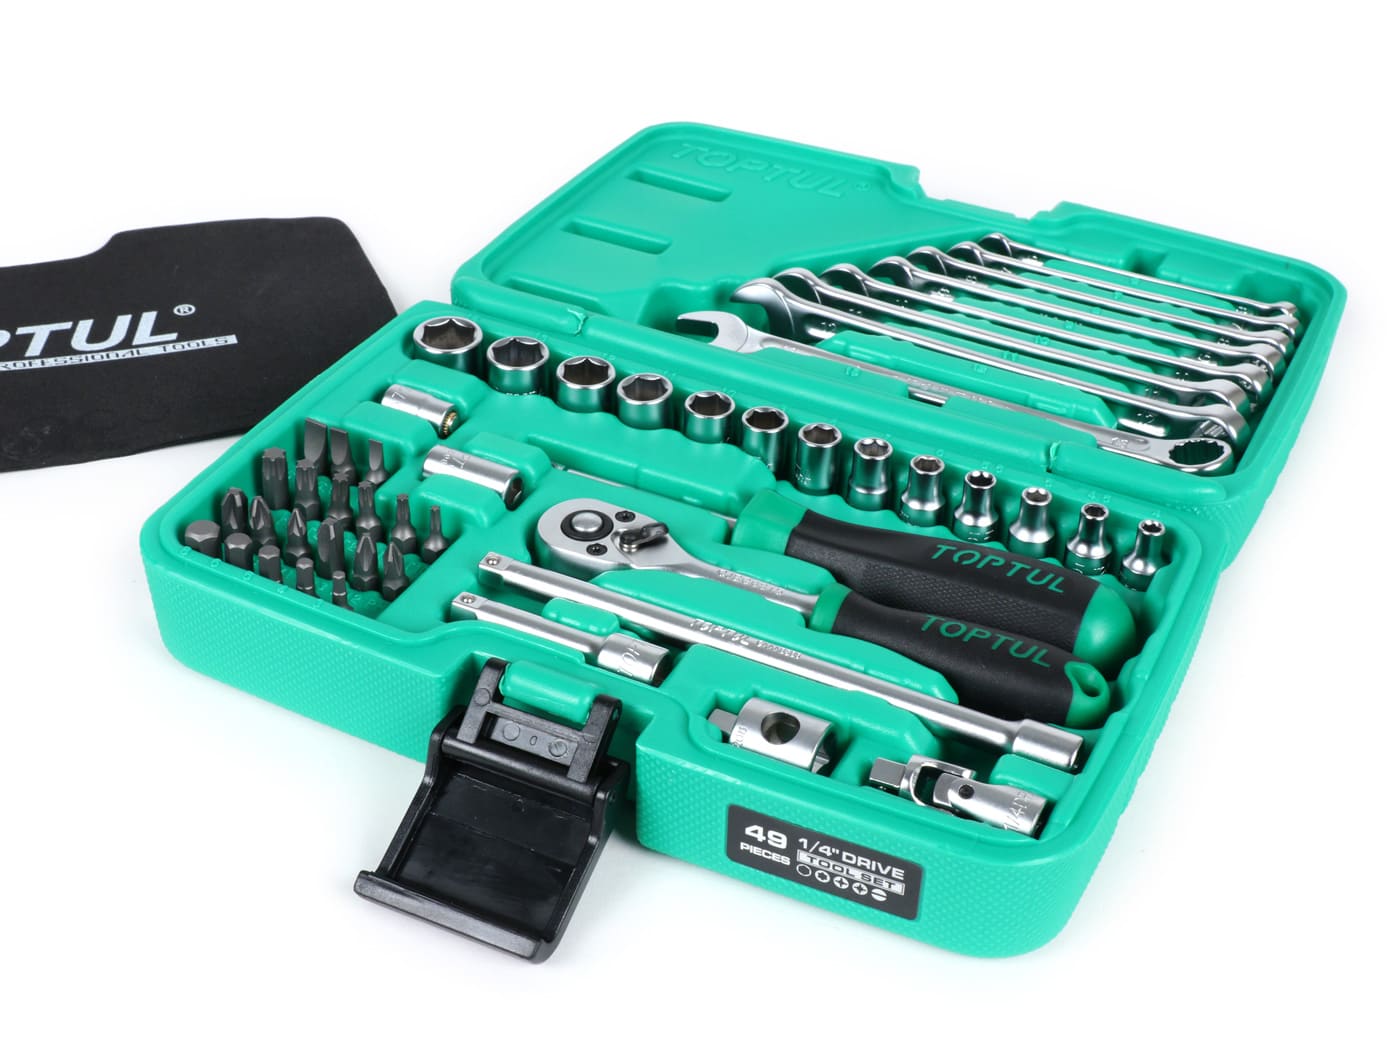
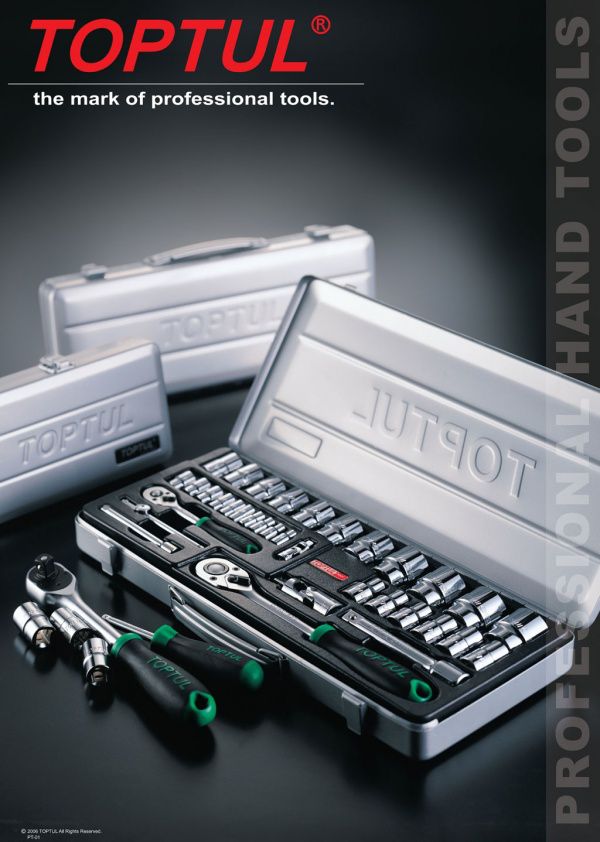
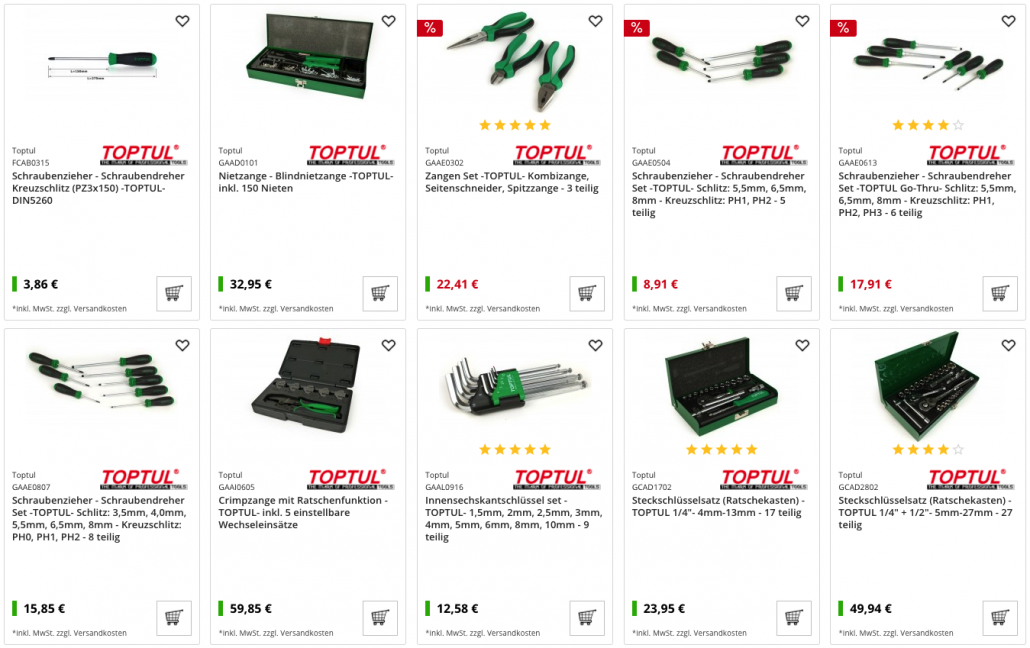
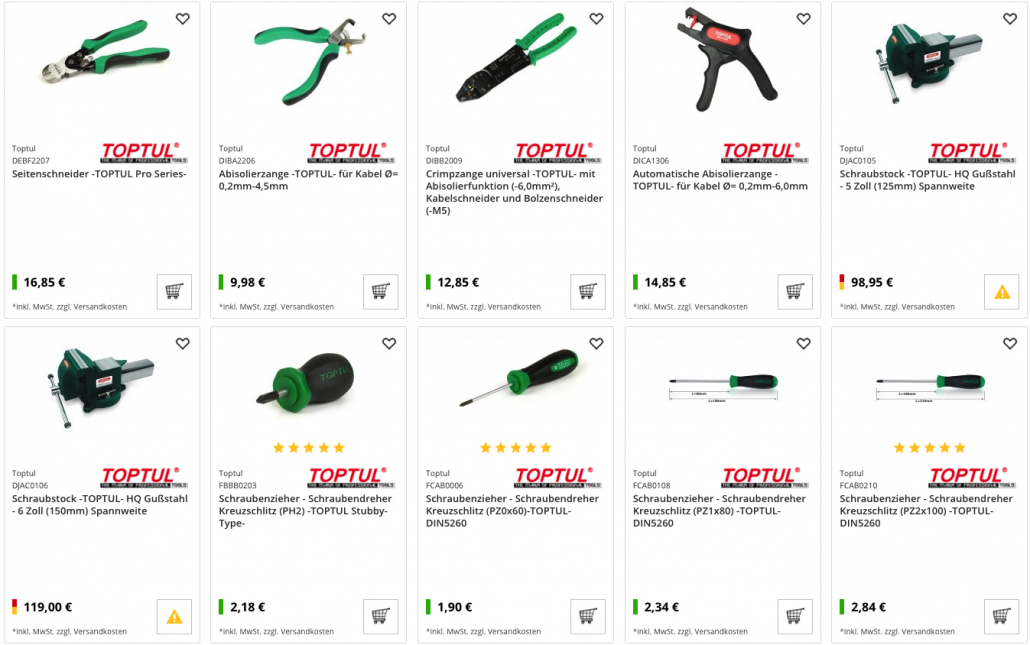
In addition there are no sets of sets, such as deze:
TIP: Aangezien men then in éen two everything new, uniform and in a anantrekkelijk voorkomen heeft! You can also have more requests for TOPTUL here in our shop Scooter Center Visit the blog: https://blog.scooter-center.com/tag/toptul/ All Toptul sales plans for scooter riders are in one place TOPTUL shop
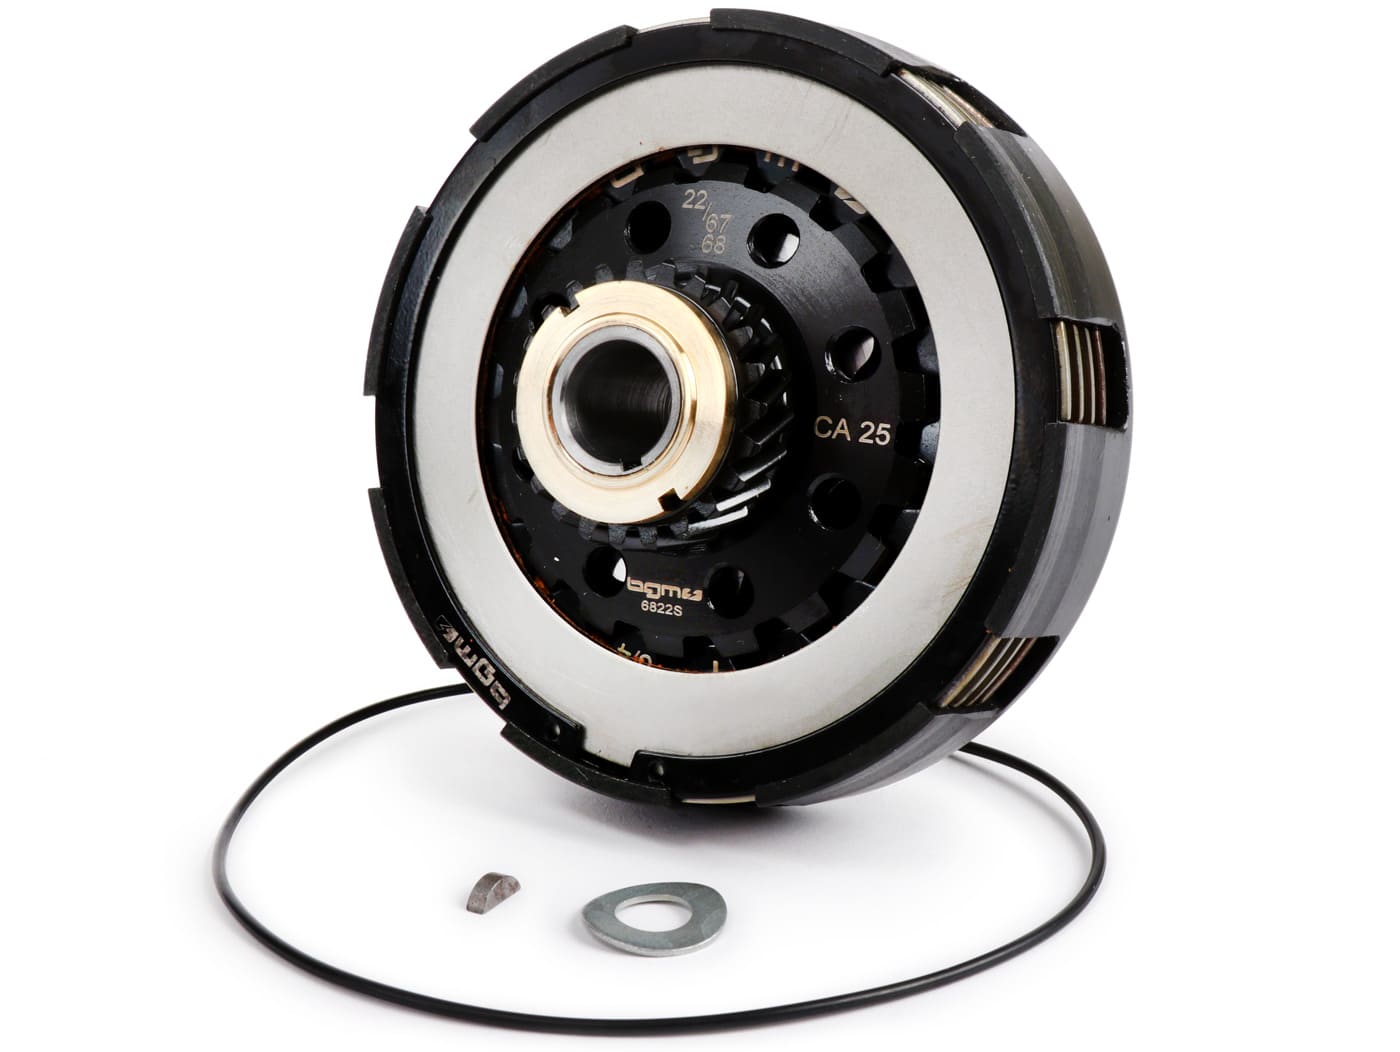
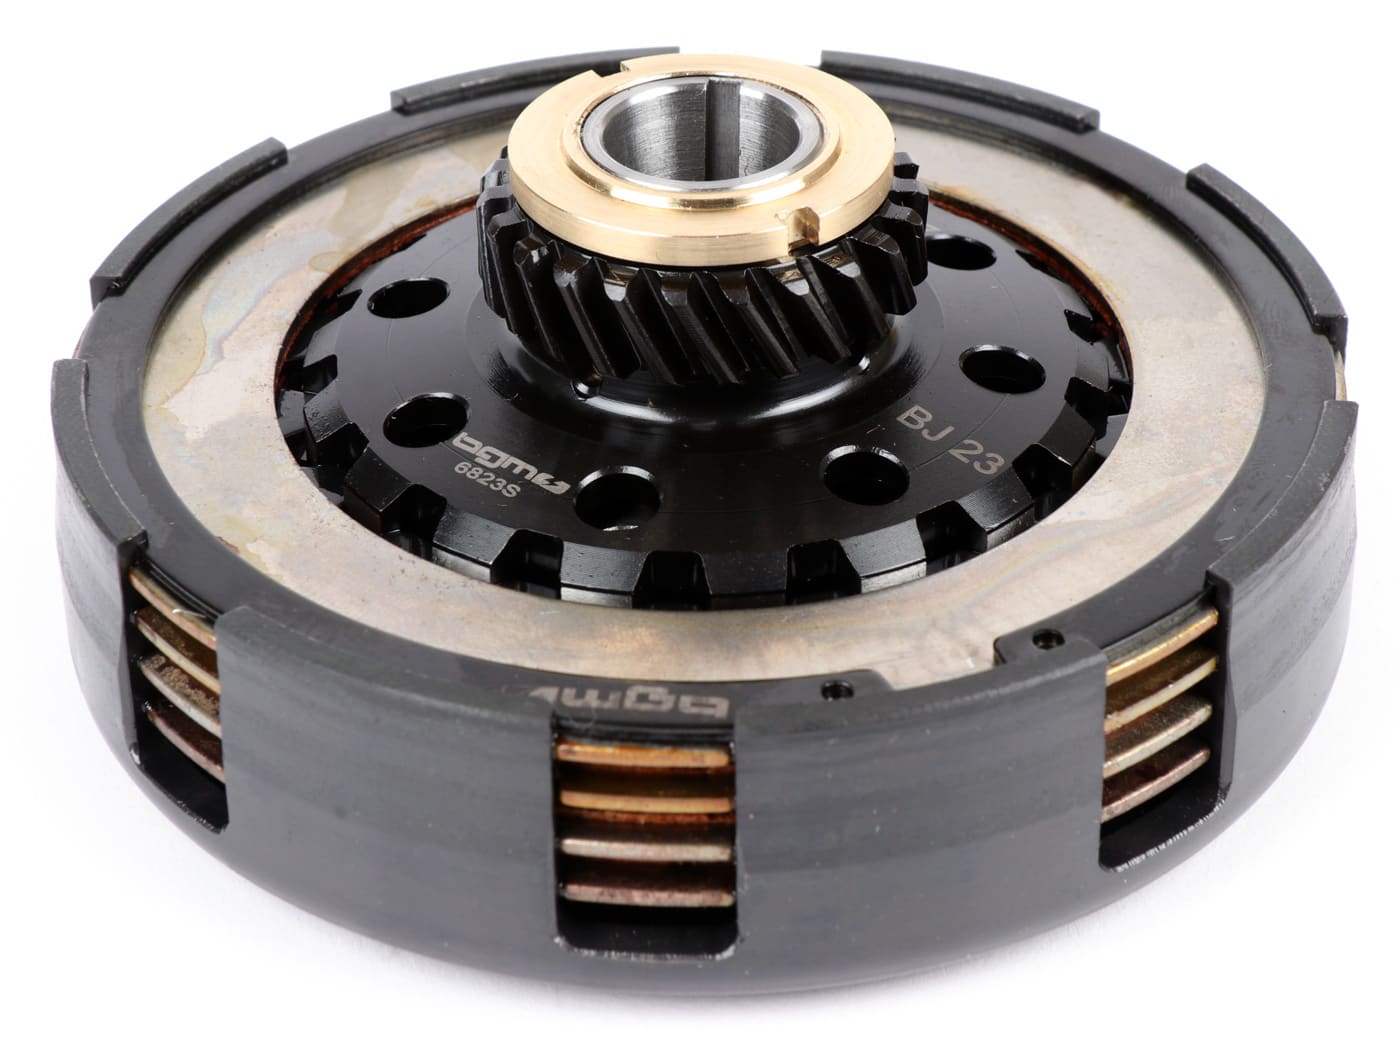
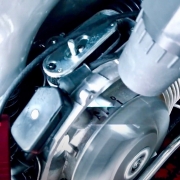
The bewezen bgm SUPERSTRONG coupling is only available for Vespa GS150 / GS160 and SS180 models. 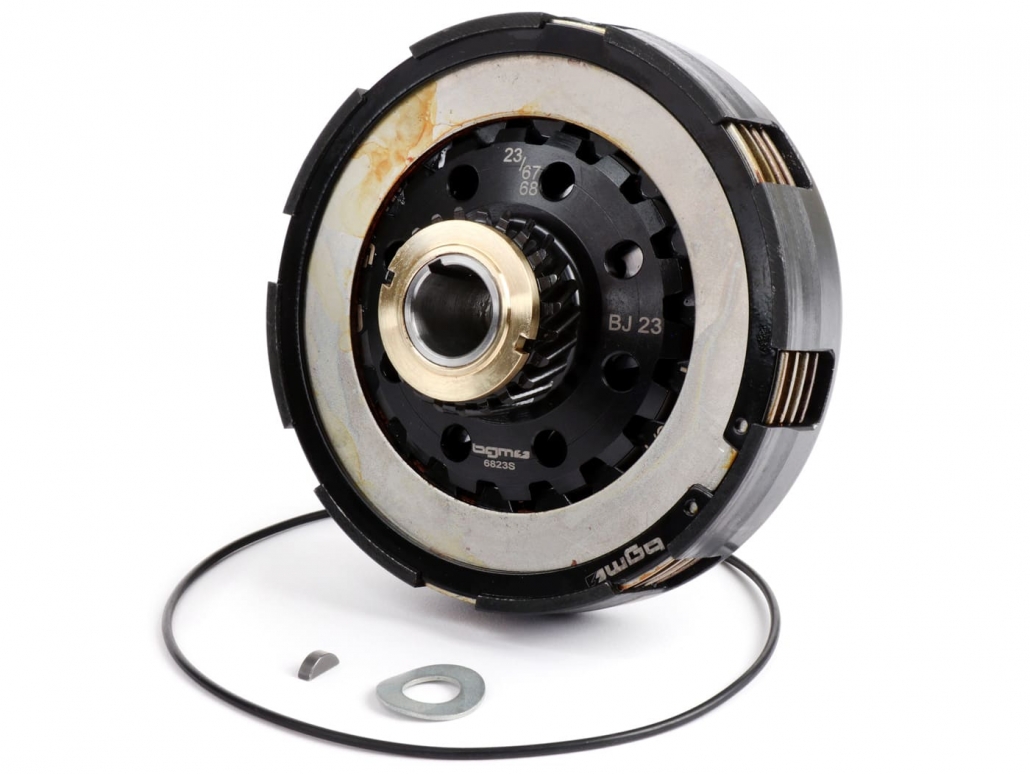
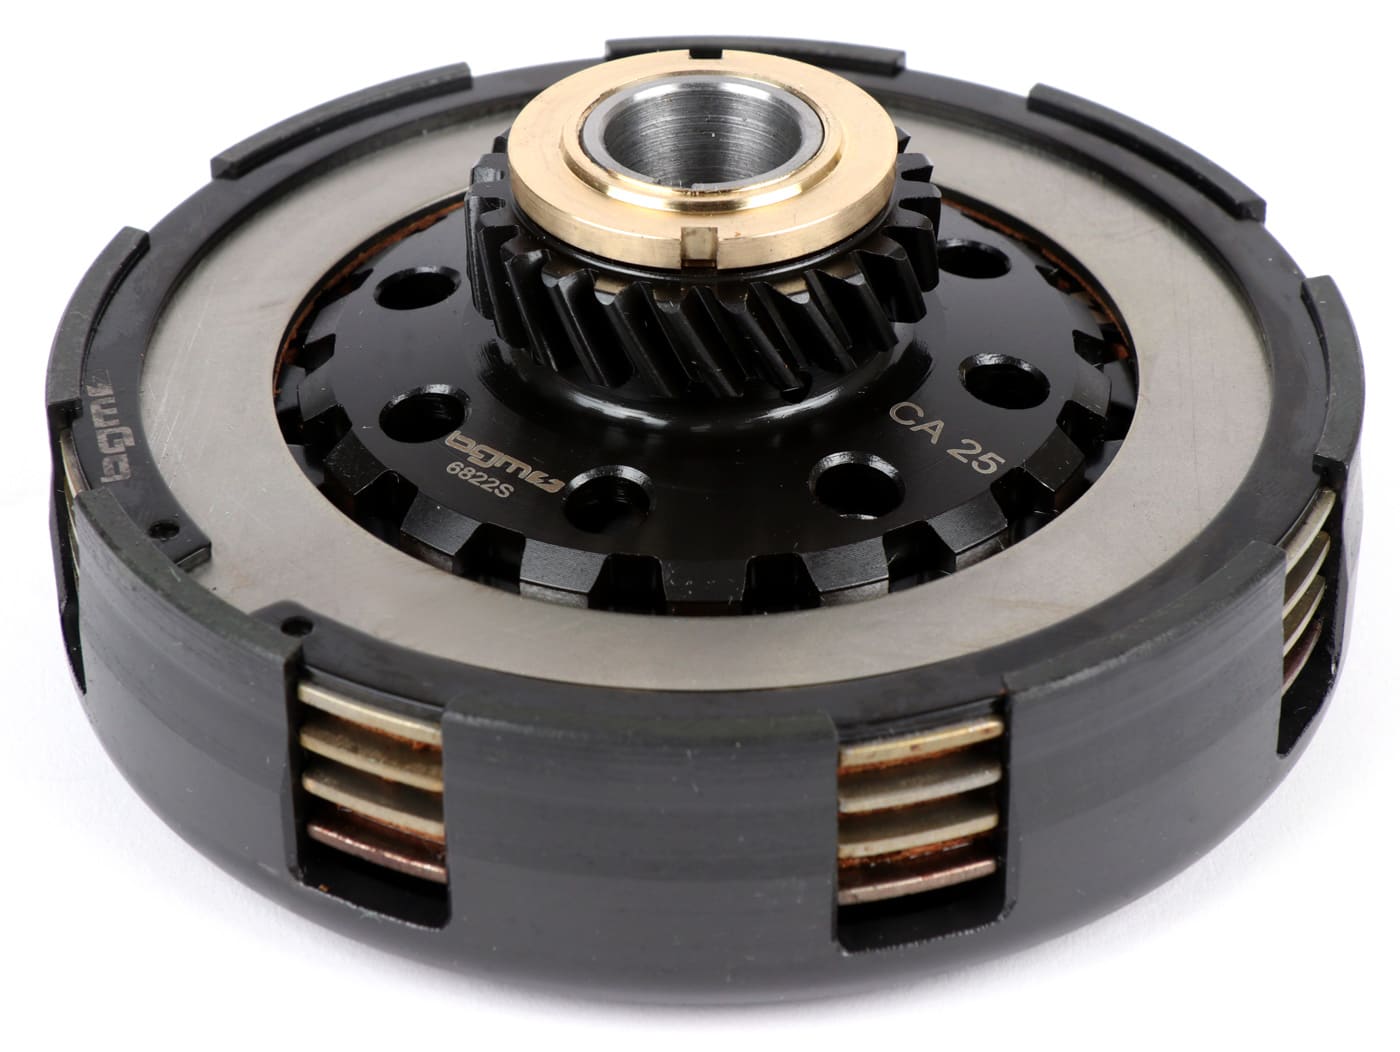
De bgm PRO coupling wordt klaar voor installation geleverd. De leveringsomvang omvat
We raden also aan om de printing plate en de separator te vangen here sold in a practical set! The Superstrong GS-coupling requires the standard coupling of the GS / SS-models 1: 1 and can be used for different modifications. Verkrijgbaar met 22 teeth (so as original) of met 23 teeth (longer verhouding). Schuine vertanding voor gebruik met het standaard 67-tands voorwiel.
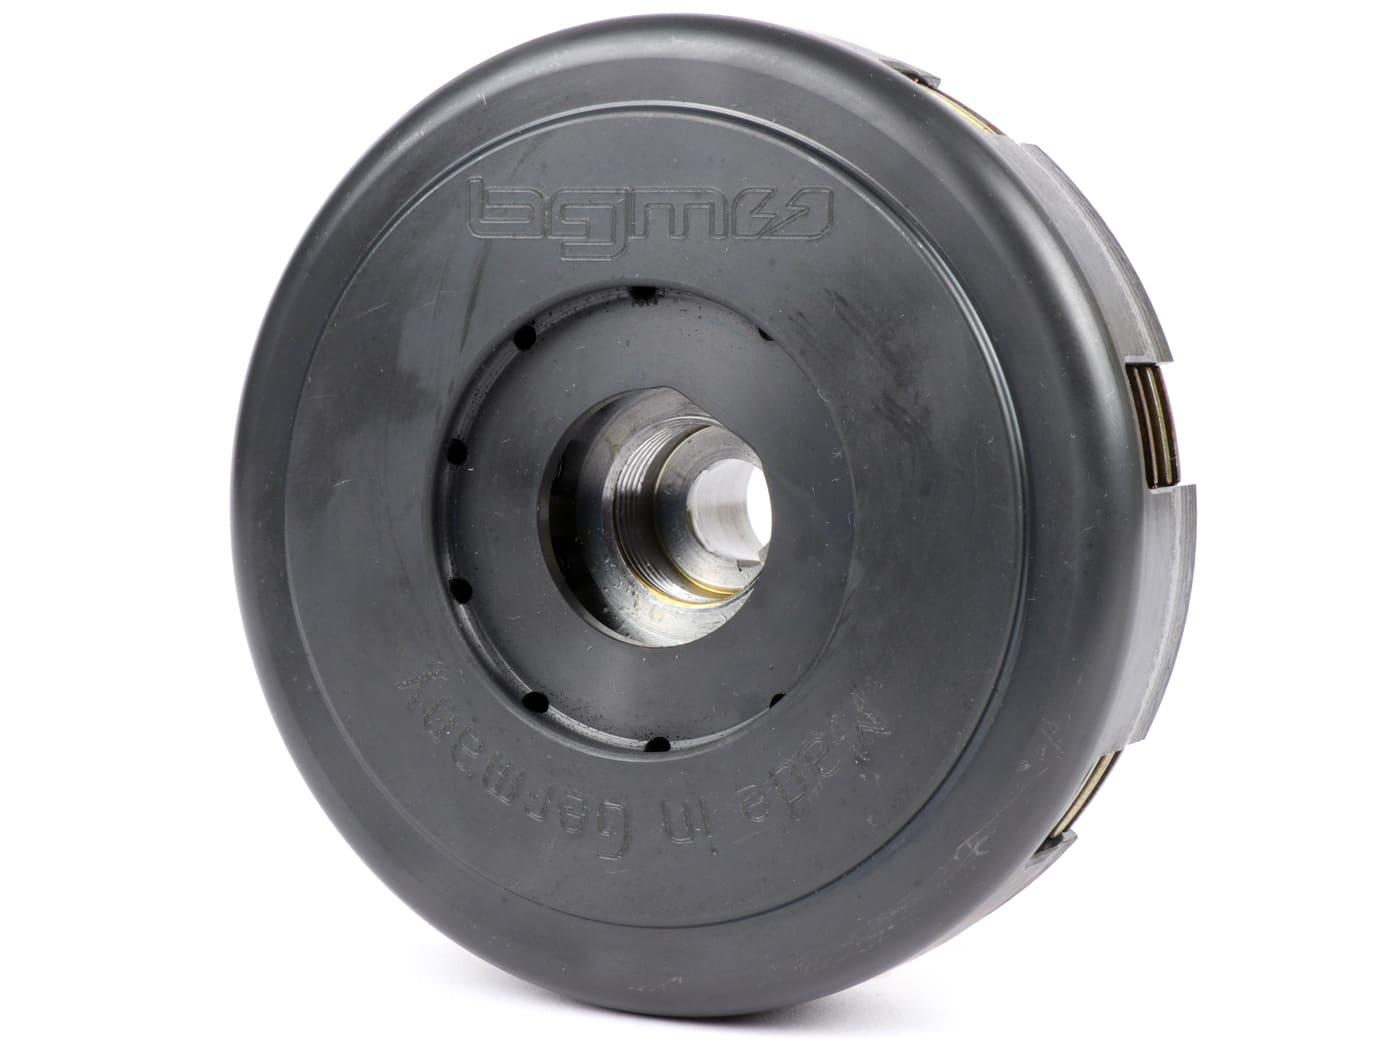
The bgm SUPERSTRONG 2.0 Ultralube coupling combines:Het is the basis of elke solid Vespa engine tuning. The CNC-gefreesde koppelingskorf heeft an uitstekende concentricity en an enormously high torsiestijfheid. The betekent dat de Vespa koppeling een perfect aangrijppatroon biedt met een duidelijk gedefinieerd slijppunt en een nice Scheiding van de koppelingsvlakken. Hij kan been used door toerrijders the ware hechten aan high quality, but also by ambition racers the op zoek zijn naar een uiterst verkrachtige and stable coupling. su_spacer]
The new generation of Superstrong couplings is now from an innovative new technology: Ultralube. Ultralube levert (via nauwkeurig bepaalde gaten en centrifugale kracht) tandwielolie aan zowel het zwaar load naafprofiel (tussen koppelingskorf en koppelingsnaaf) as aan de koppelingsfacings zelf. Deze technology, uniek in de Vespa sector, maakt de legendary Superstrong 2.0 koppeling nog stabieler dan het al is. A coupling ontworpen voor de eeuwigheid.
The kant-en-klar koppeling is set up for a fortune amounting to approx. 20pk / 22Nm by means of the gemonteerde koppelingsveren. Versterierte veren (afzonderlijk verkrijgbaar, bgm PRO XXL Reinforced Koppelingsveer) broad het assets from de koppeling uit dead sea dan 40 pk. Tegelijkertijd is hij nog steeds gemakkelijk te serve.
Inbegrepen is de complete, klaar-om-te-installeren koppeling met bgm PRO Cosa koppelingsfacings en tien BGM PRO XL veren. A nieuwe O-ring voor het koppelingsdeksel en a nieuwe halve maan wig zijn ook inbegrepen.
Wij bevelen een laag gelegeerde versnellingsbakolie van de klassen API GL3 / GL4 aan, zelfs voor engines with high prestaties, om slippen van de koppeling te voorkomen, zelfs bij extreme stress. The money is also for our BGM Superstrong coupling. De oude motoroliespecificatie SAE30 komt overeen met de huidige versnellingsbakoliespecificatie SAE 85W / 90. As smeermiddel bevelen wij de bgm PRO Street versnellingsbakolie aan (BGM2025, komt overeen met specificatie API GL-3). * in summer you can het nodig zijn het koppelingsdeksel en de arm een beetje te bewerken, ze instructions in video:
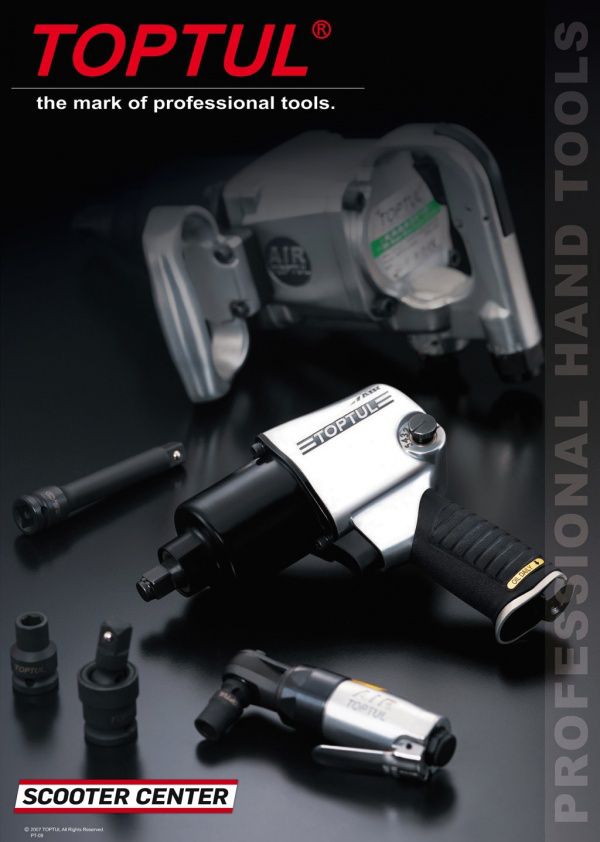
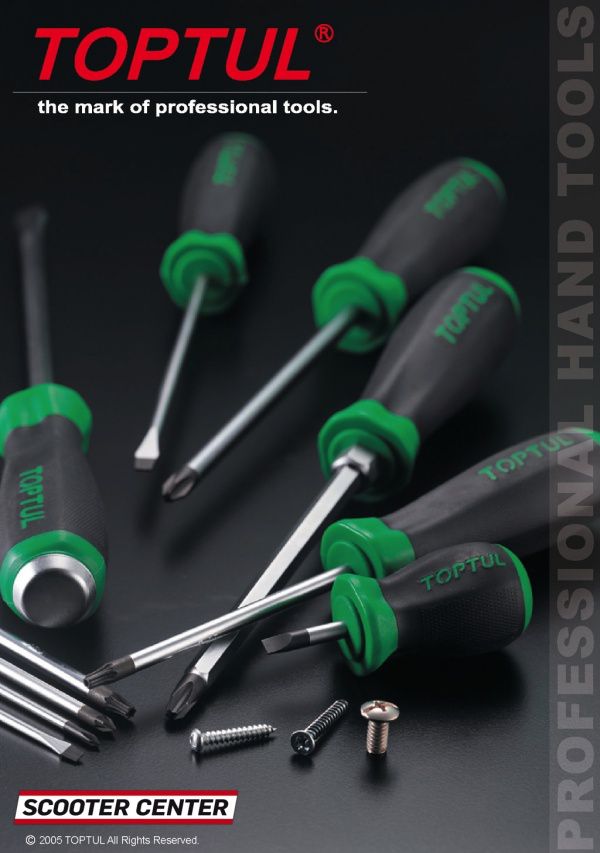
TIP: Toptul tool
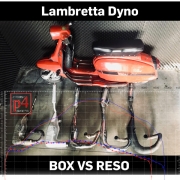
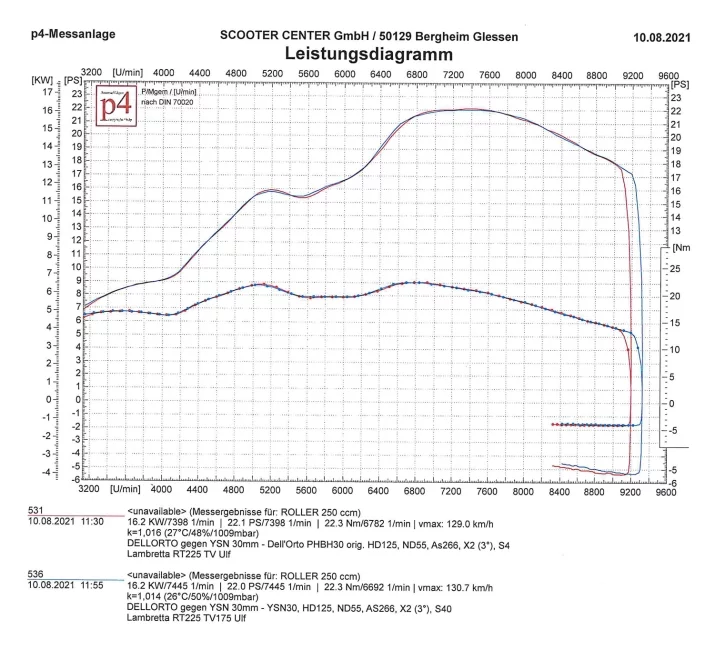
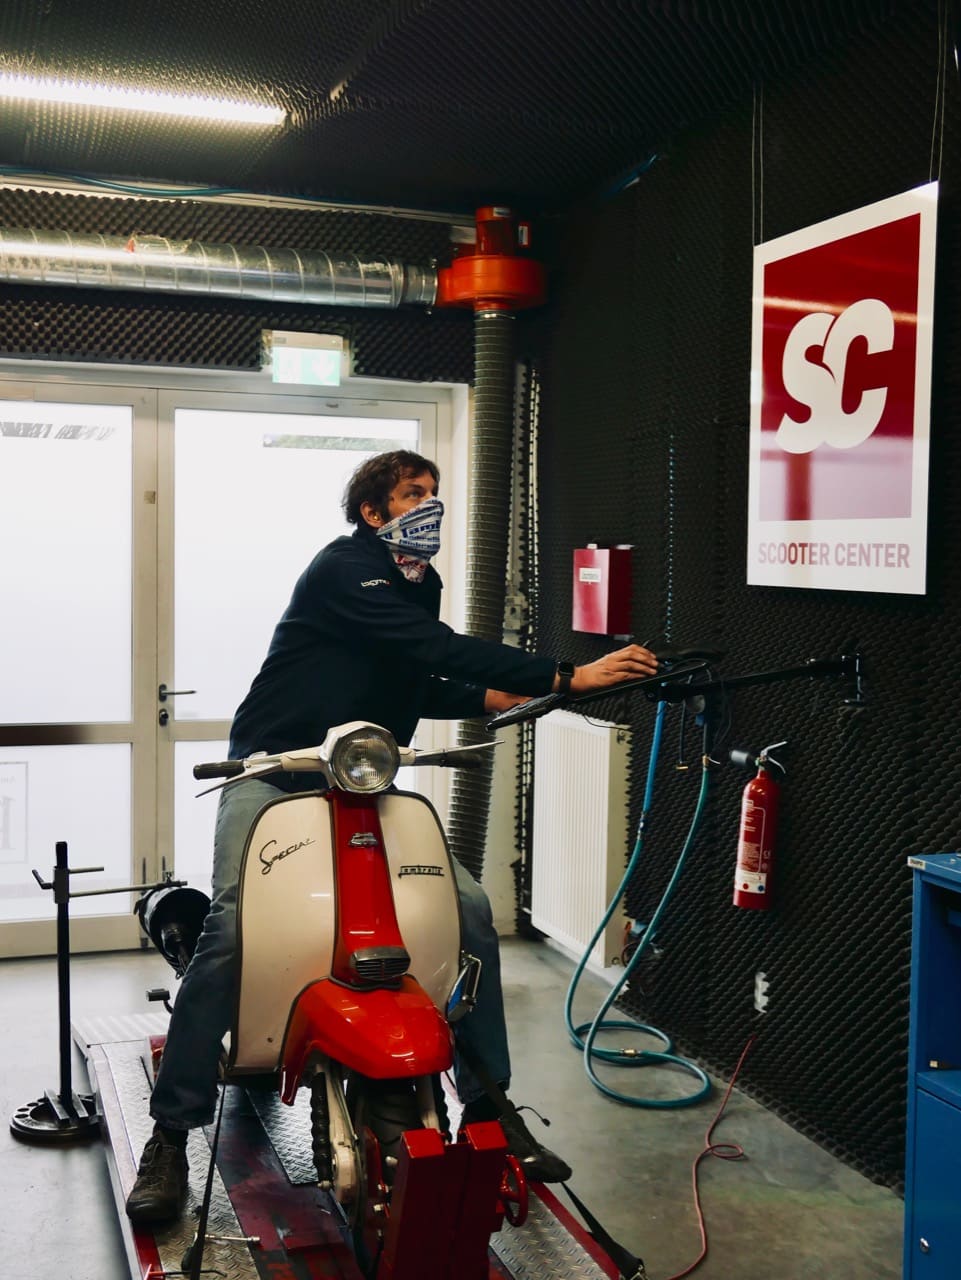
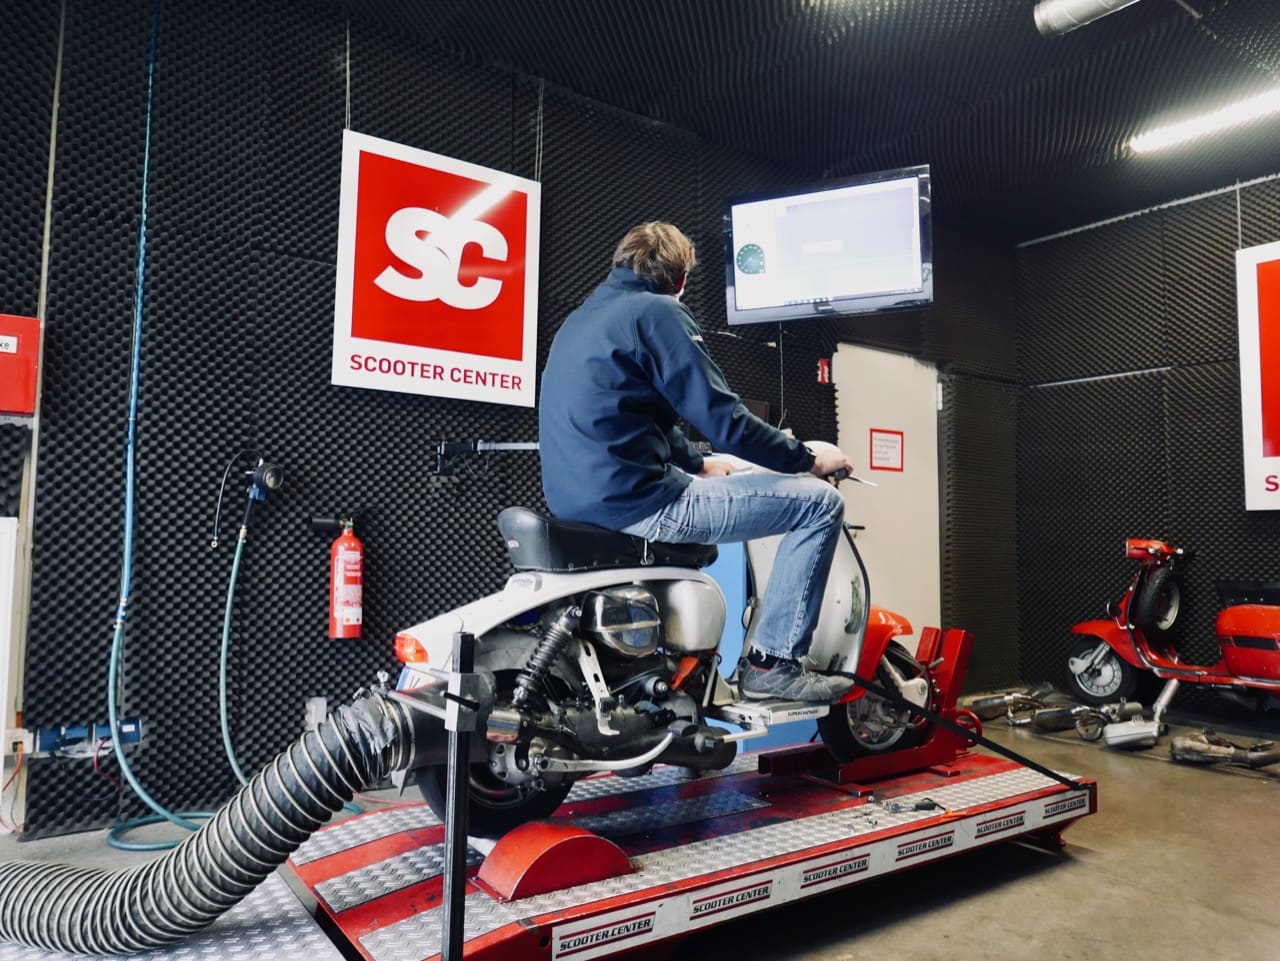
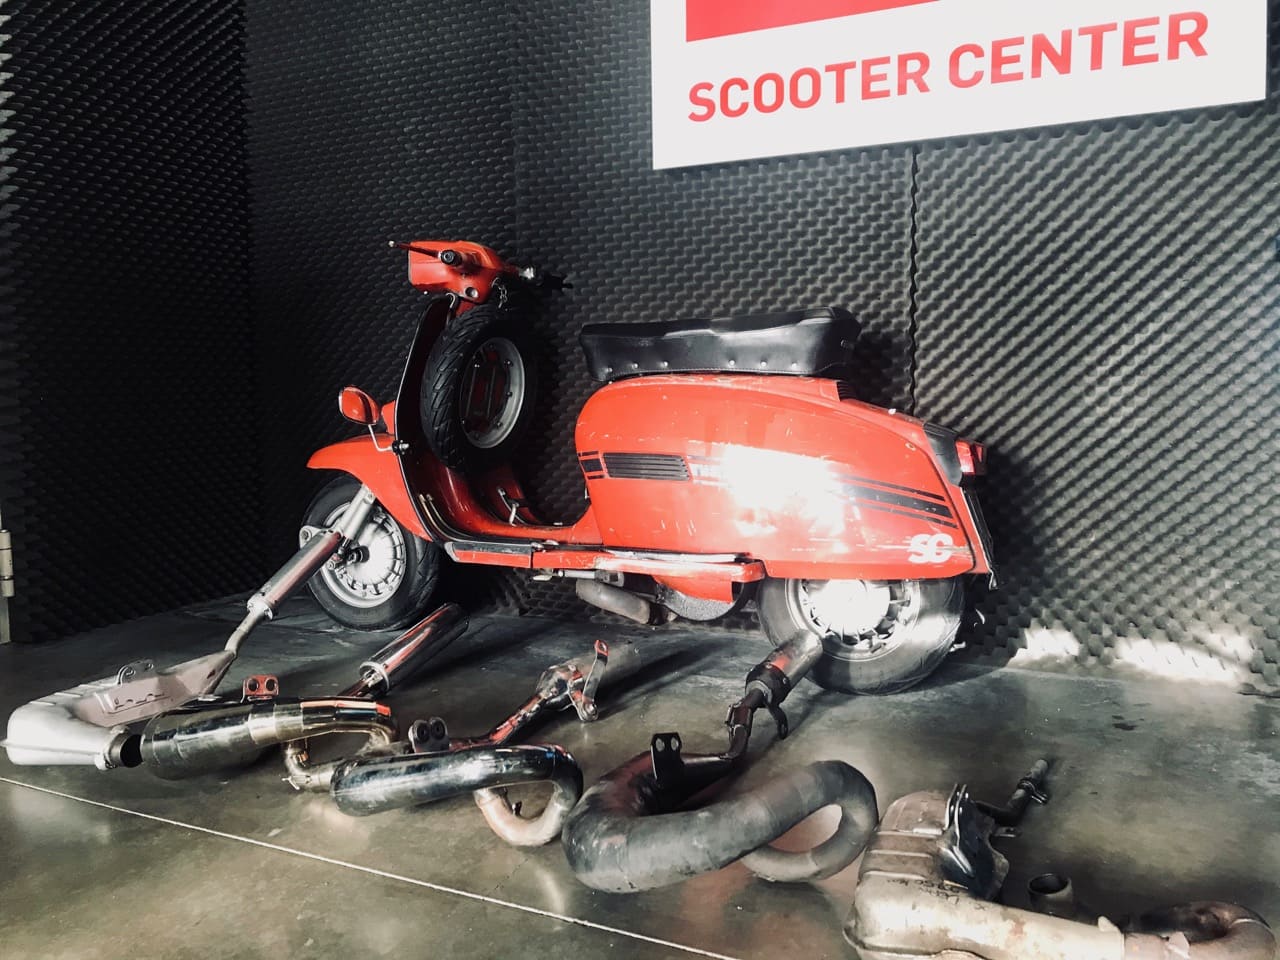
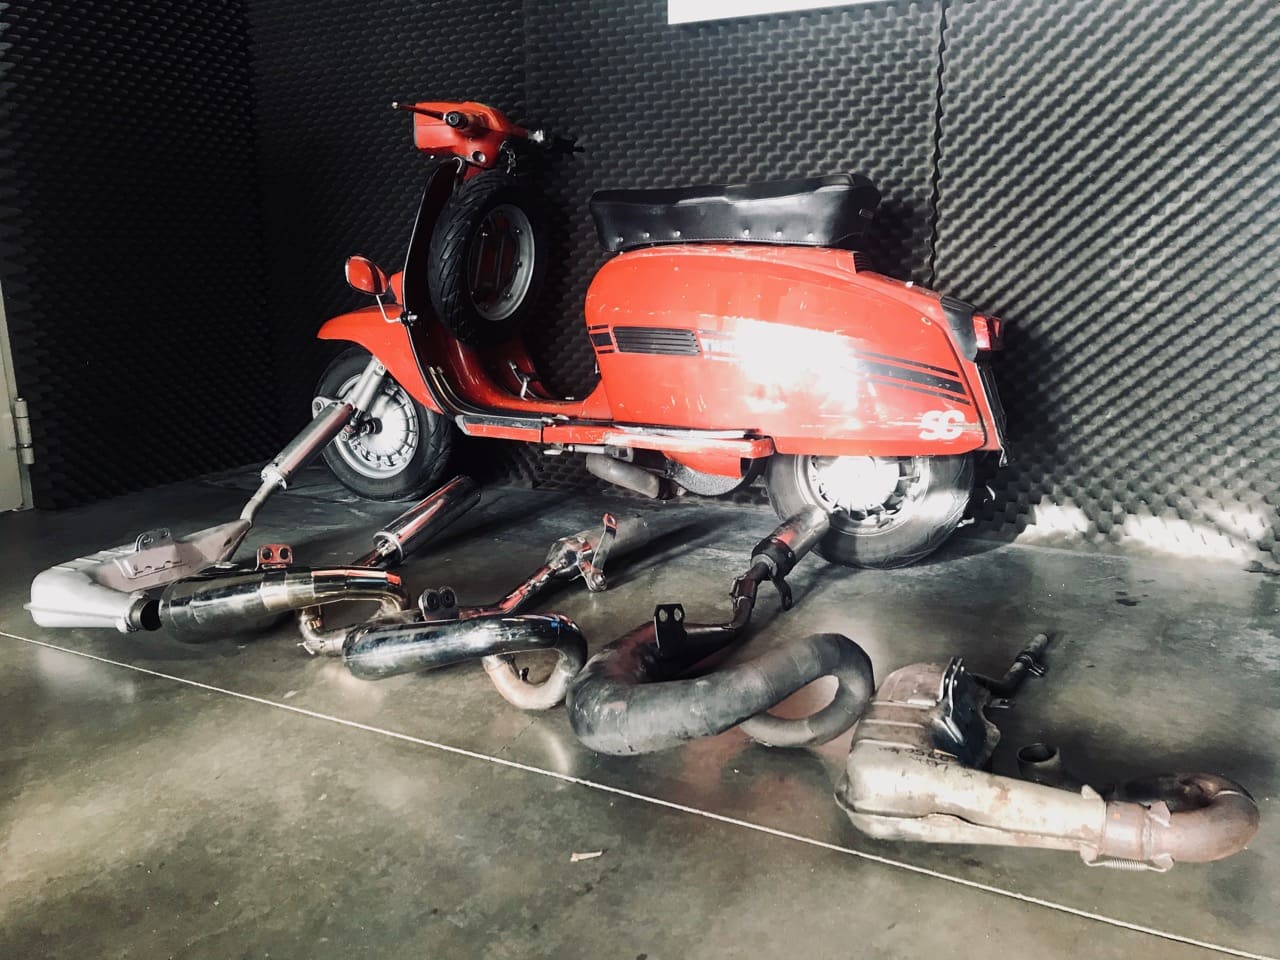
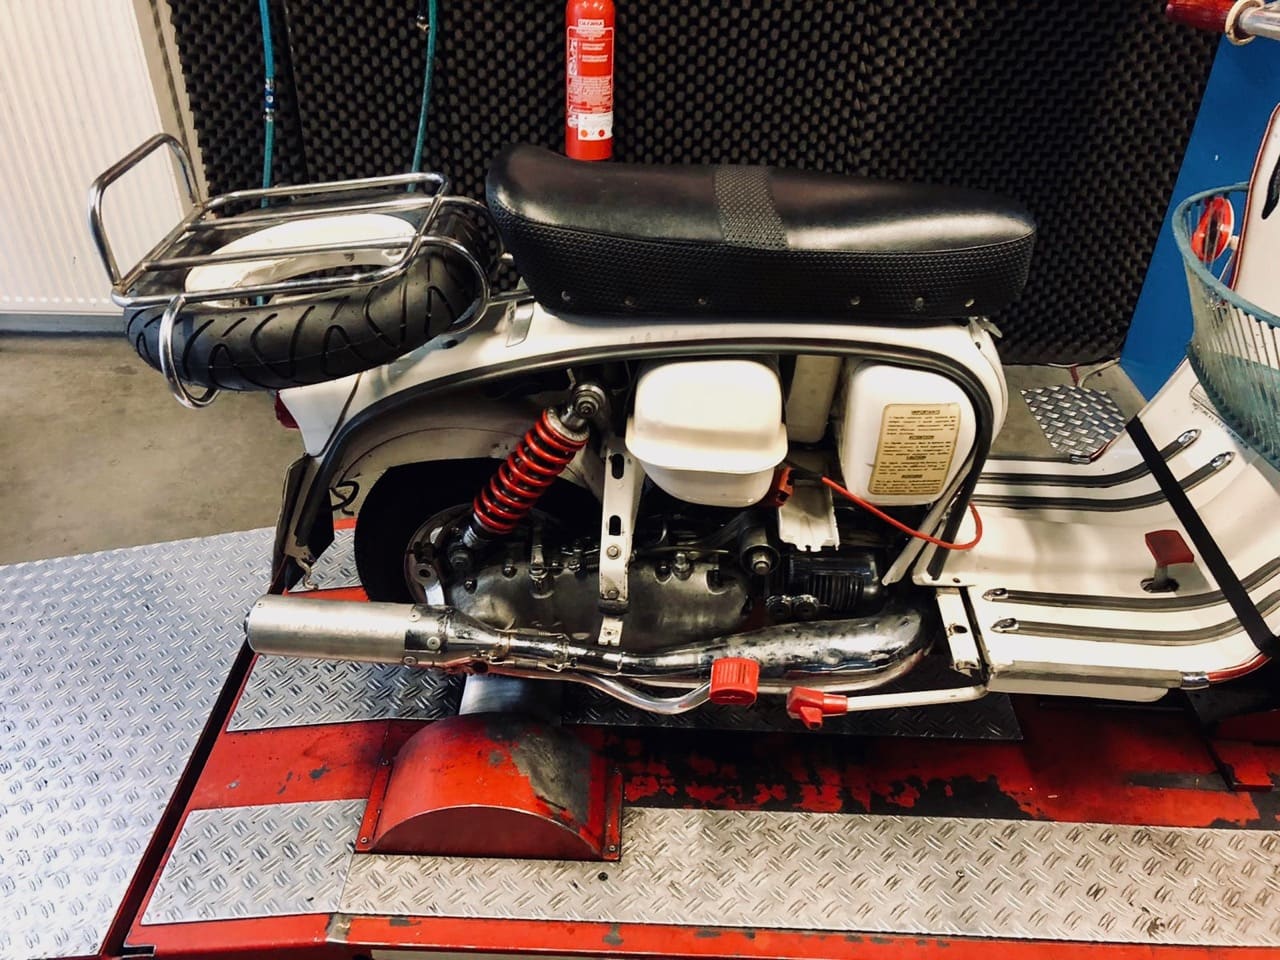
A Lambretta-uitlaattest: de nieuwe en aanstaande Lambretta Big Box is currently in productie. Helaas is a delivery date not yet announced. 
For now we het an monster on Spanje studen, hebben we de nieuwe doos op de proef gesteld. Lambretta-uitlaattest: A different prototype doos van onze vriend Chalky bij Replay Scooters en JPP went direct to the testbank:
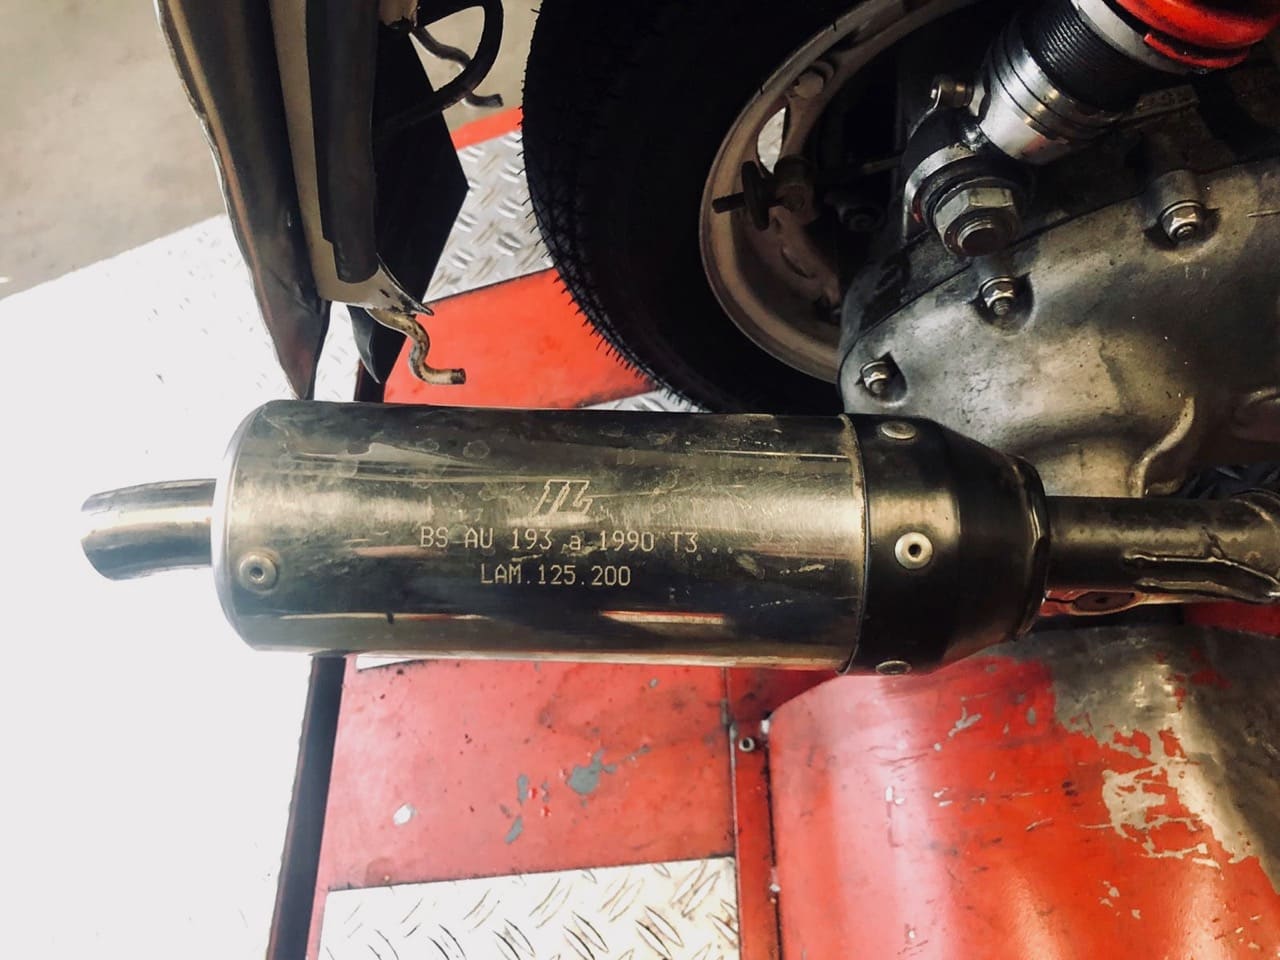
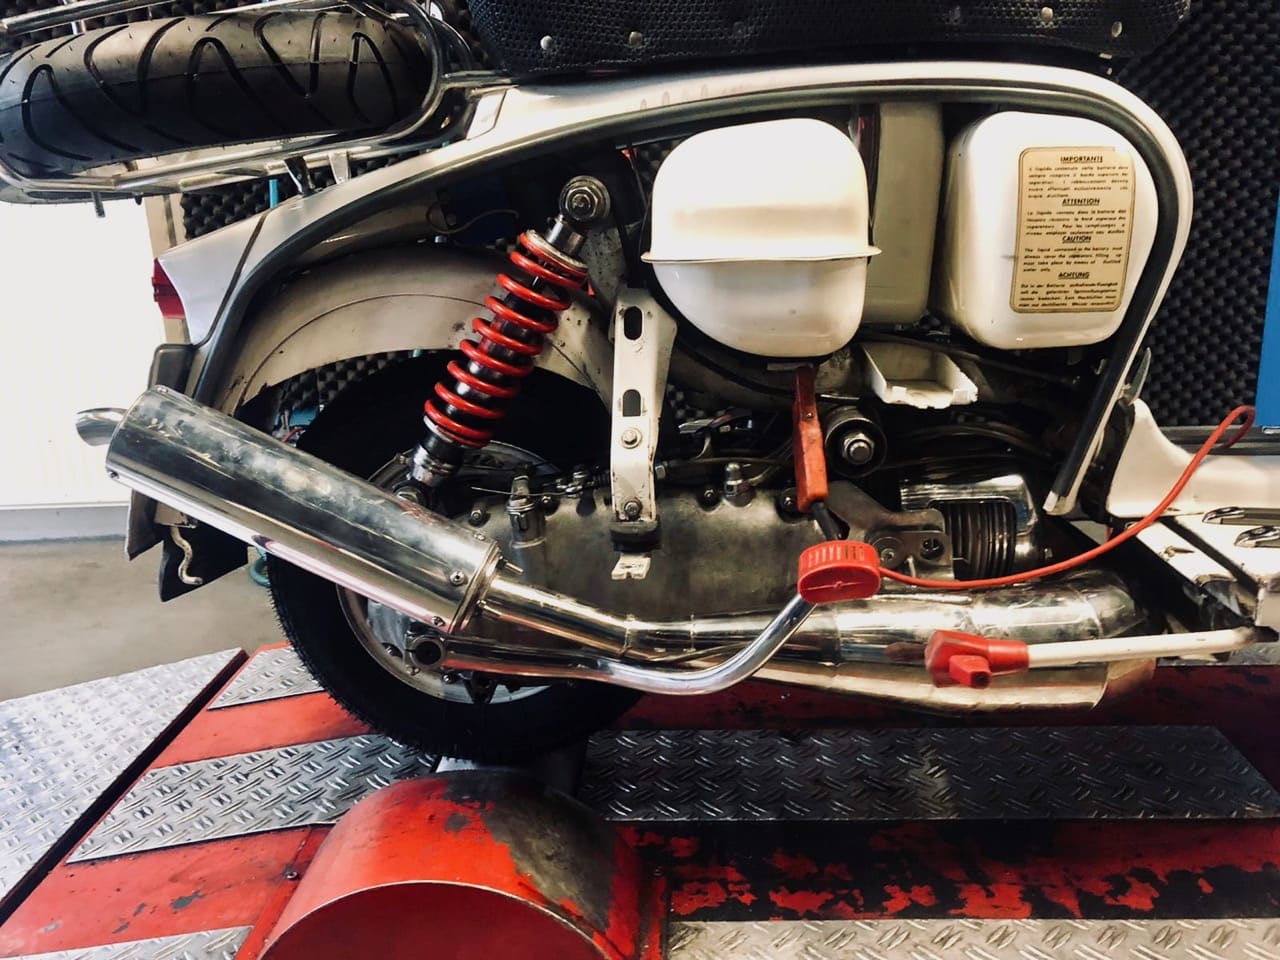
The following resonant race uitlaten streden against de boxen:
In all three de reso systems deden het beter tegen de dozen dan we hadden guarded! 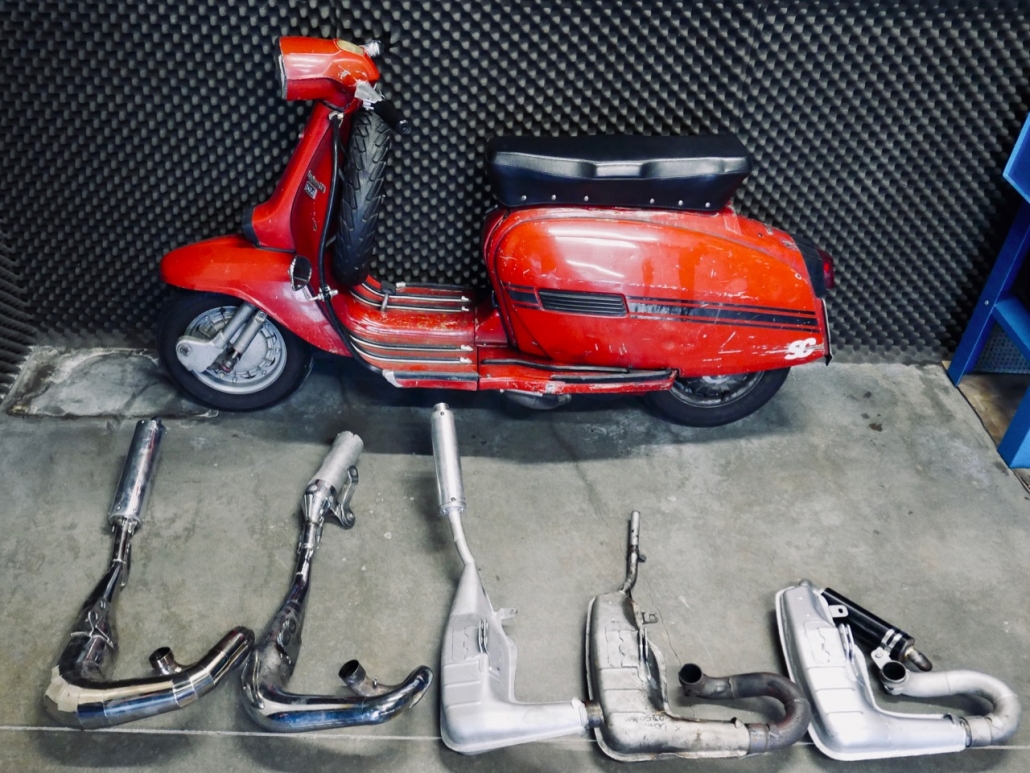
The test engine is built as volgt:

Mooi en duidelijk te zien hoe goed de box vanaf het scoort, not alleen met power maar also met veel coupling ten opzichte van de 'race-uitlaten'. Alleen al dat maakt de bgm PRO-dozen zo leuk om te rijden. Altijd voldoende vermogen beschikbaar, zonder te hoeven vechten met aansluitingsproblemen of as een gek aan het gas te draaien, zodat het ook nog eens vooruit gaat. De gematigde verbruikswaarden van de motorconcepten met de bgm-boxes zijn een verder voordeel, naast de originele optiek, aangenaam achtergrondgeluid. Another opvallend note is the Beschermde mounting system with instelmogelijkheden in zowel horizontal as vertical direction. Here you can toleranties en vooral afstandhouders the voor verschillende slagen en drijfstanglengtes been used, been compensated.
Here u de prestatieschema's as PDF:
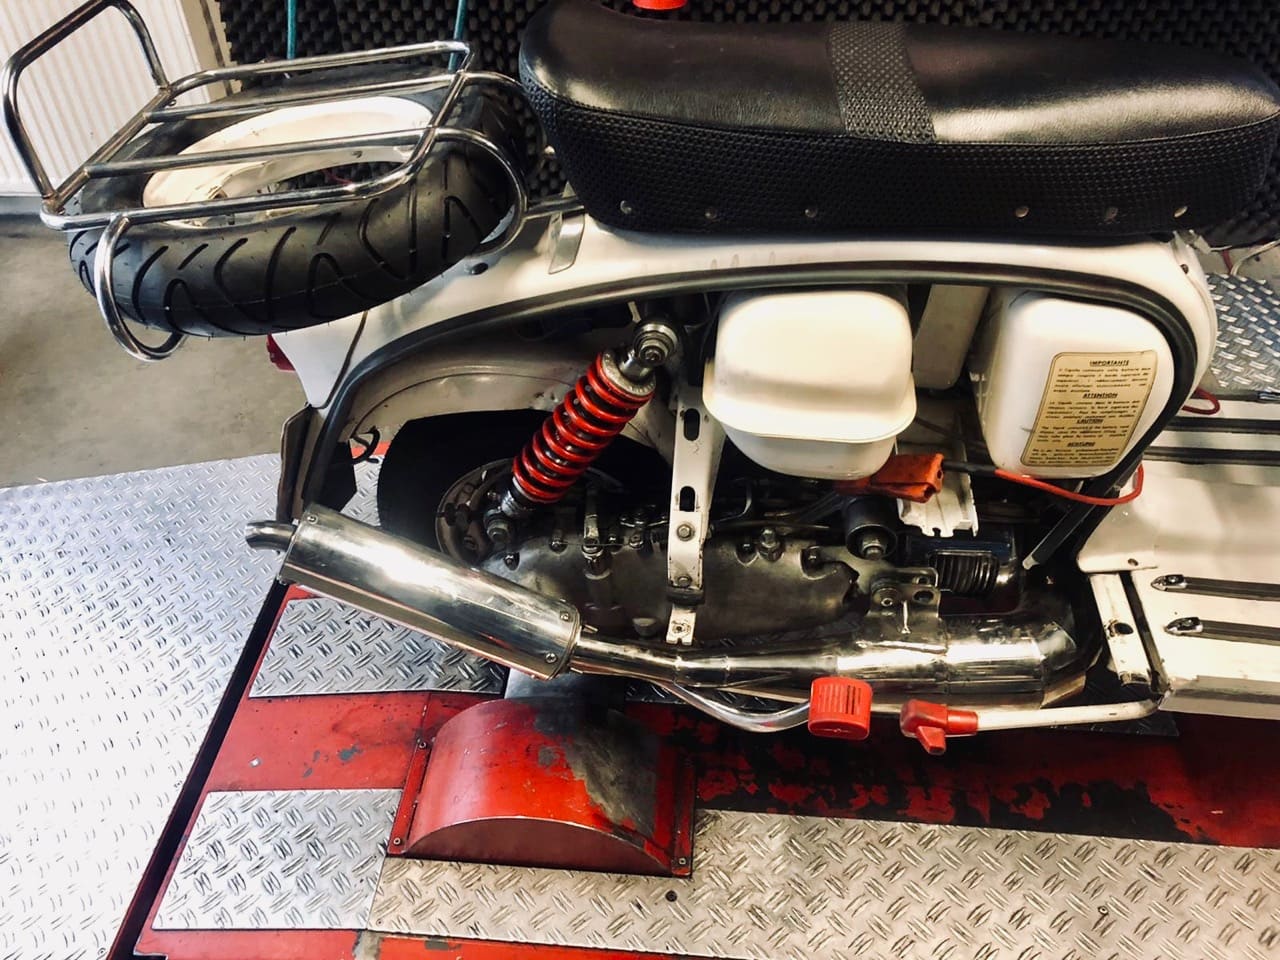
Het juiste ontstekingstijdstip is belangrijk voor de thermal gezondheid van de motor:
Like zijn Vespa afstemt, de motor repareert of in de loop van een restauratie, moet did not rely on the stock markers on the motor house, the magnet and the ontstekingsbasisplaat for het afstellen van de ontsteking, maar moet Deze zelf meten and the Correctly adjust the Vespa ontsteking. The juiste installation of the ontsteking op uw Vespa motor is eenvoudig mogelijk met deze electronic ontsking timers voor gasoline engines with contact of electronic ontsteking -> transistor ontstekingssysteem (CDI-ontsteking zoals in series with ET3, PK, PX, Cosa, T5 etc.) Natuurlijk works dit also with de Lambretta-ontstekingen. With deze ontstekingspistolen kunt u also de Lambretta-ontsteking afstellen. With deze stroboscoop guns kunt u zowel oude 6-volt as modern 12-volt ontstekingen!
Naar de light guns in de angleIn this video tutorial Customize van de Vespa ontsteking Laten we zien hoe Maryzabel and Alex de ontsteking op onze Platonica Vespa lift up aanapast:
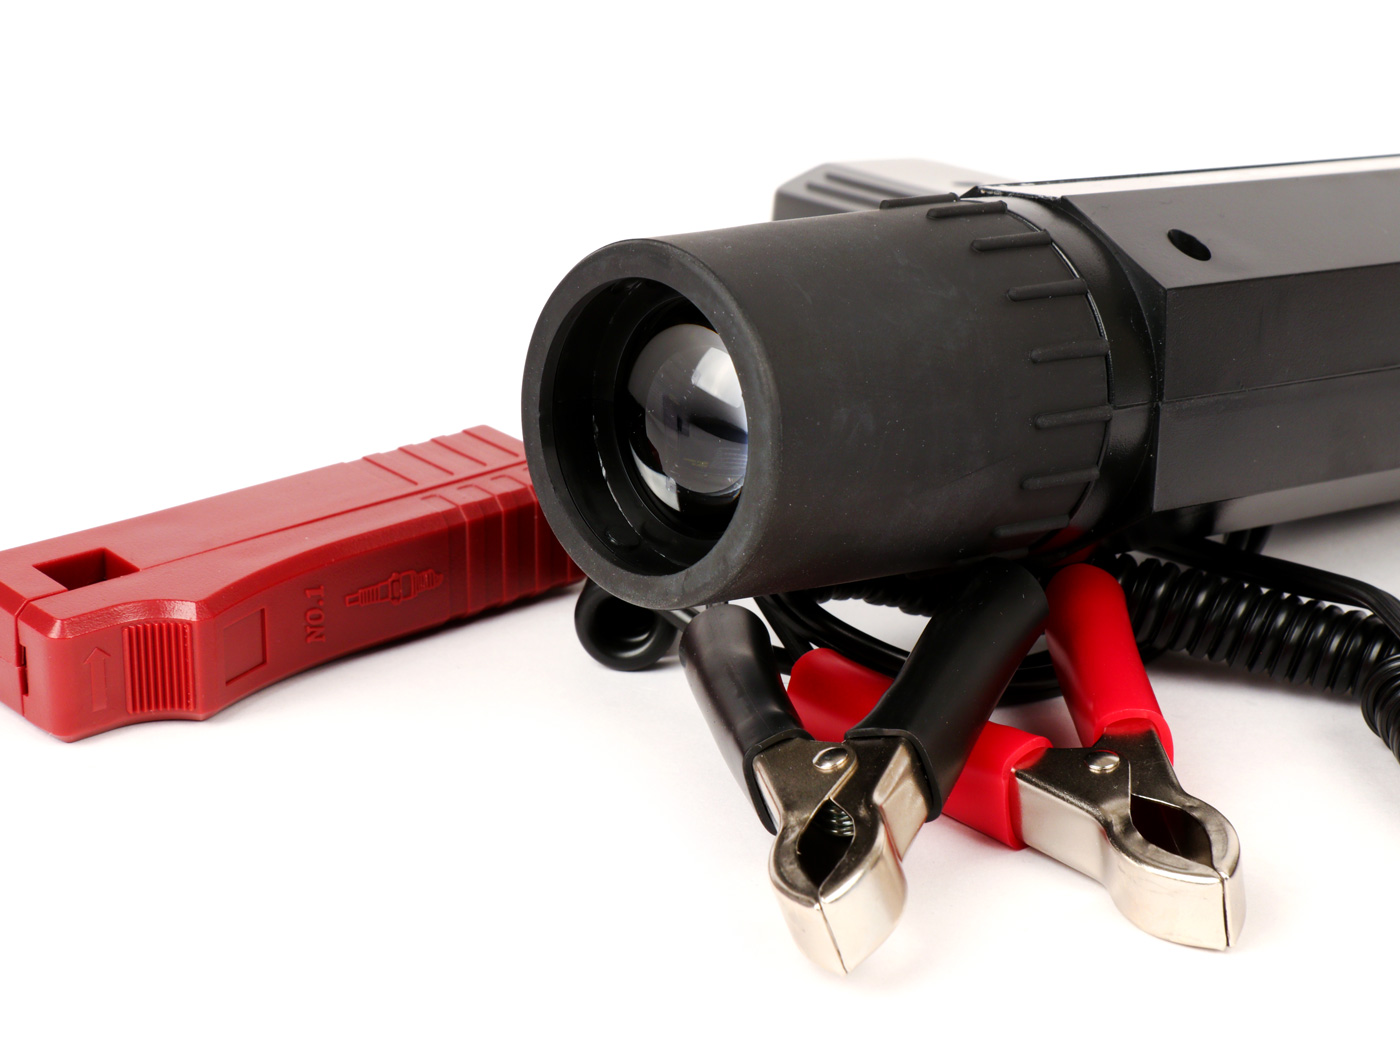
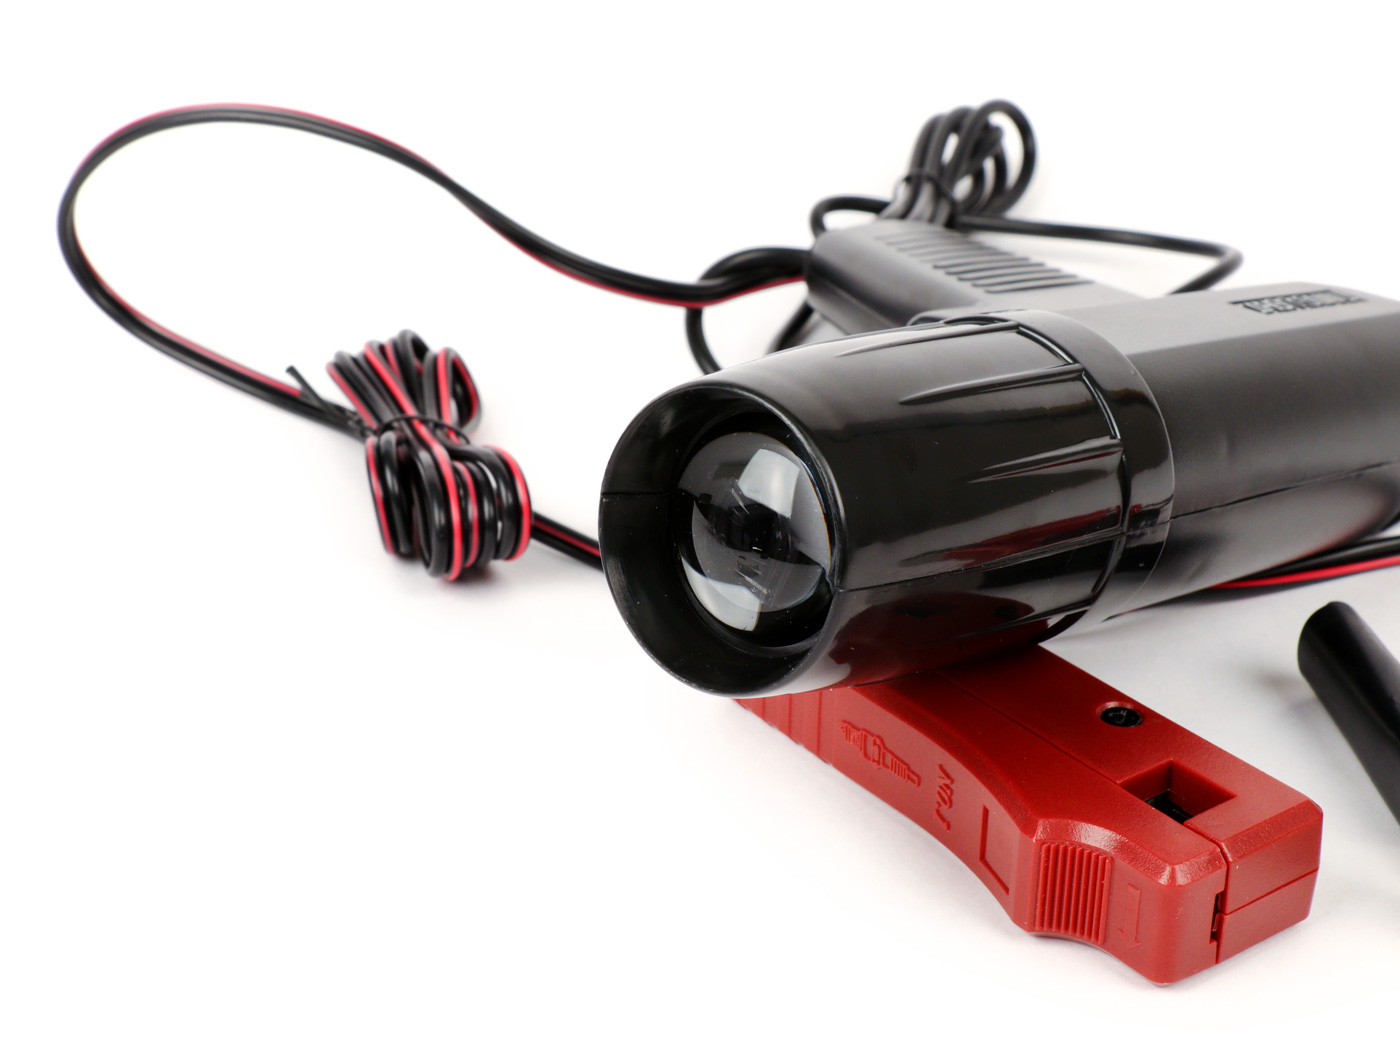
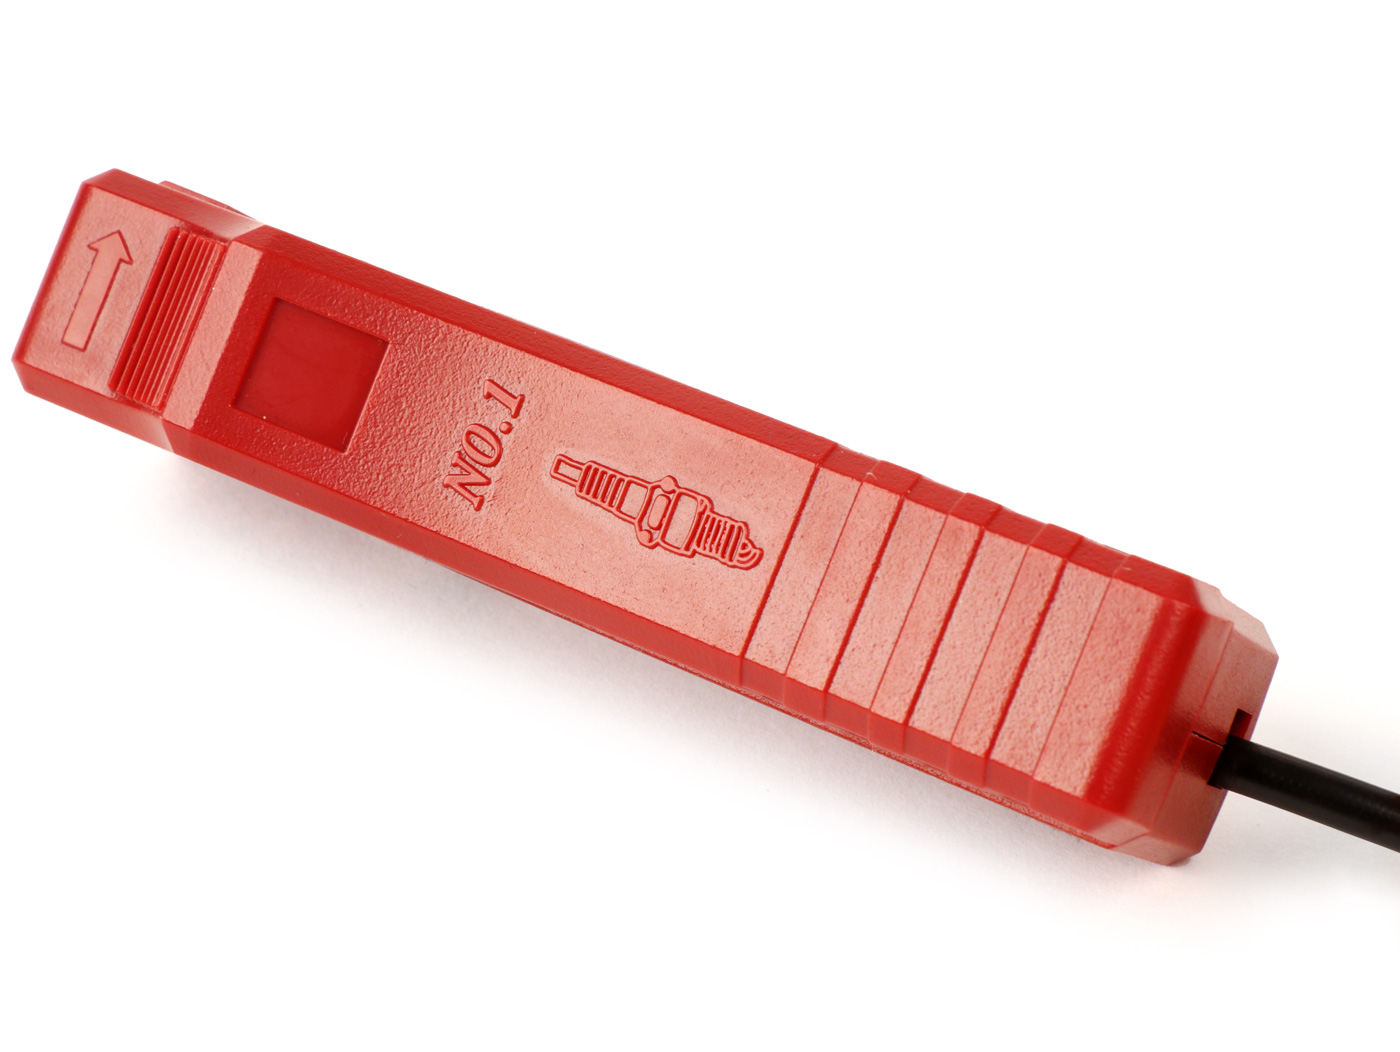
https://www.youtube.com/watch?v=ZDv-mouT_mk&t=11sA superheldere xenonbuis en a speciale convergerende lens garanderen een optimal zichtbaarheid van de vaste merktekens op deze light pistols: zelfs bij snelheden boven 8000 rpm in het nabije veld. Het pistool wordt door middel van een inductieklem op de bougiekabel direct met de rubberisolatie verbonden, zonder direct contact with de draad. Our ontstekingstijdstip pistols zijn voorzien van een rubber coating op de lens. Deze beschermer schermt zowel de plastic behuizing as de lens en worried for het long mogelijke plezier van het product.
Ontstekingslichtpistool TRISCO-ProLITE (dubbel-D) (- flitspistool met stroboscooplamp - ontsteking 6V / 12V Article number: MN911B 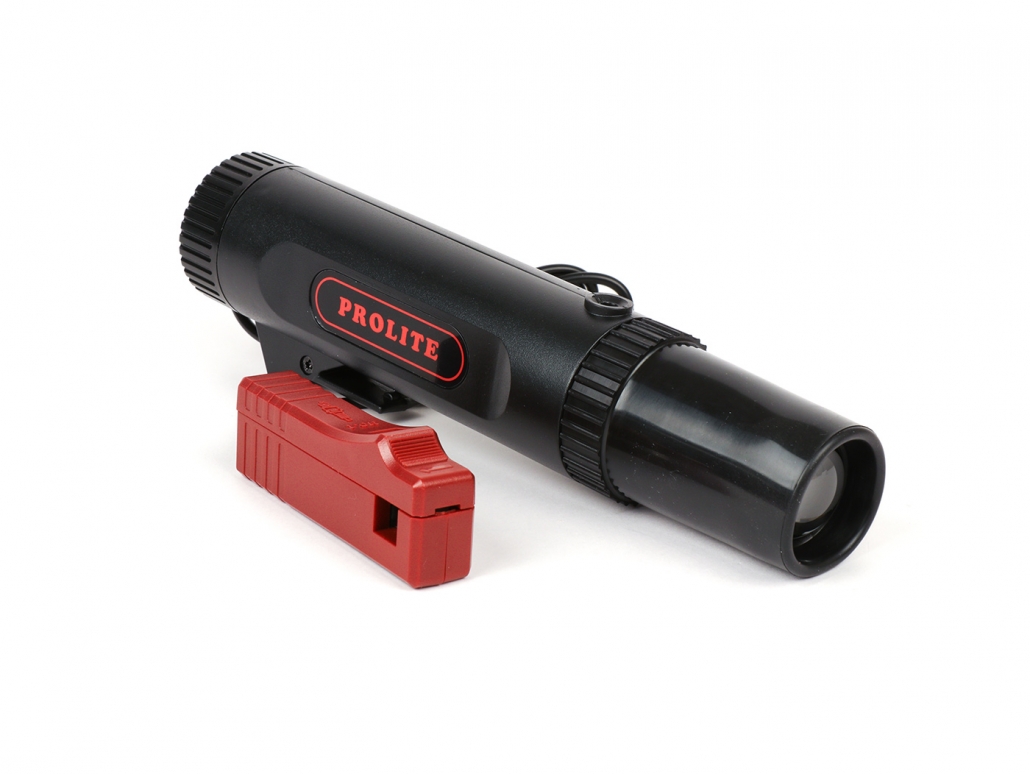 There is geen external voeding necessary. Twee D-batteries (Mono, LR20, MN1300) have been used for stroomvoorziening, deze zijn niet inbegrepen in de leveringsomvang! Maar je kunt order ze here. Well het used as an ontstekingslichtpistool can het also been used as a werklamp!
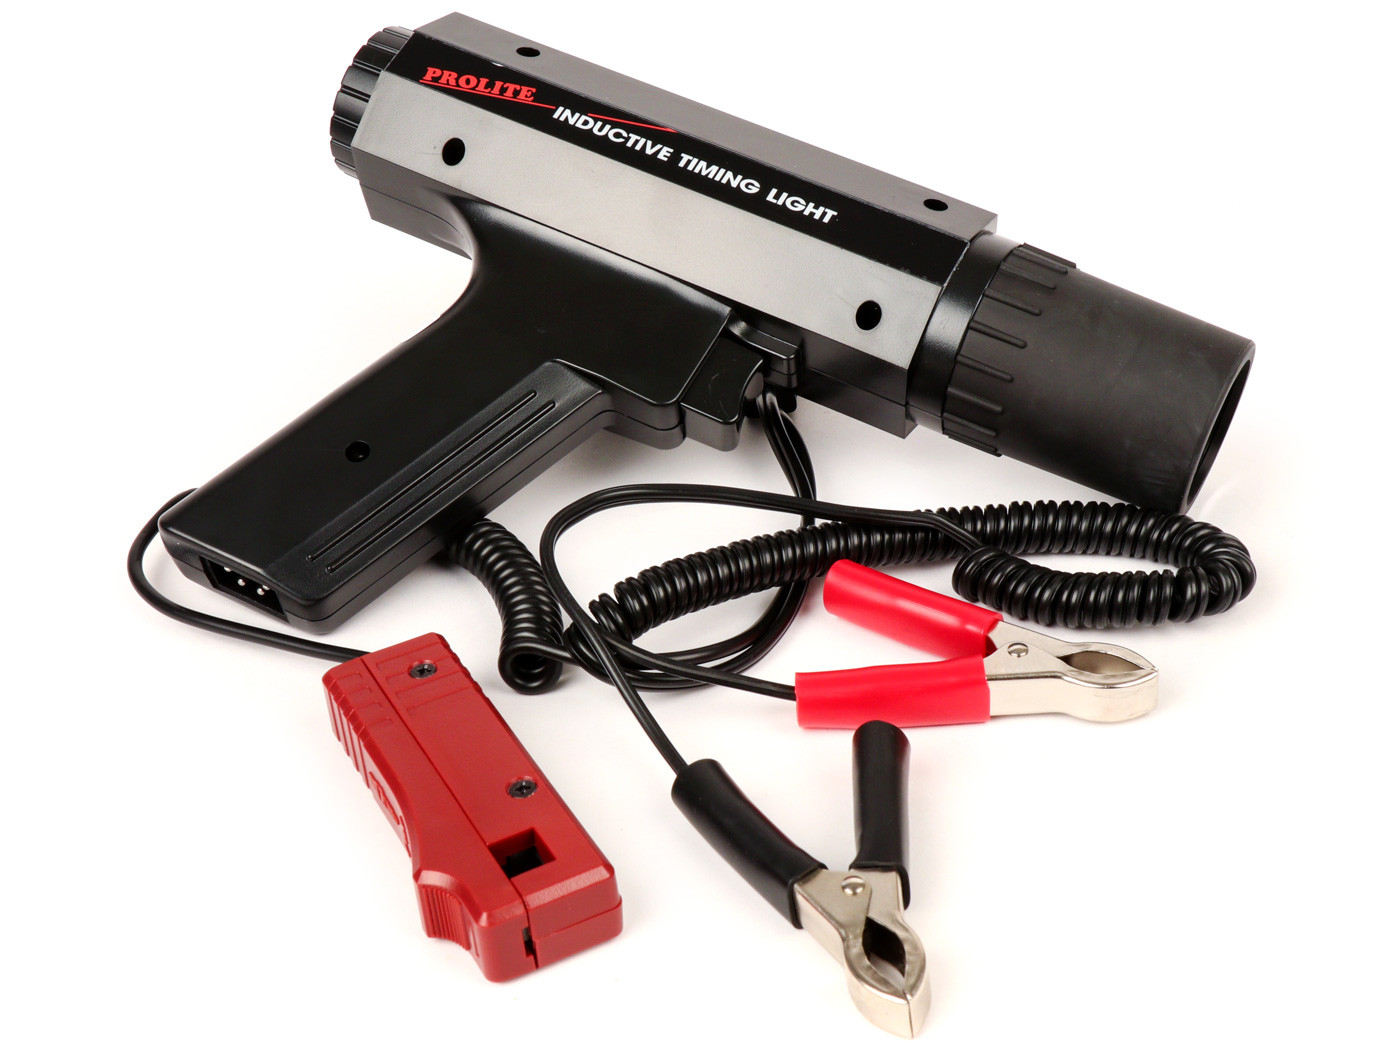
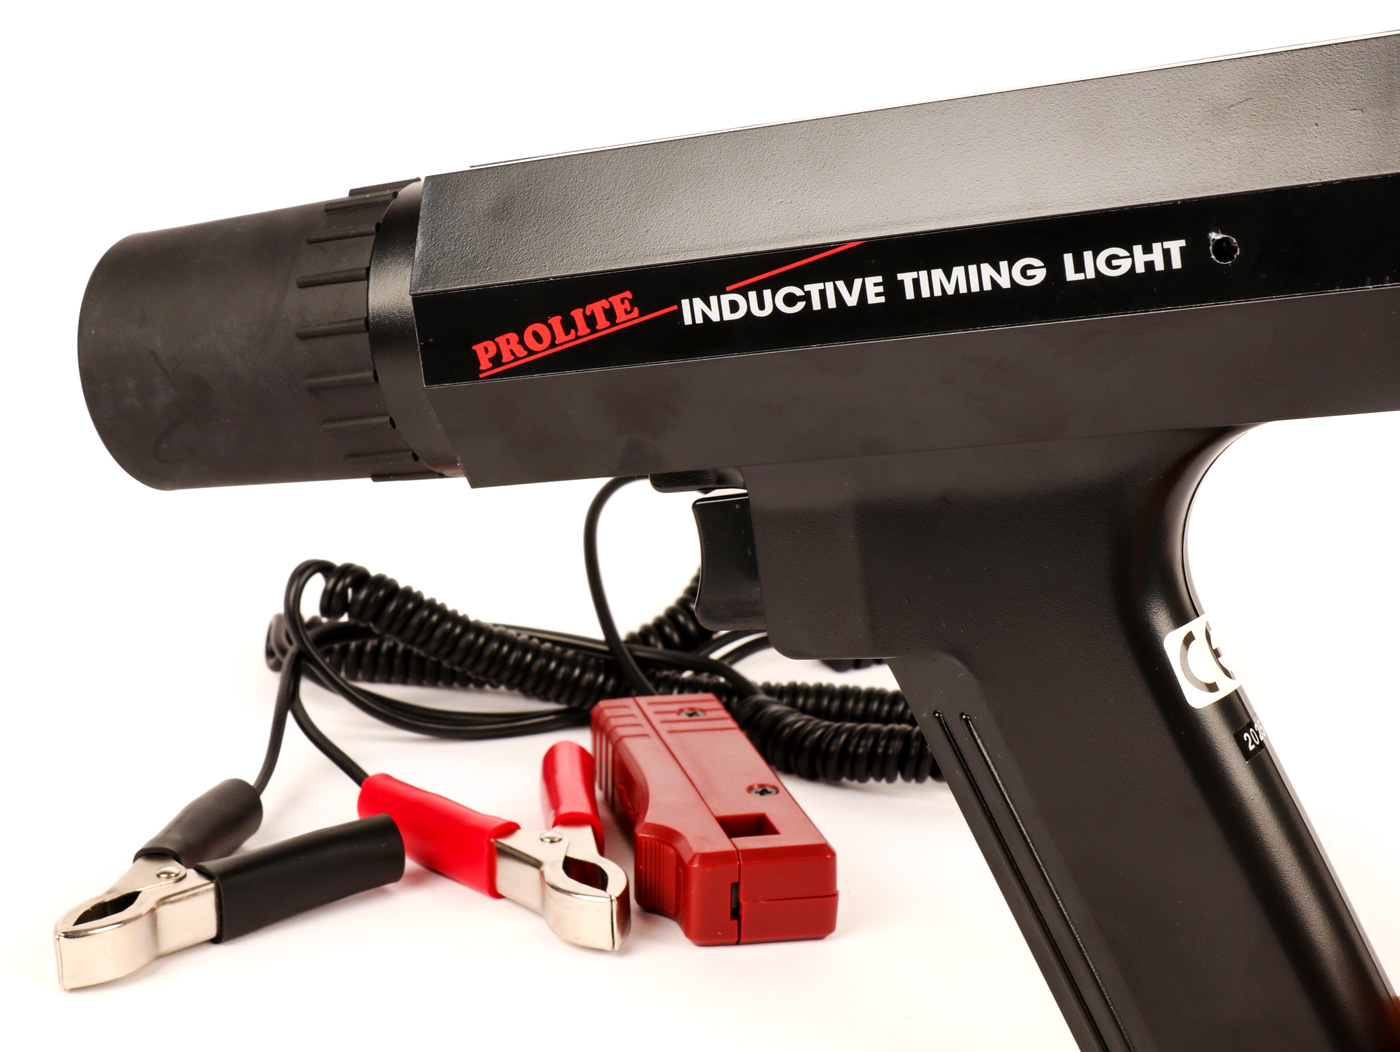
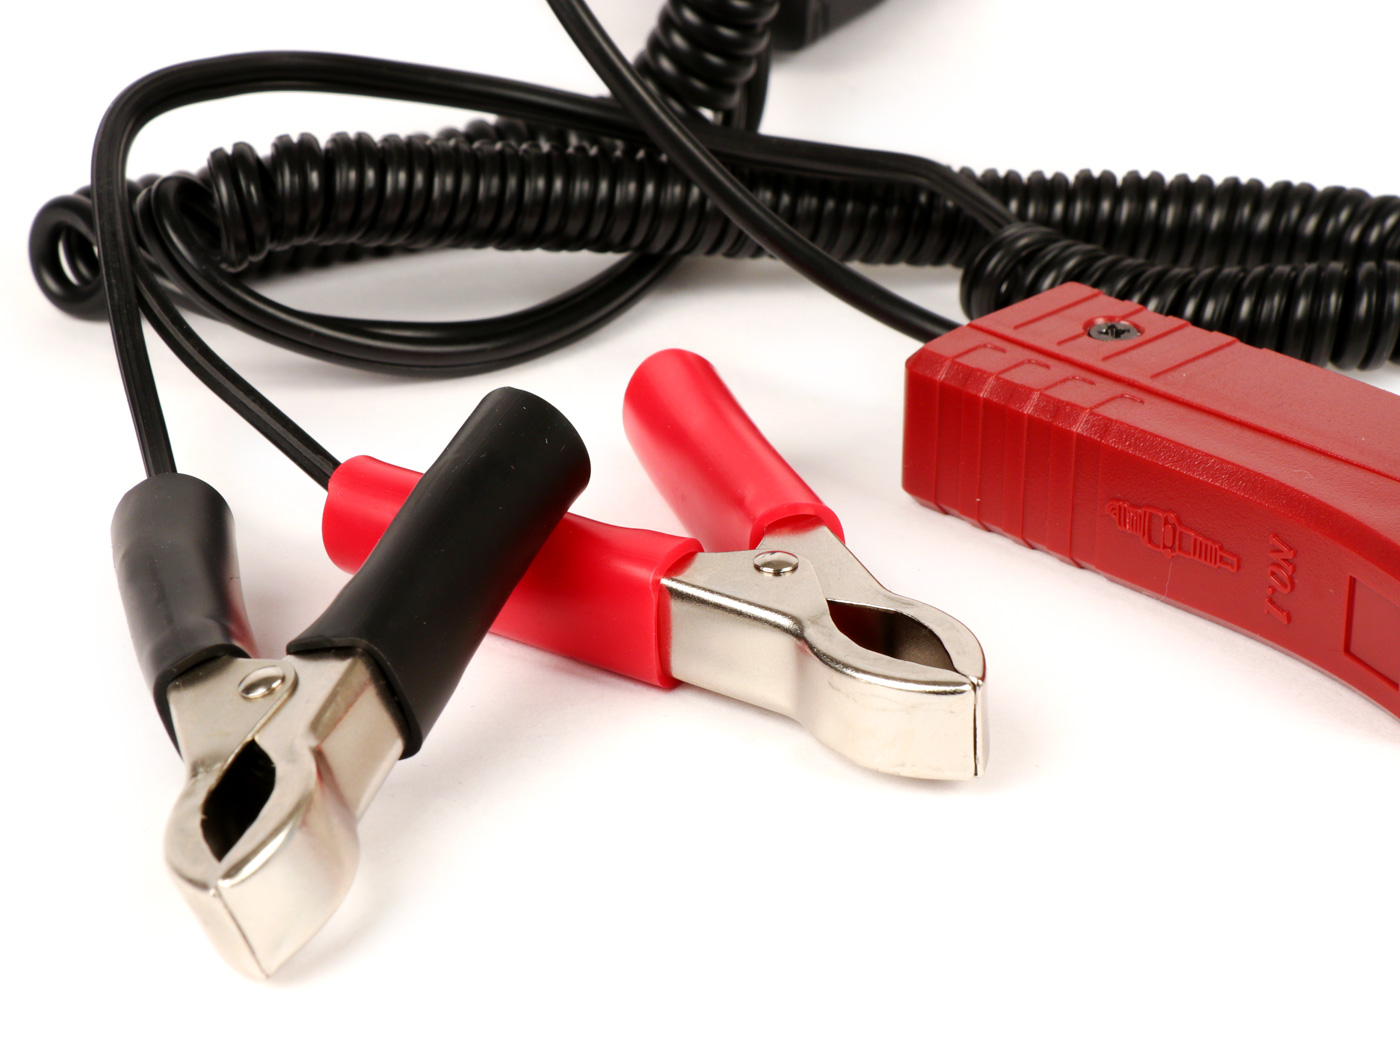
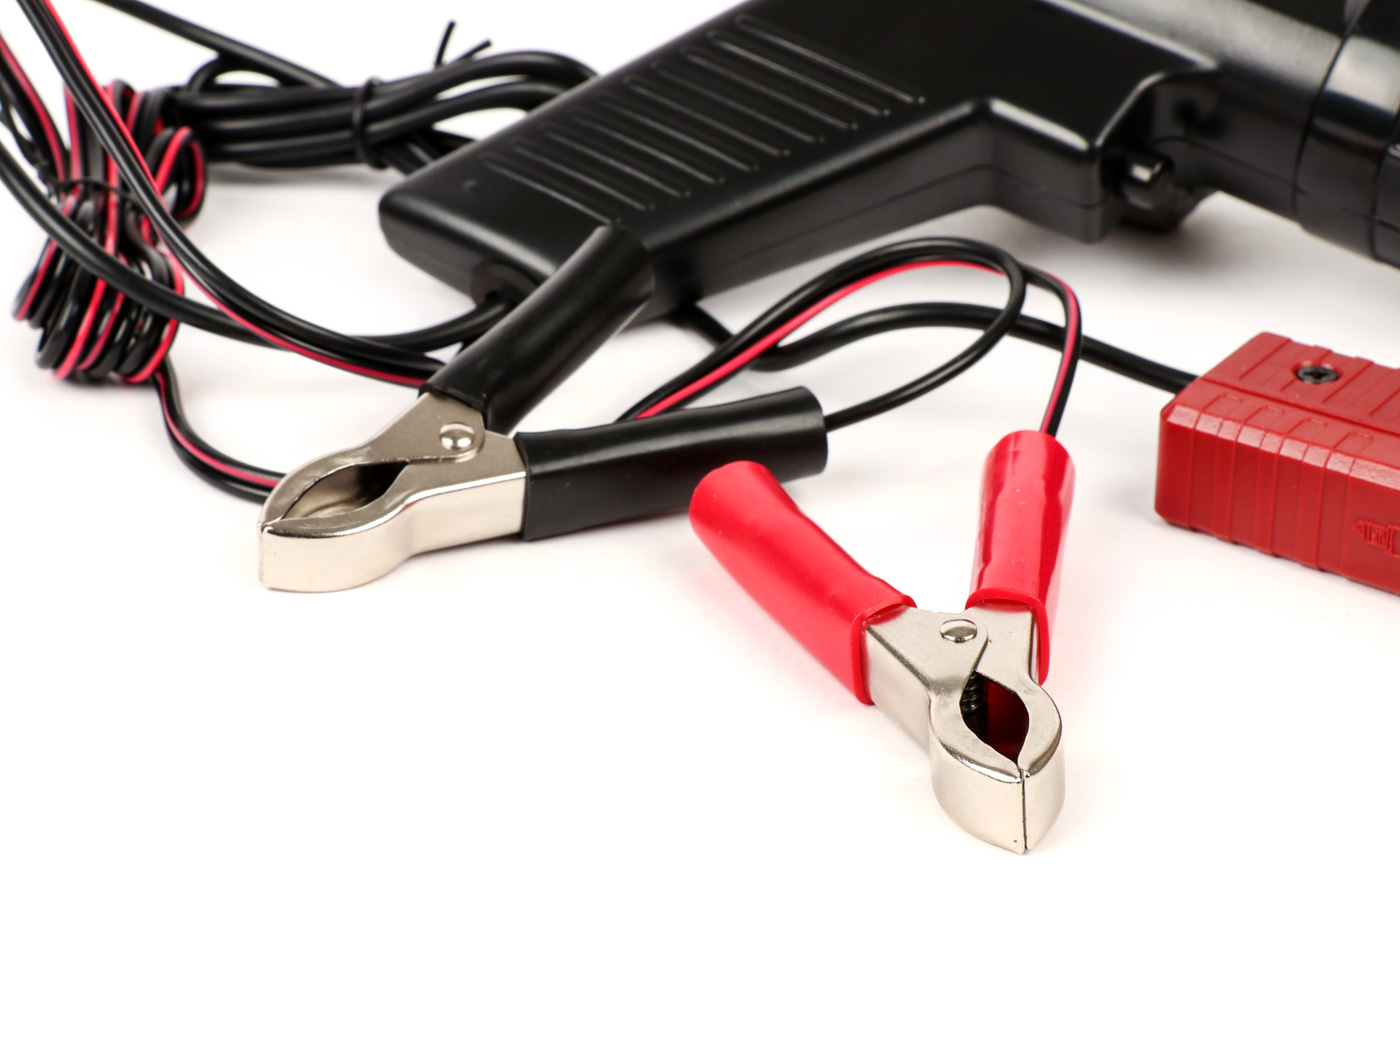
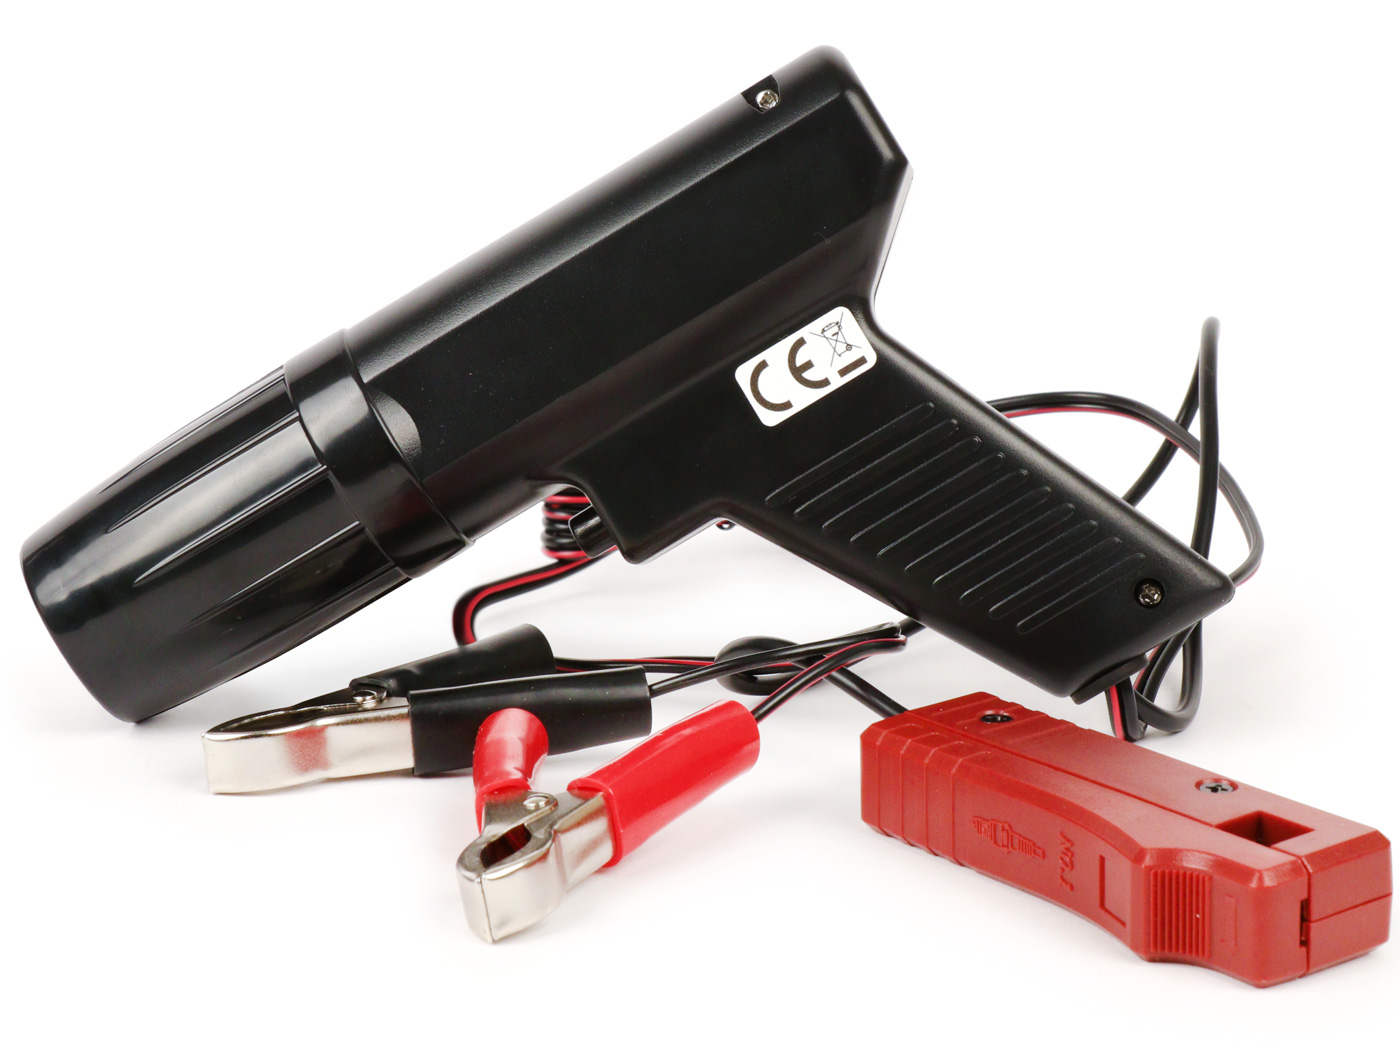
Ontstekingslichtpistool TRISCO-ProLite - flitspistool with stroboscopic lamp - ontsteking 6V / 12V Article no .: MN922  This is the largest pistool that is perfect in hand. The cable with the twee crocodile clips is a sturdy and practical spiral-shaped cable, which is slotted with a plug from the pistool. Optimaal pistool voor de ambitieuze schroevendraaier en tuner - PROLITE - versie. Het maakt niet uit of he een 6V- or 12V-ontsteking is, he is old An external voedingsbron with 12V voltage (bijv. een autoaccu) nodig, tenzij het voertuig he al een heeft.
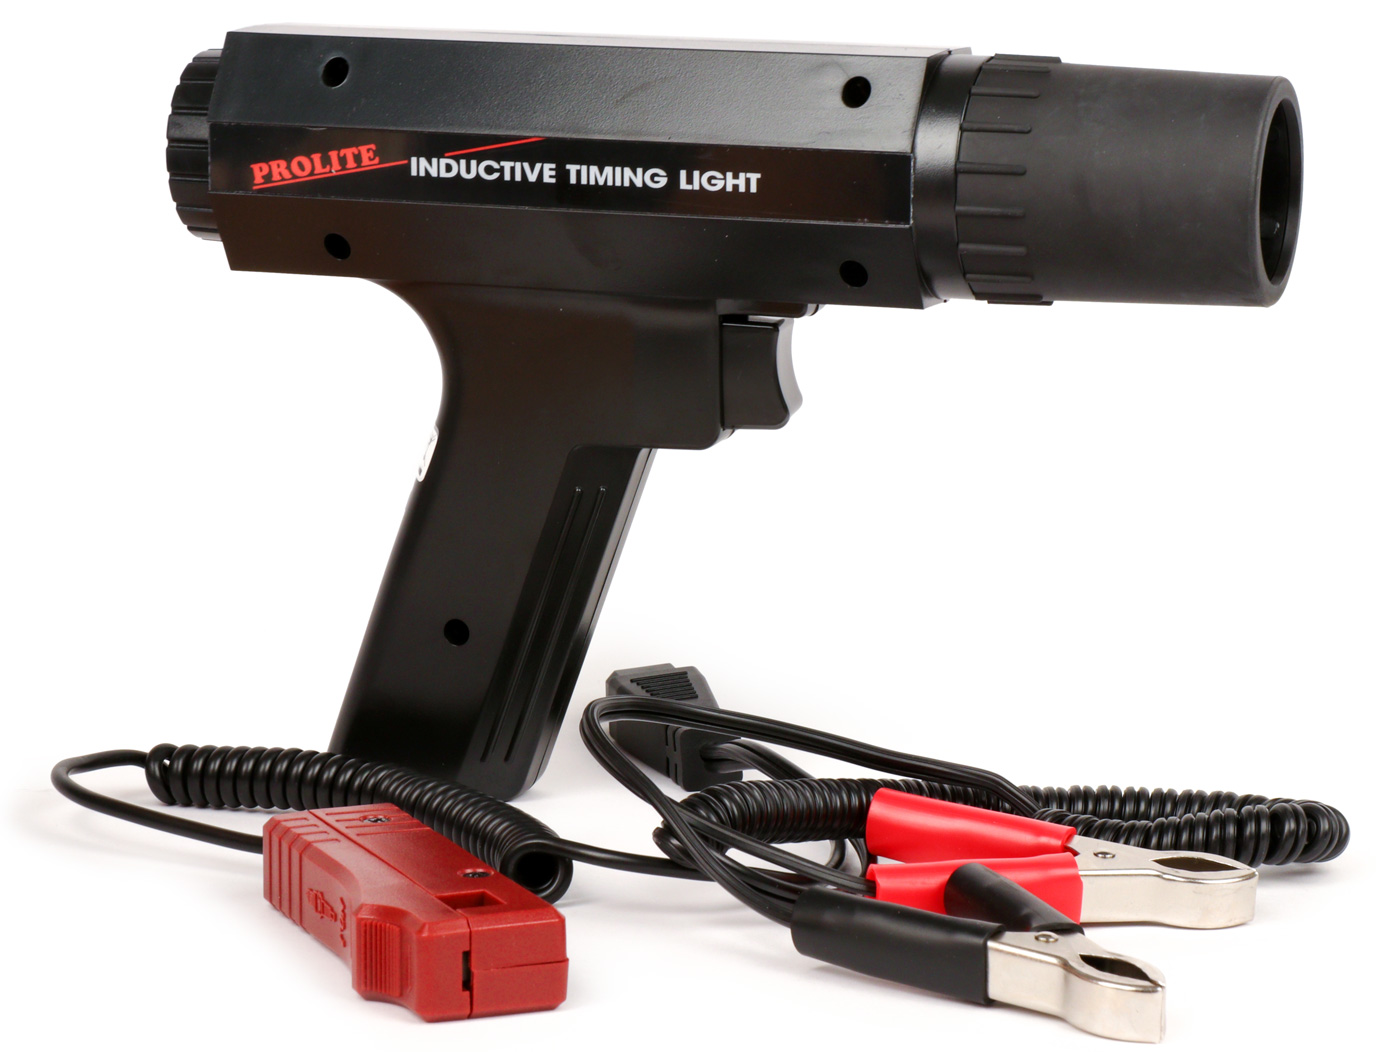
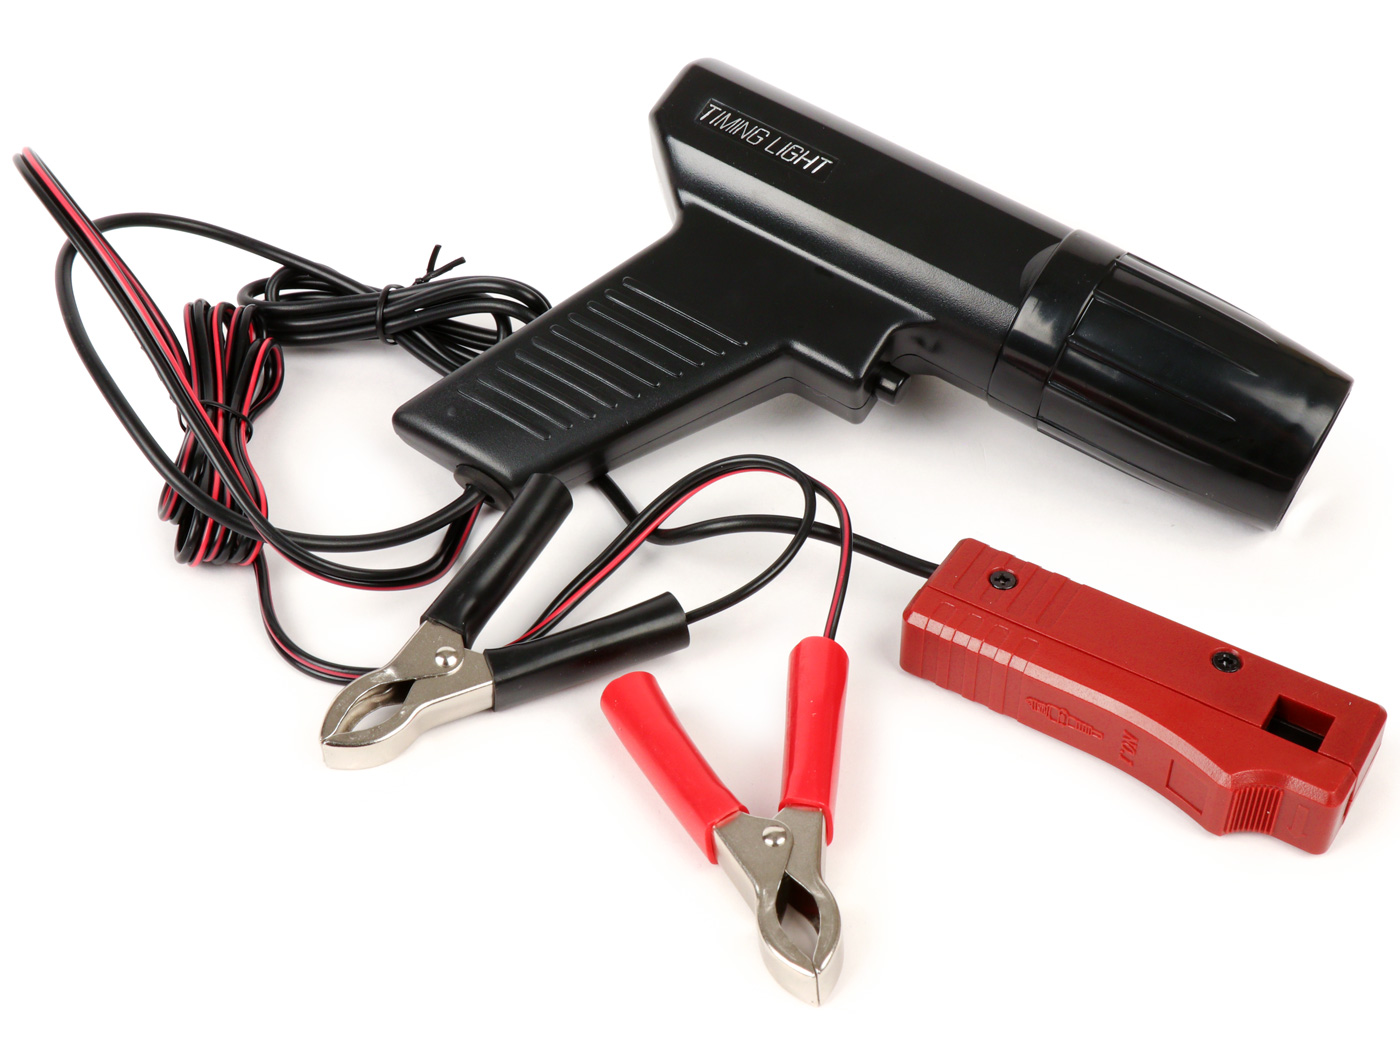
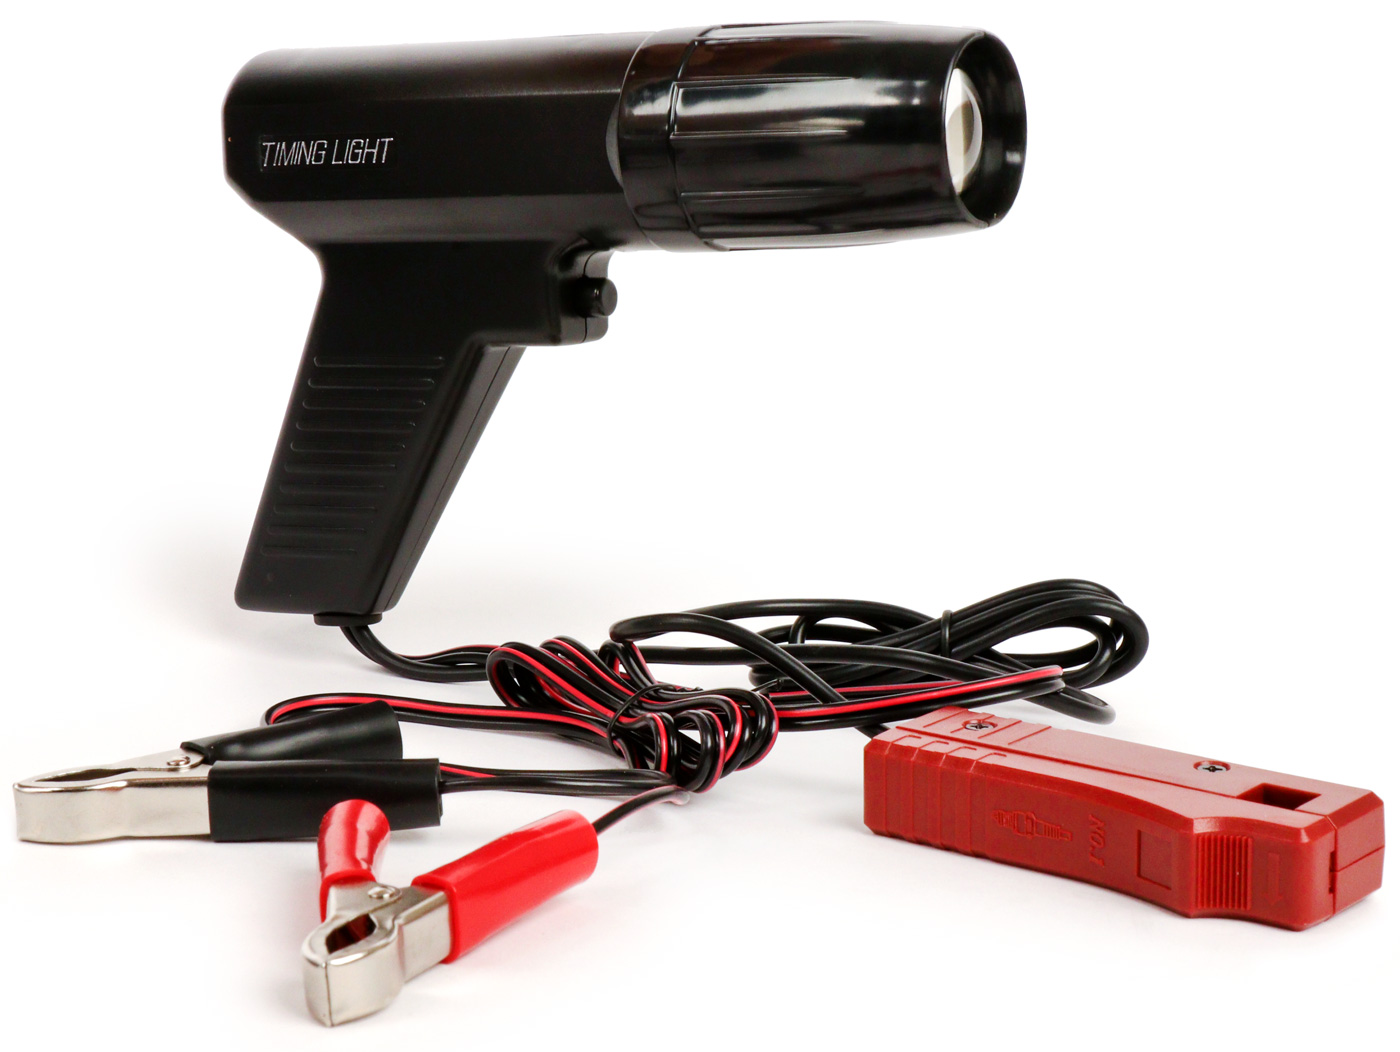
Ontstekingslichtpistool TRISCO-ProLite stroboscooplamp flitspistool - ontsteking 6V / 12V Article no .: MN912  Before het af en toe afstellen van de ontsteking we lift the light and handy TRISCO-ProLite ontstekingspistool in ons program. Het ligt goed in de hand en heeft natuurlijk ook de rubberen Beschermer. The cables are connected to the behavior of the pistool. Het maakt niet uit of he een 6V- or 12V-ontsteking is, he is old An external voedingsbron with 12V voltage (bijv. een autoaccu) nodig, tenzij het voertuig he al een heeft.
Naar de light guns in de angle
Deze zijn for Vespa and Lambretta scooters: Strobo of Stroboscope – Lamp also Strobolamp het is gemeenzaam afgekort onder scooterrijders also ZZP. Maak je geen zrgen, je hoeft niet een pistool licentie voor dit pistool, je bestuurt met deze ontsteking timing pistool ook stroboscoop pistool / stroboscoop of stroboscoop pistool and stroboscoop knippert de ontsteking timing op de scooter via flitsen, flitslicht van het licht pistool na de ont standing setting up art and following the ontsteking dan uit te schakelen om de ontsteking instelling te controleren.
When the technology is already open, it is dead in the smallest detail aan te pakken. Details that ons de Vespa doen know, that volledig is opgebouwd uit nieuwe onderdelen en zal een van de few zijn the niet uit een van de fabrieken come.
All woorden zijn overbodig as we het resultaat van de uren in de werkplaats in een goed humeur kunnen zien, want de montage was bijna net zo leuk as het rijden.
Details such as:
Music:
Kunstenaar: DJ Freedem
Title: Snijden Het Sluiten
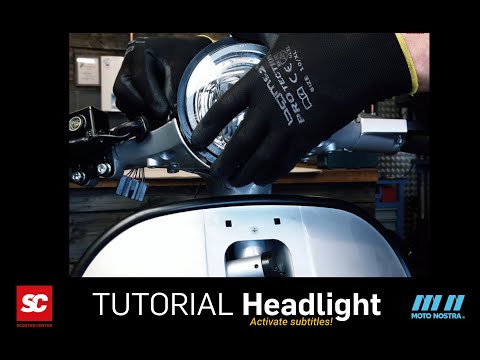
In deze Vespa tutorial video laten we u zien hoe u onze Vespa PX LED Koplamp for de Vespa PX kunt install. De MOTO NOSTRA HighPower LED head lamp Zelf can also be used in other cars (Lambretta, Vespa GTS, Sprint, Rally). With the bijgeleverde auto specifieke frame is the installation of the Vespa PXLED koplamp as bijvoorbeeld Vespa PX LED head lamp very easy
CONTENTS
DOWNLOAD PDFAssembly instructies voor het afdrukken as PDF
The limit with conventional Bilux lamps is the most scooters A lamp with 45/45 W. From 80 W tot max. 120 W ontsteking geeft niet meer. The light intensity measured in lumen is less than 400 and the LED head lamp has a light intensity that is three times as high (1300 lumen). The power consumption is only 20 W. This comes over with the light trend from a conventional spot of 100 watts. It is known that with a betaalde dynamo/voeding a certain number of betere verlichting can be mentioned. Bovendien he blijft more capacity over voor other consumers
Onderdelen used in deze video
LED-Koplamp with E9-Markering (goedkeuring voor de weg) en hoge intensiteit hoofd- / dompellichtbundel. Extra functie is an afzonderlijk schakelbaar positive light. With a diameter of 143mm past het also perfect in the stuurkop van de PX en Cosa models en in de lampbeugel van bijvoorbeeld Vespa Sprint, GTR en Rally.
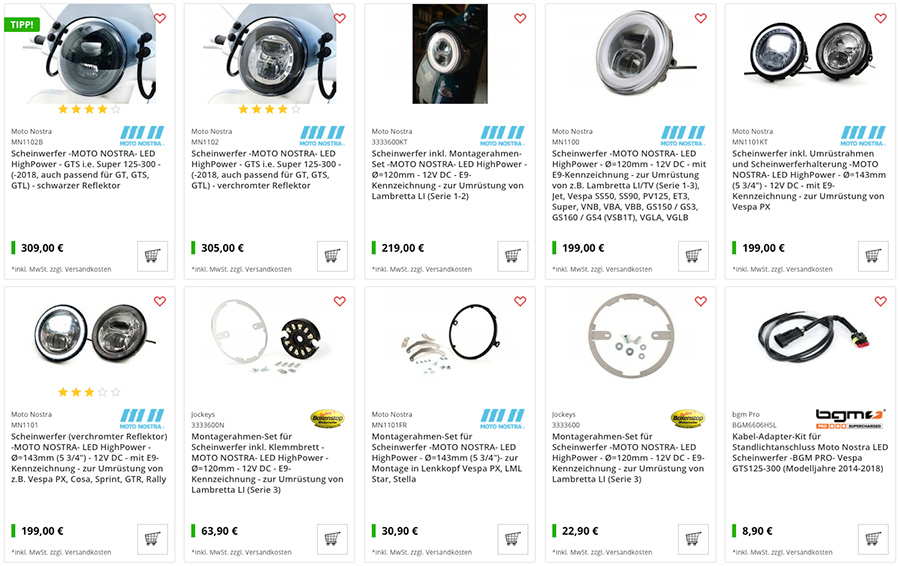
Light streak 1300 lumens Spanning: 12 Volt DC (gelijkstroom) Stroomverbruik: 1,8A / 1,3A Stroomverbruik: 21,5W / 15W / 1,9W Diameter: Ø143mm Total diepte lichaam: 54mm (measured vanaf koplampring zonder glazen uitstulping) Total diepte: 79mm (gemeten vanaf koplampring zonder glazen uitstulping met kabeldoorvoer)
De LED spot works uitsluitend met gelijkstroomThere is also a battery of another gelijkwaardige stroombron with 12V DC necessary. De werking with a wisselstroombron sorry dead an onmiddellijk defect

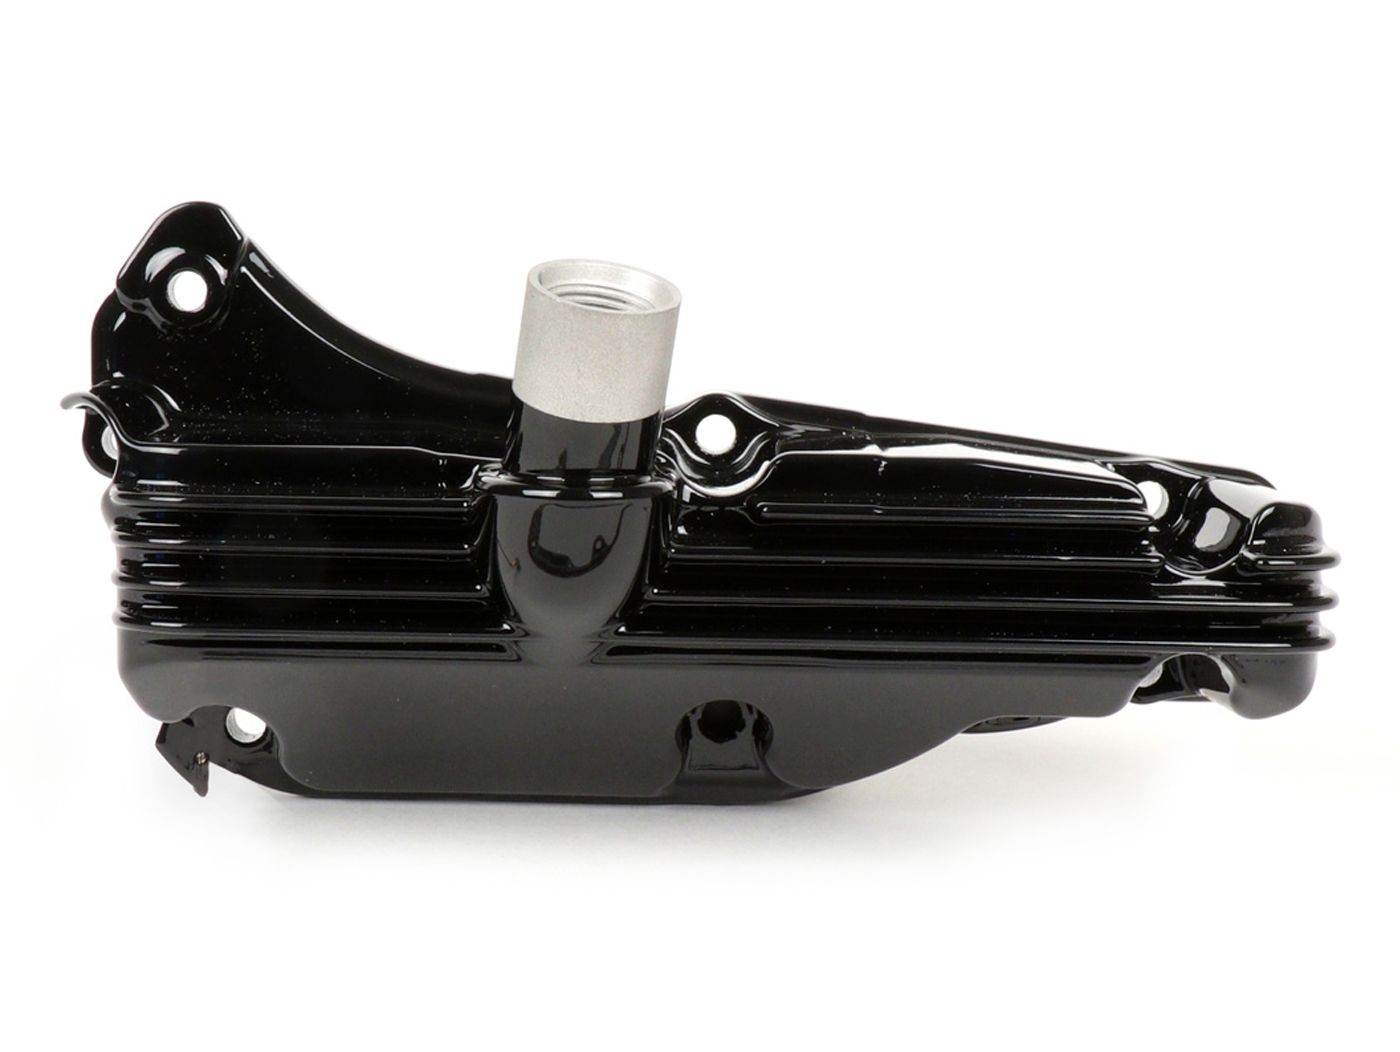
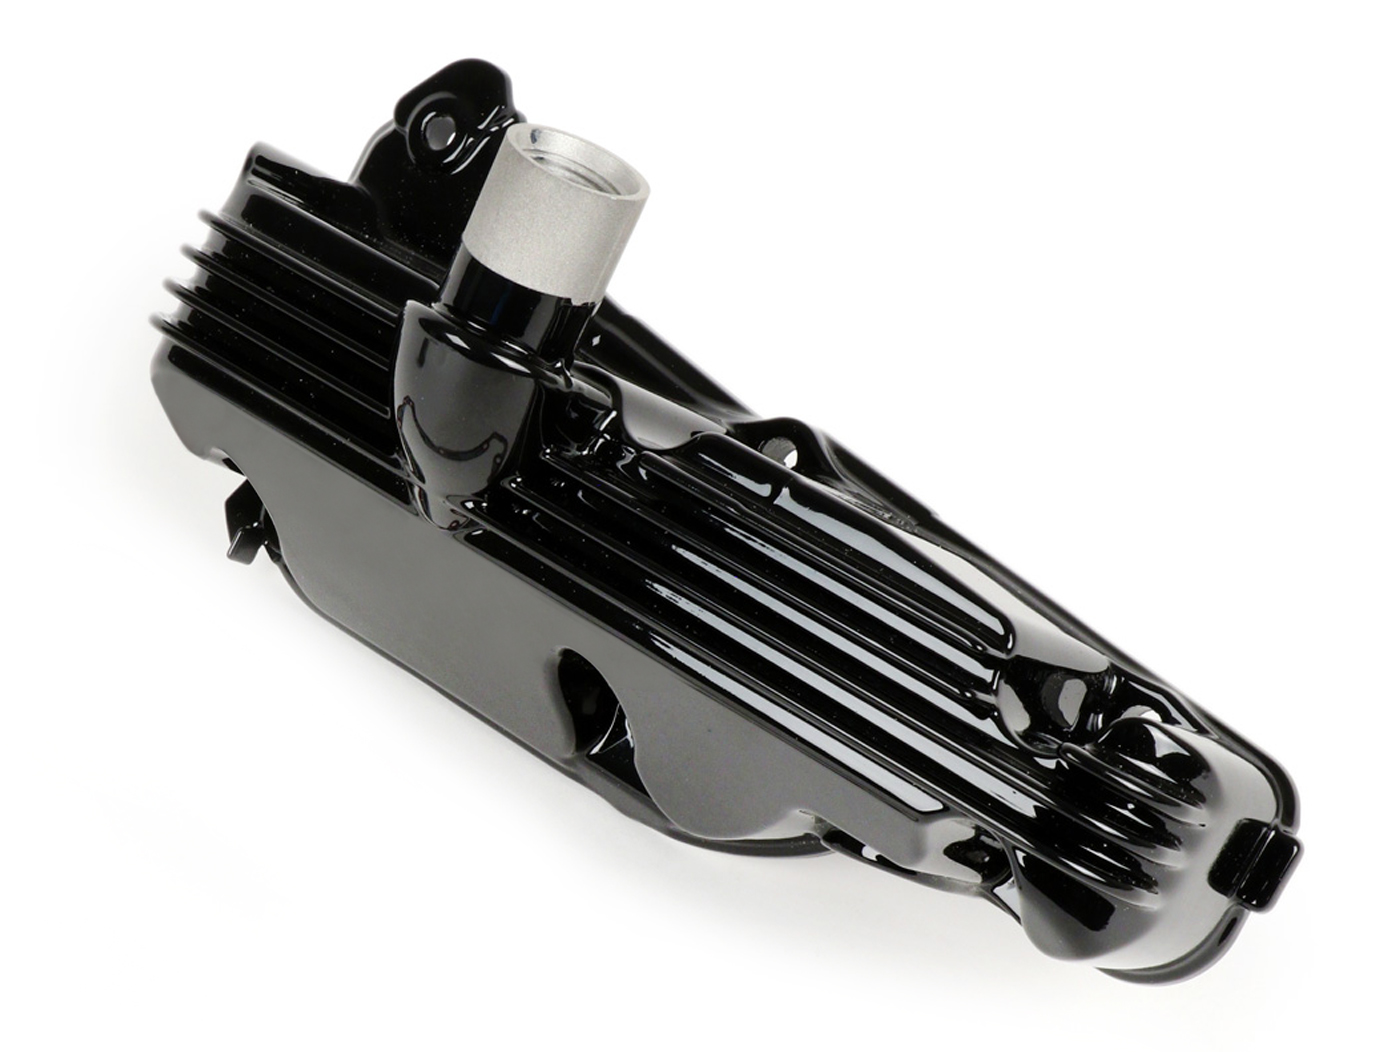
What about a Vespa GTS oliepan omzetten?
In the article over Vespa GTS conversion hebben we u een aantal mooie voorbeelden late zien van Maatwerk en het tuning of a Vespa GTS.
Het zijn vaak de details die worries for a successful conversation with a total concept.
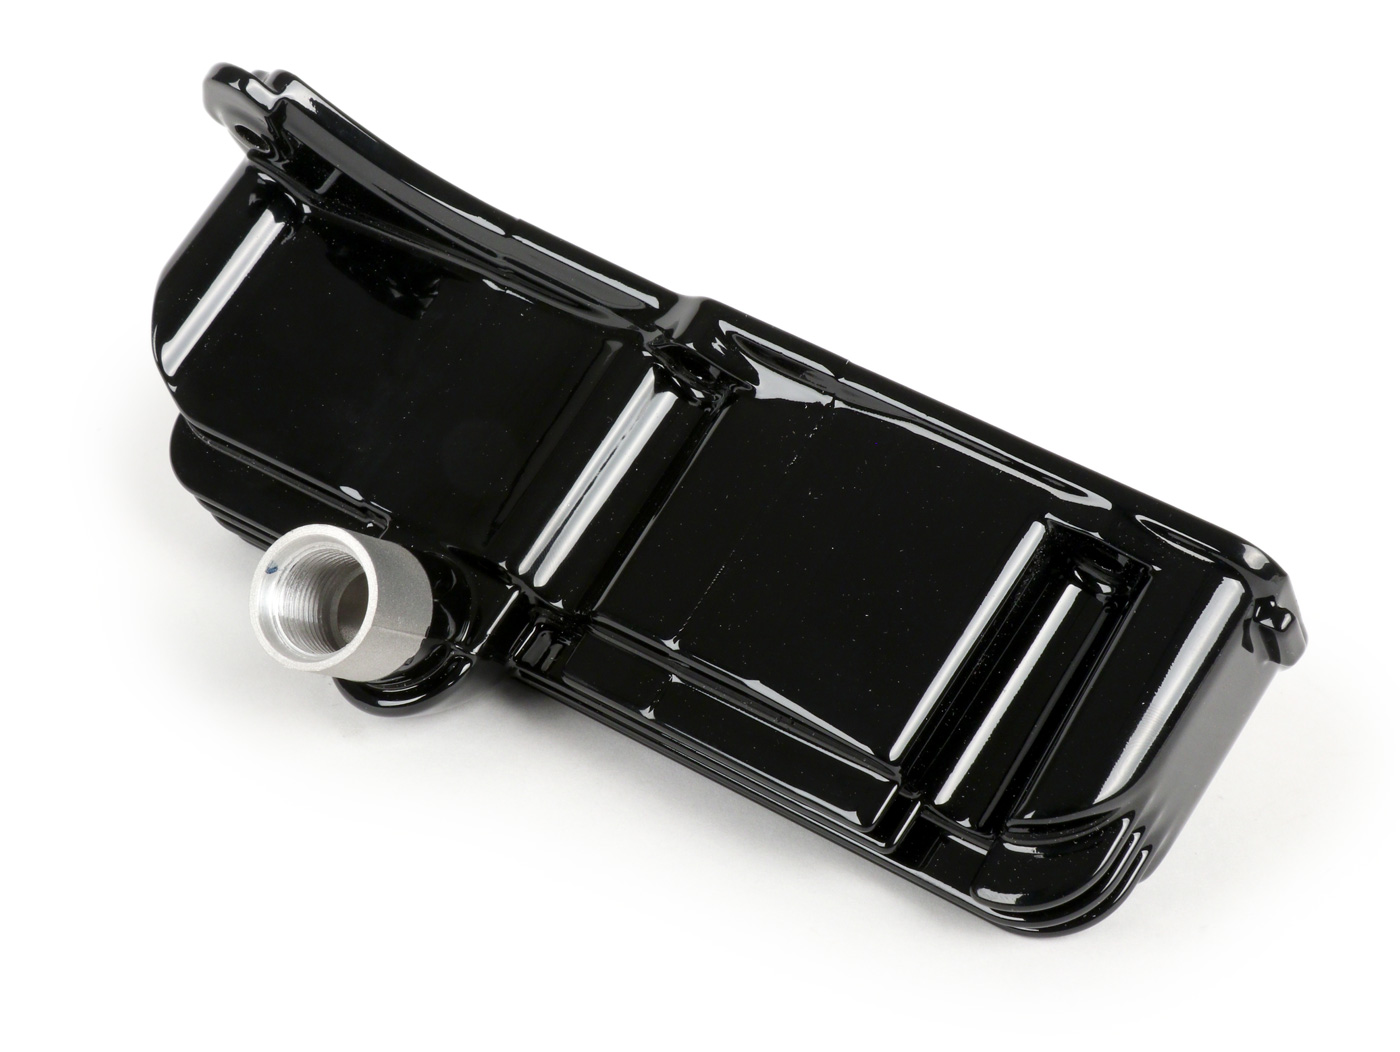
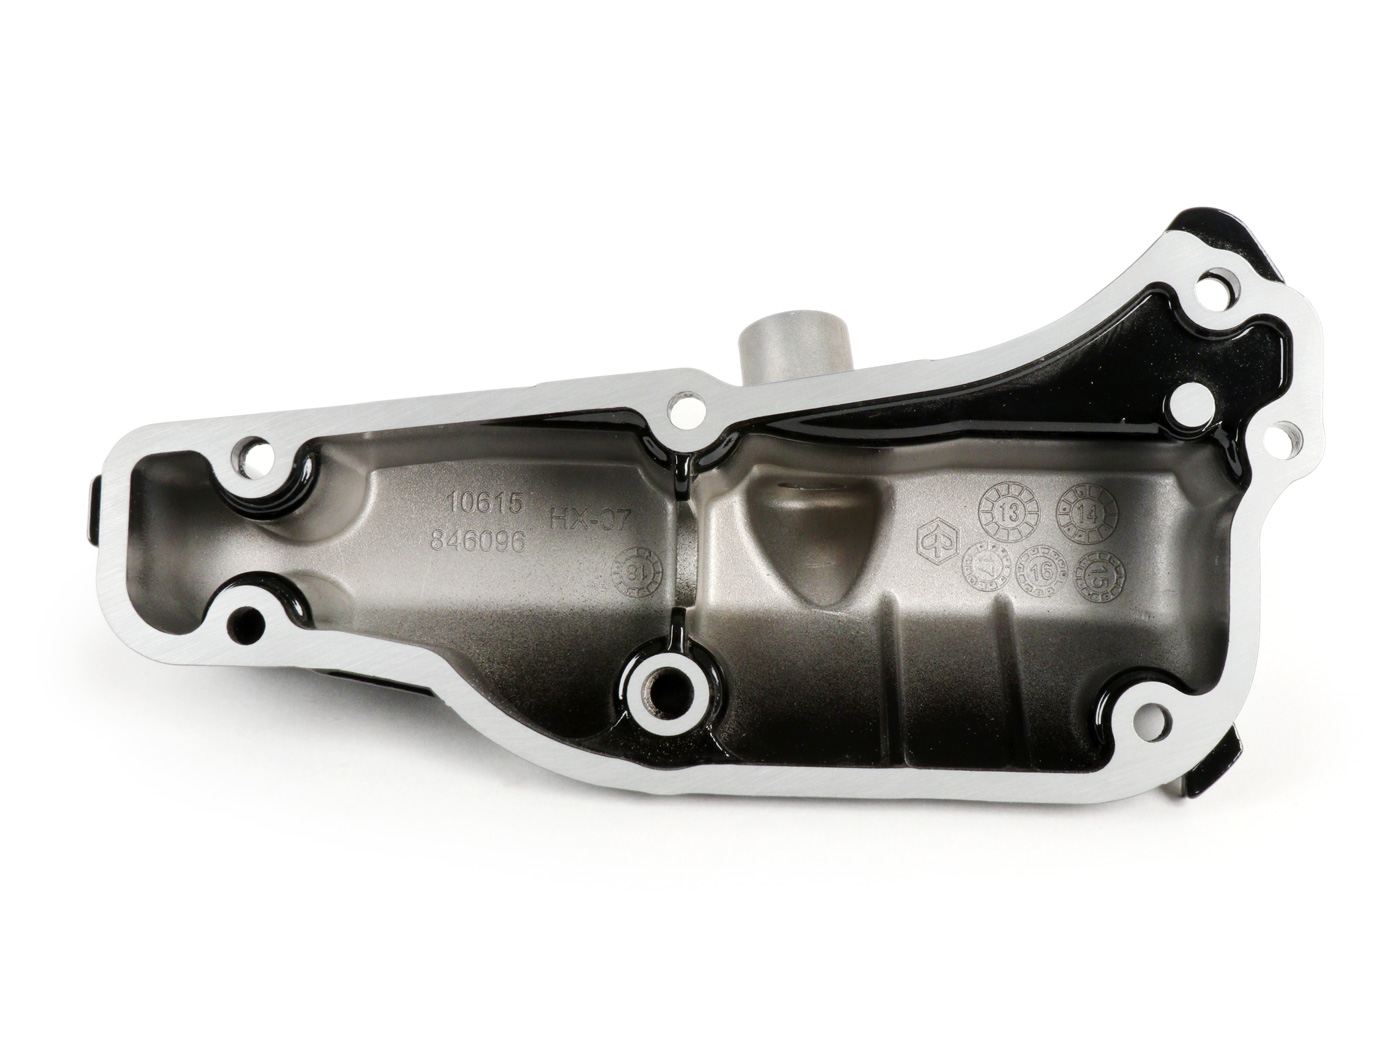
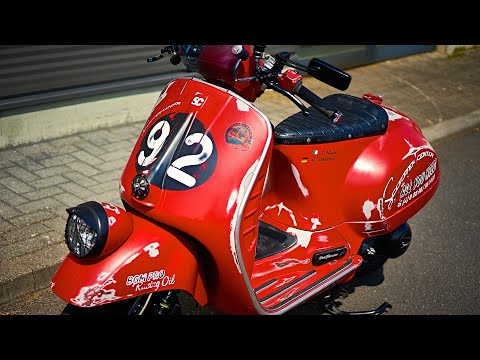
A small detail of the modern Vespa-scooters is bijvoorbeeld a black oliepan. Wij biden u met onze MOTO NOSTRA oliepan een gloednieuwe originele Piaggio - oliepan aan, the wij hebben voorzien van een hoogwaardige hoogglans poedercoating. The video hereonder laat zien hoe de conversie zeer eenvoudig te doen is.
The GTS-oliepan is first noted in the declaration for the verification of the professionally. The result is an extremely slijtvast oppervlak with a super uitstraling. De carter is uiteraard klaar voor installatie geleverd, u heeft de keuze:
Note: Vergeet niet om a nieuwe pakking te installeren -> pakking olie panA
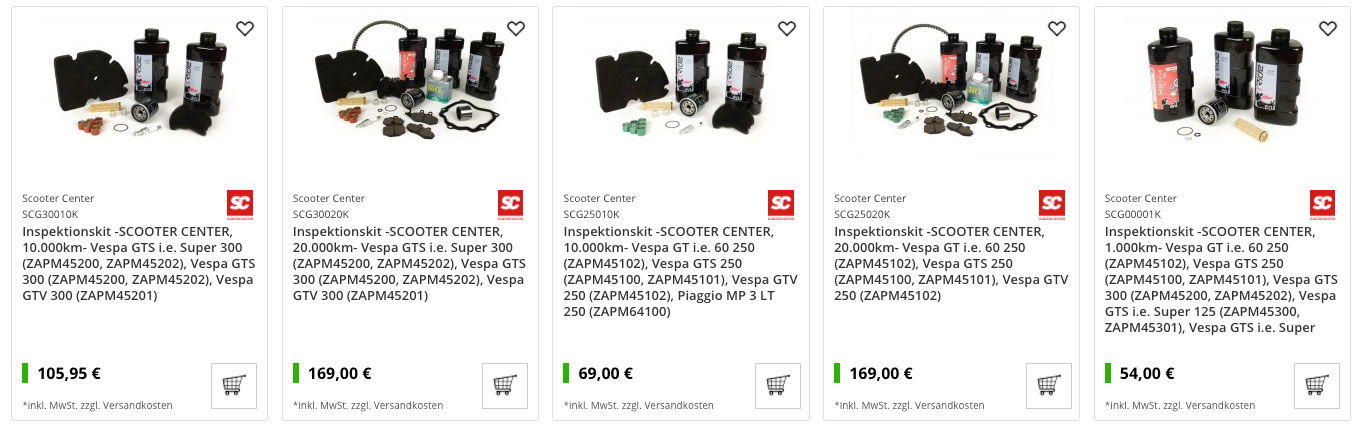
great kans om nieuwe motorolie en oil filter to use:
Tip: Wij bieden u goedkope en practical sets aan! De inspection kits zijn uitgerust met all onderdelen die nodig zijn voor een inspectie, afhankelijk van het aantal kilometers en de aanbevolen revisiewerkzaamheden:
The installatie is heel very good, maar he zijn a few things that ever go over.
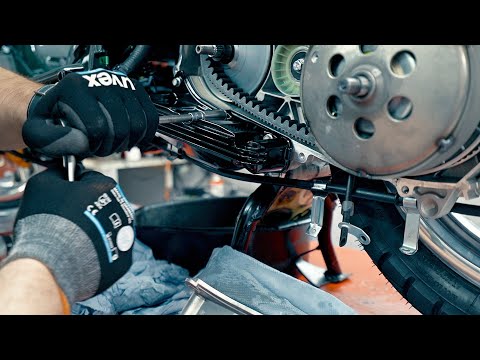
Here is a great video of Scooteria, which also change the MOTO NOSTRA oliepan in the loop of a GTS 300 conversation. Handy tips from the aangepaste professionals from Cafe Racer 69 with trucs for the installation of the Vespa GTS oliepan:
Hint:
Go to the video hereboven. Gebruik de juiste schroeven, plaats de veer opnieuw en let op het aanhaalmoment: M6-schroeven oliepan: 10-14Nm.
MOTO NOSTRA Oliepan CopenhagenThe MOTO NOSTRA kuip is available in:
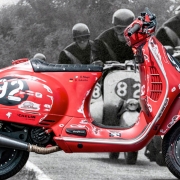
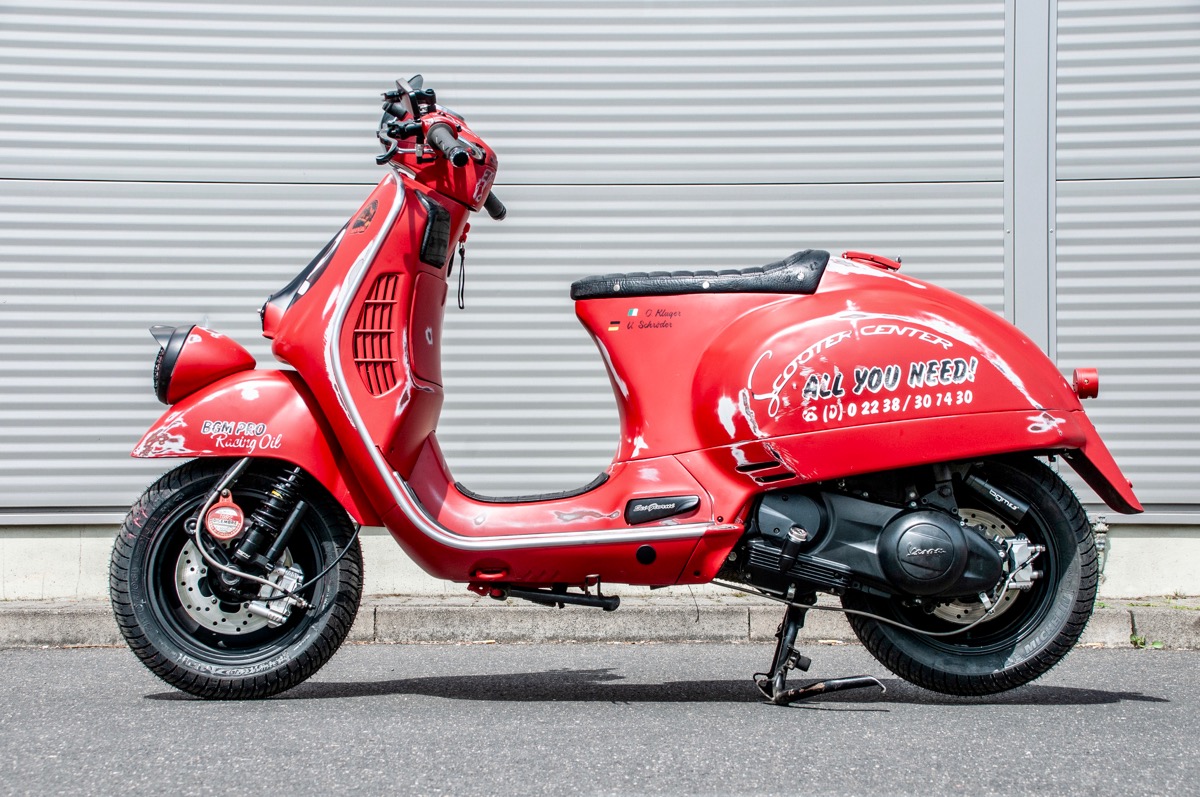
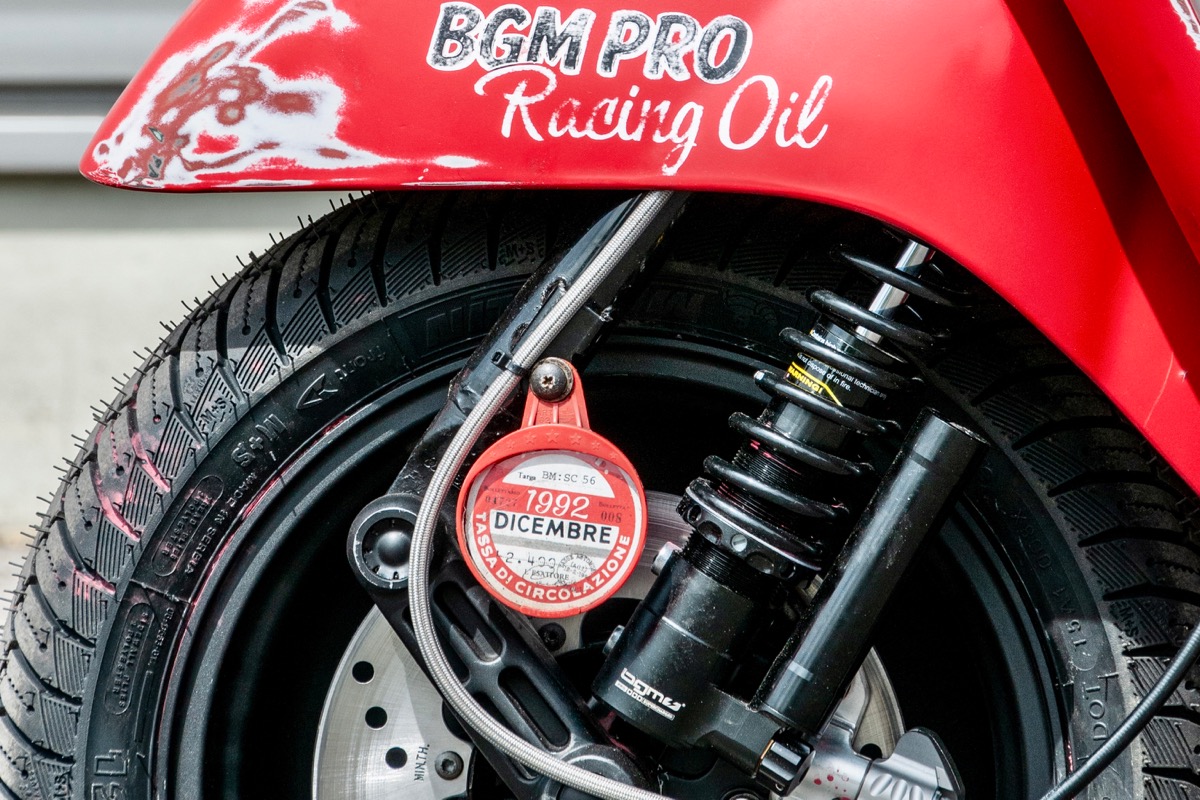
A real Vespa Sei Giorni -> Vespa model is divided een van de meest wild verzame objects. Maar what is het nut van een Vespa Six Days?
In 1951 the Vespa factory team “Piaggio Squadra Corse” created a sensation for a race. The “Sei Giorni Internationale” from plaats van 18 to 23 September 1951 in Varese, in het achterland van het Lago Maggiore / Italy. Het was een van de moeilijkste en belangrijkste wedstrijden van zijn tijd, voor 220 deelnemers went het meer dan enkele honderden kilometers in ruw terrein.
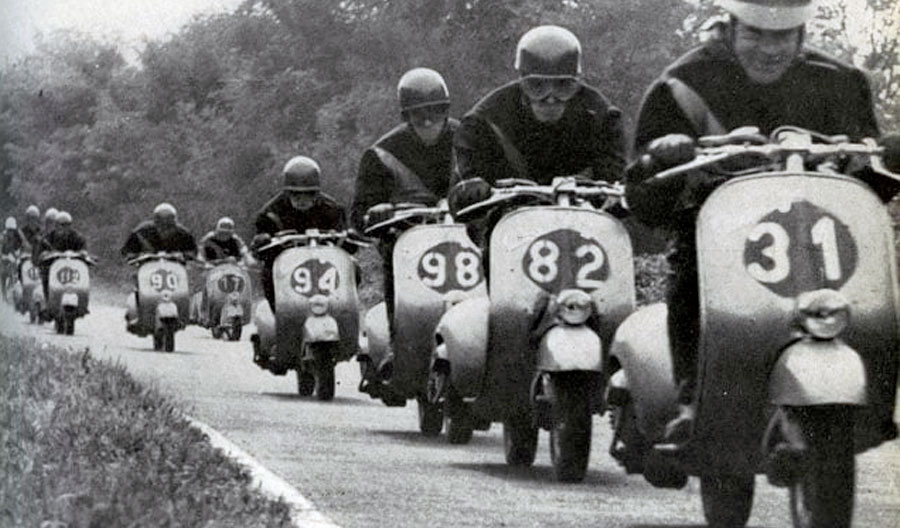
Zelfs vandaag de dag state deze betrouwbaarheidsrace, the zes dagen duurt, known as the “International Six Days Enduro ”. The first race was in Engeland in 1913 and everything was done from the horizontal and the racemachine, zeker gave up on the Vespa after 5 years.
Alleen voor deze race heeft Piaggio a small editie of 300 125cc Vespa models adapted. At the 10th of the day the “Piaggio Squadra Corse” will be screeched. Maar wat zouden de small Vespa's doen tegen cross engines the speciaal voor deze race zijn built?
Enrassend won the factory team van Piaggio (rijders: Biasci, Cau, Crabs, Mazzoncini, Merlo, Nesti, Opesso, Riva, Romano, Vivaldi) op de Vespa superior against volgroeide off-road engines: 9 van de 10 rijders create a gold medal . The Vespa 125 “Sei Giorni” won also the price of Italian Motorrijdersfederatie voor deze prestatie in 1951, toen three rijders Giuseppe Cau, Miro Riva and Bruno Romano show all other with the Italian Vespa models.
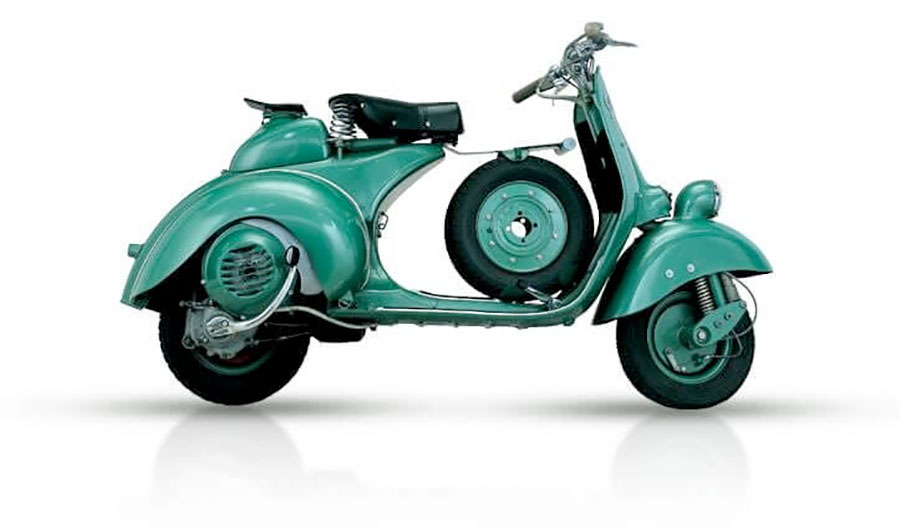
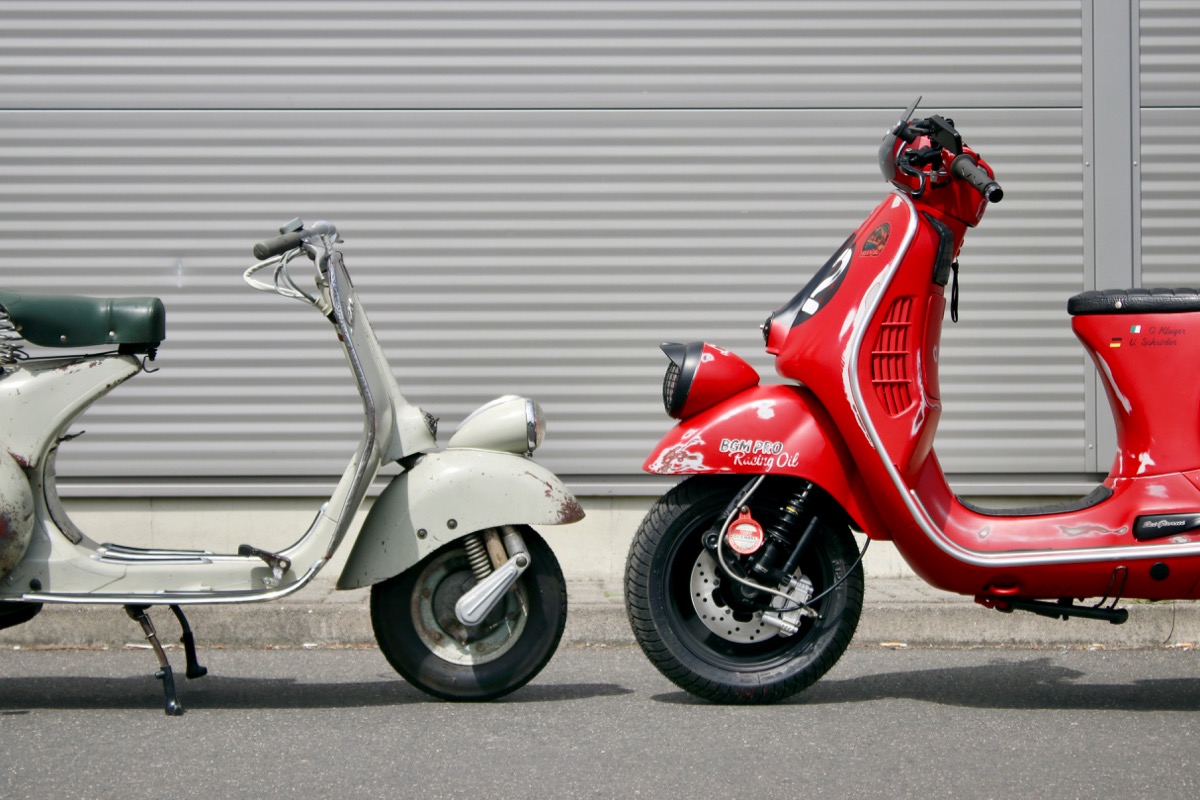
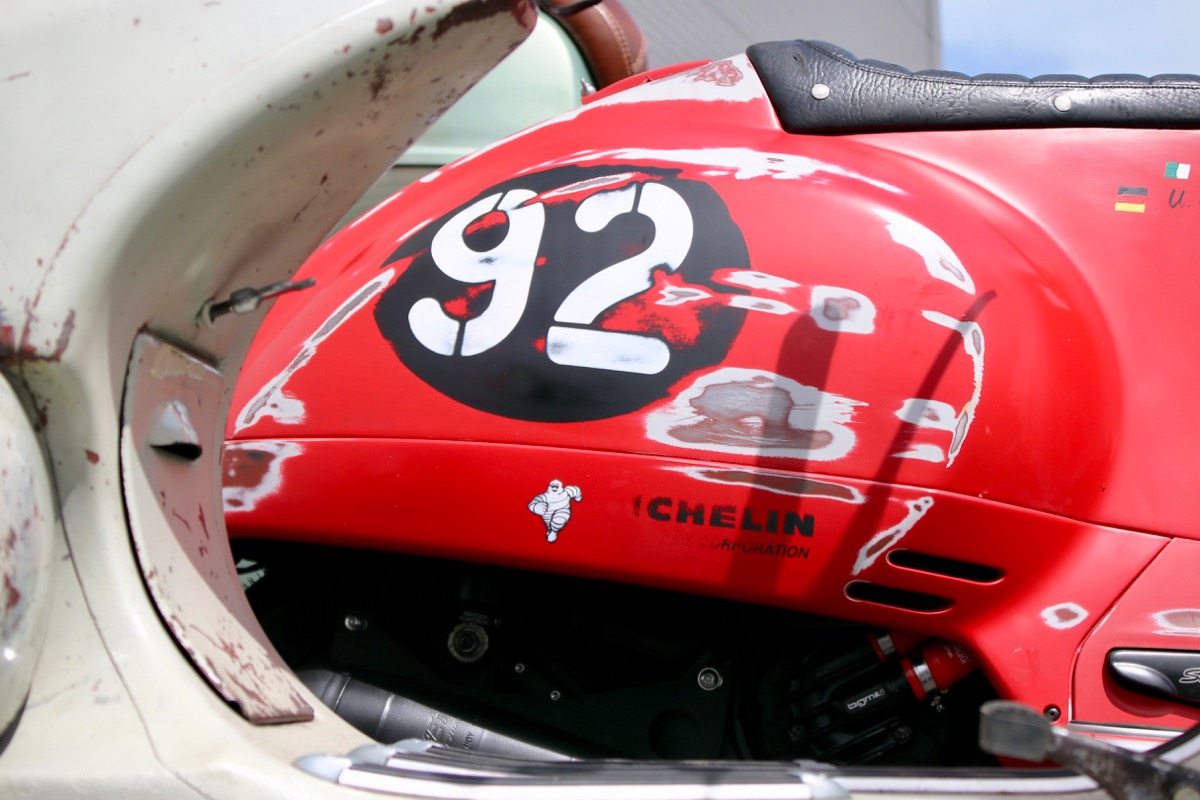
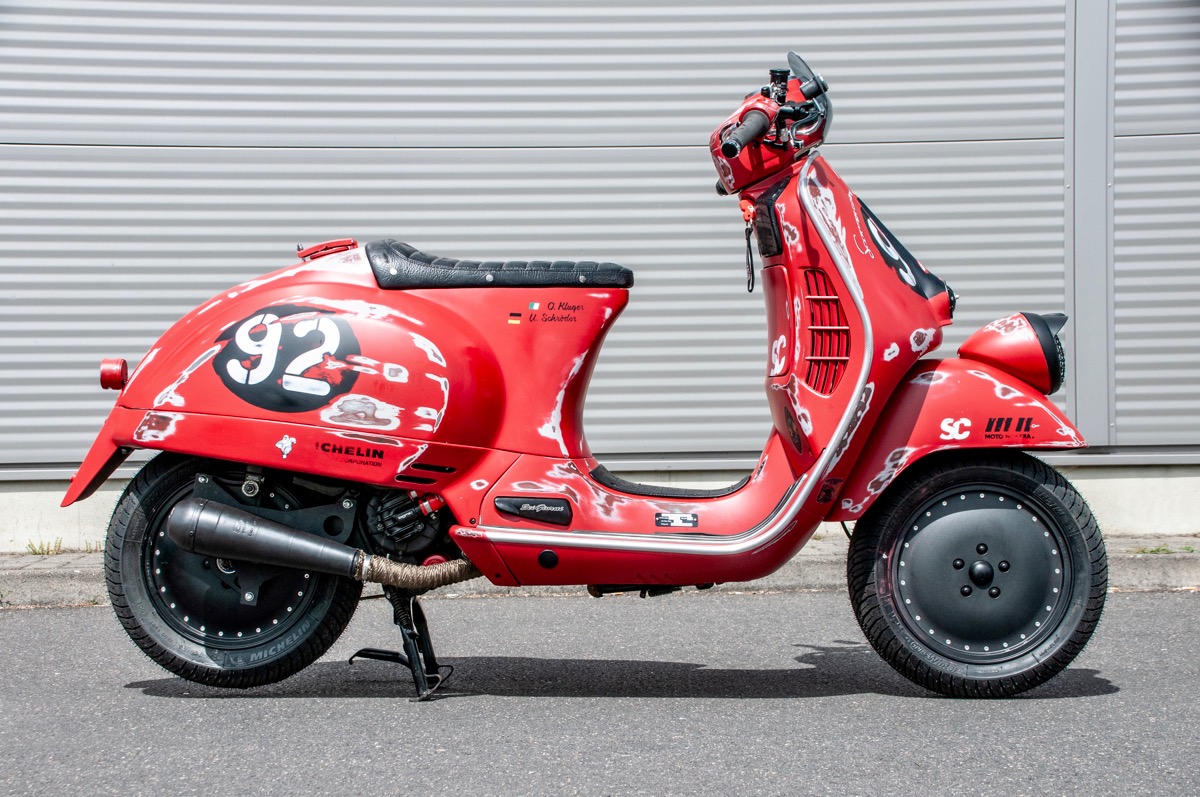
Visually what de Vespa "Sei Giorni" nauwelijks te onderscheiden van het seriemodel. Zo were bijvoorbeeld sea tank volume, verbeterde aerodynamica in het beenschildgebied en a larger engine cap of the most important and distinguishing marks.
Soals we al live verslag doen van de EICMA fietsbeurs 2016, zal Piaggio een speciaal model van de Vespa Be Giorni 300 presenteren as a herinnering aan dit legendary succes.
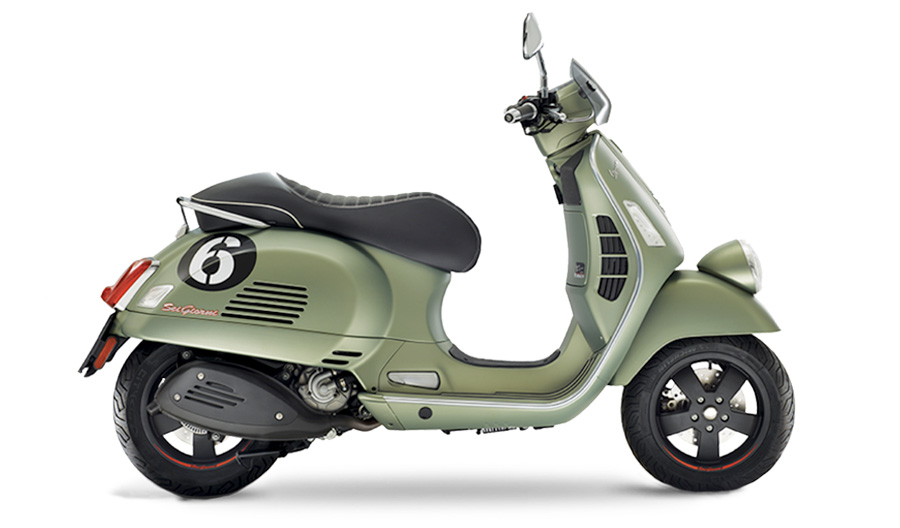
Are dit eicma in 2016 what he het idee van een nieuwe Scooter Center Demonstrator that combines the modern automatic Vespa with the classic Vespa. Net as a bij on assortment - in onze Vespa shop kunt u alles krijgen voor uw Vespa - regardless of het een oud model of een nieuwe scooter is!
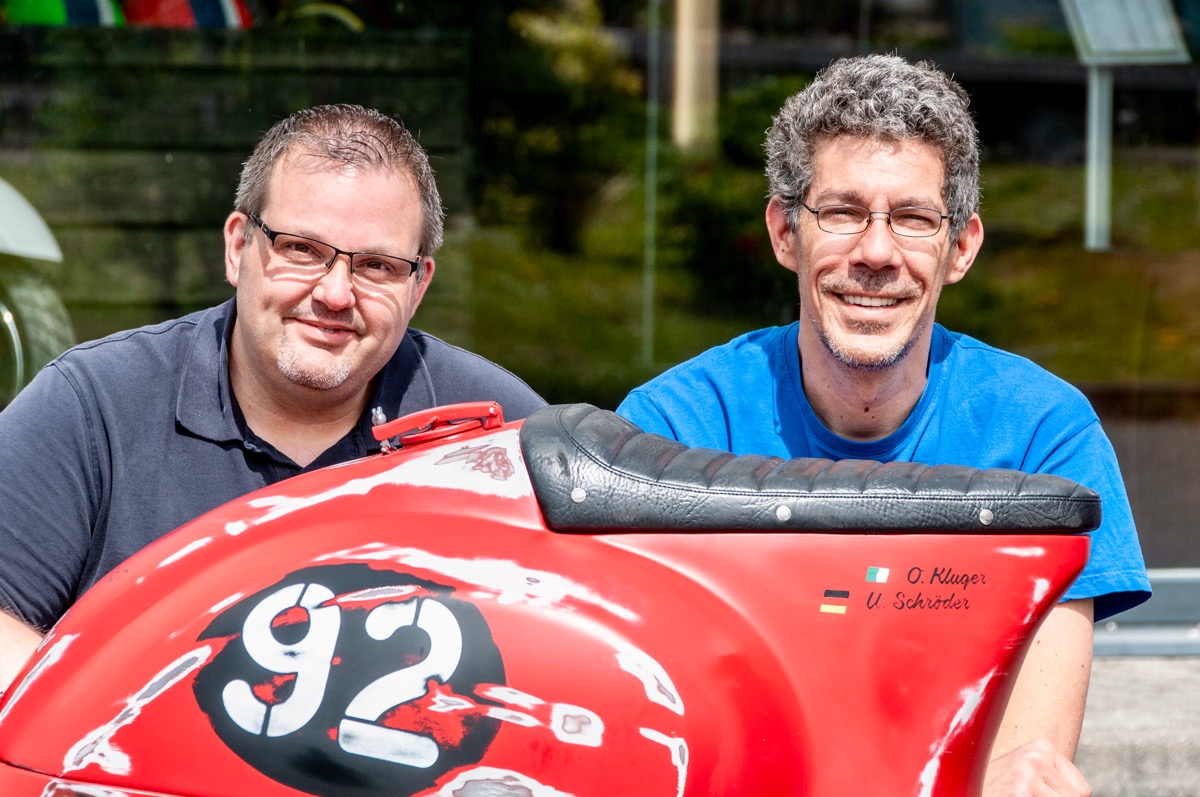
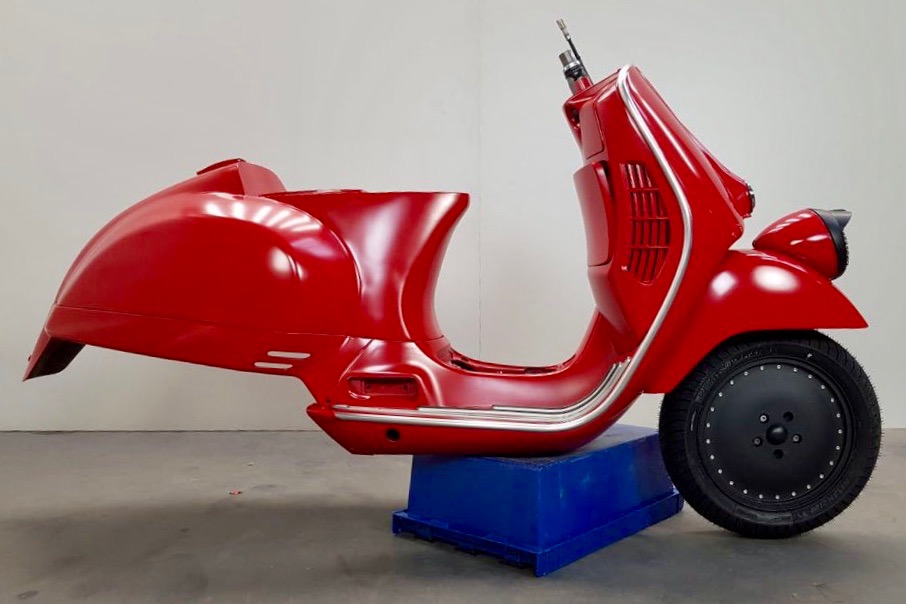
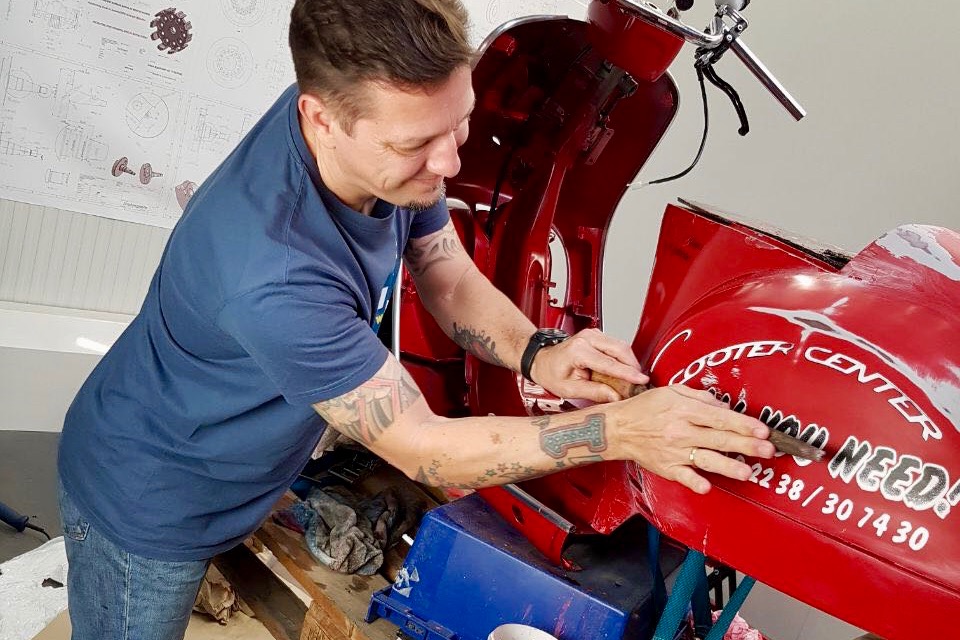
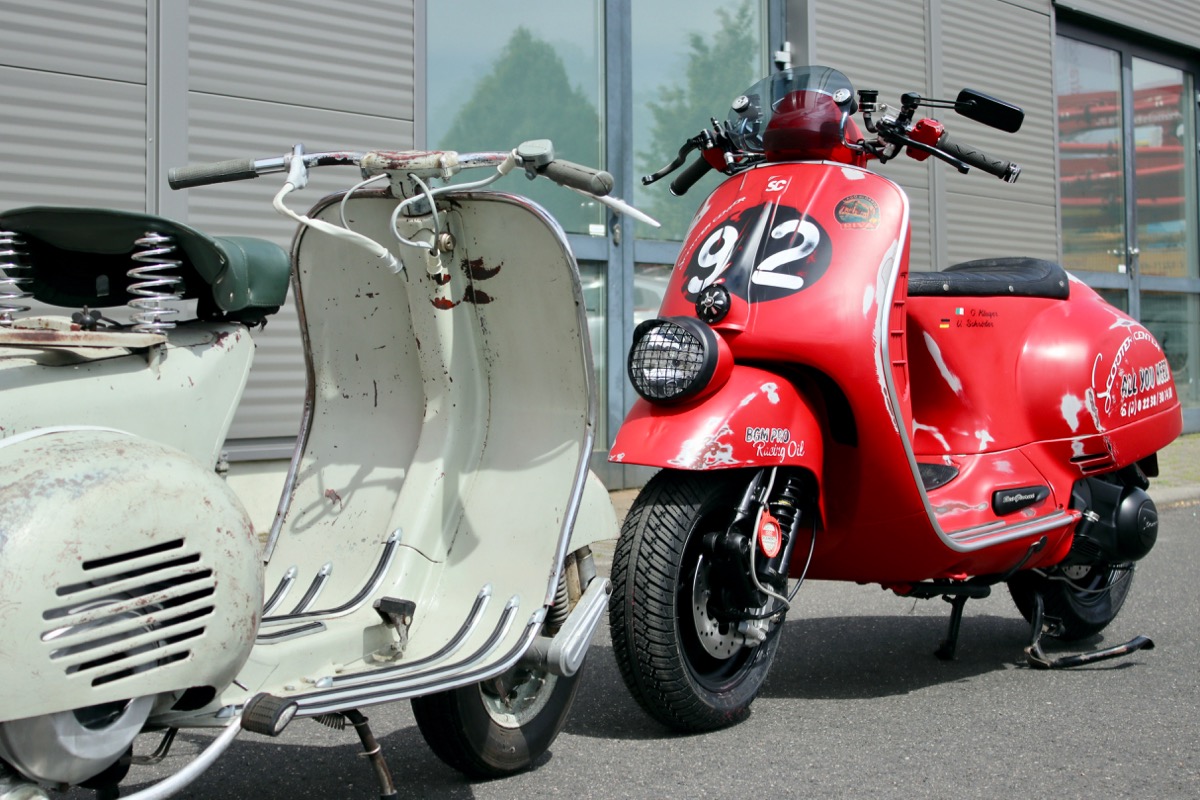
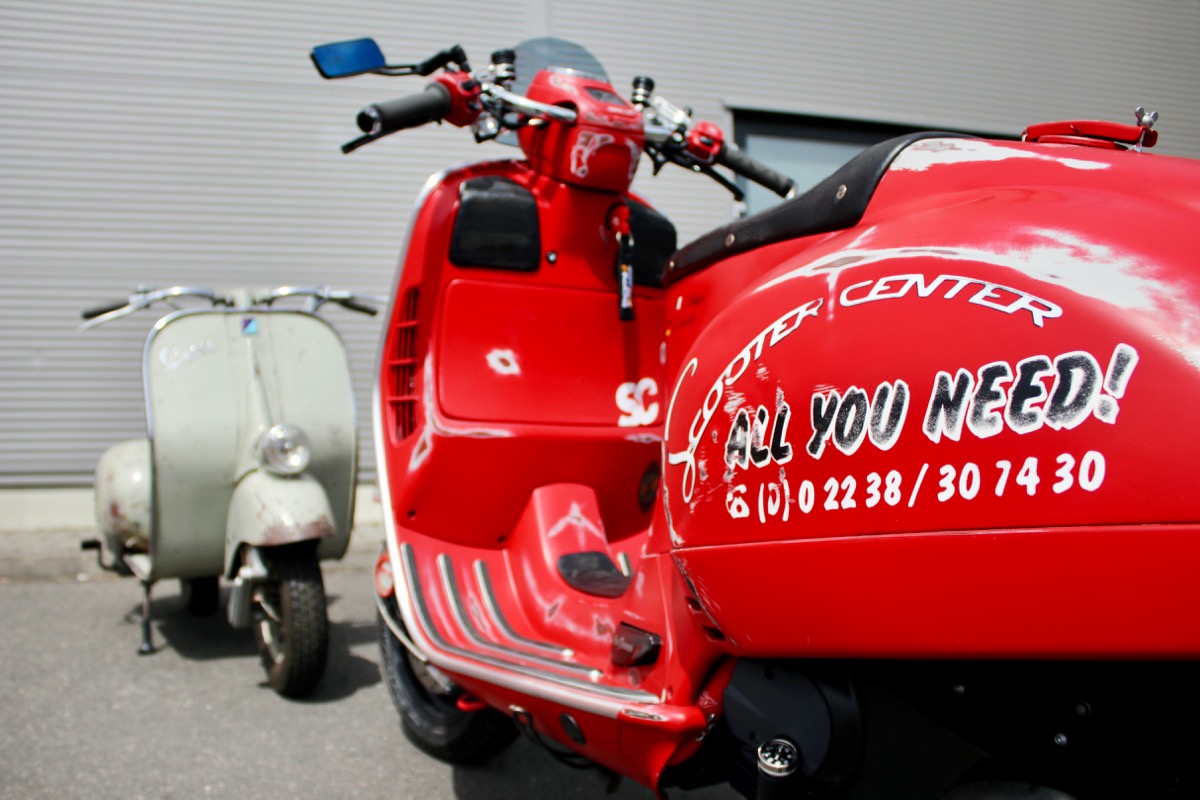
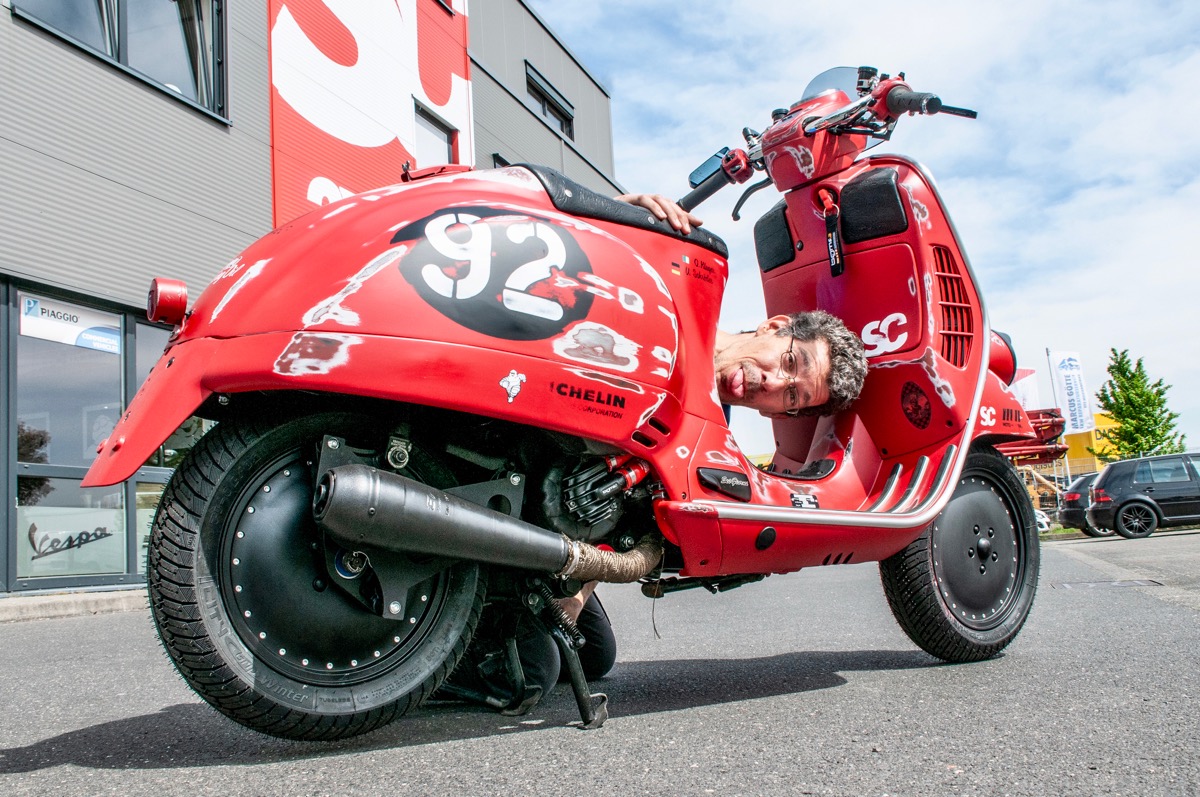
We voelden ons dus geïnspireerd door de nieuwe editie om ons own idea of a “modern” Vespa Let Giorni te realize. Alex Stroh (right) and Frank Winkel (left) zijn de hoofden achter ons nieuwe Vespa SeiGiorni scooter center.
Our new Vespa demonstrator started as a normal, light-crashed Vespa GTV. Toen het eerst op de weg much en daarna in our handen, besefte ze waarschijnlijk niet wat we ermee went doen.
In het begin what he bouwschuim… Viiieeeell bouwschuim! Maar we hebben dat snel onder control ...
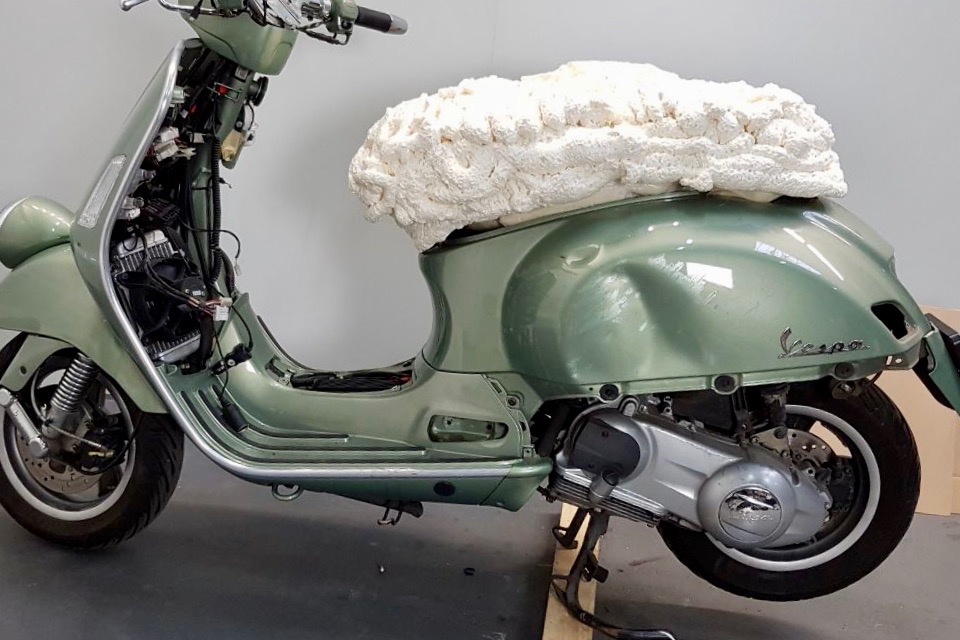
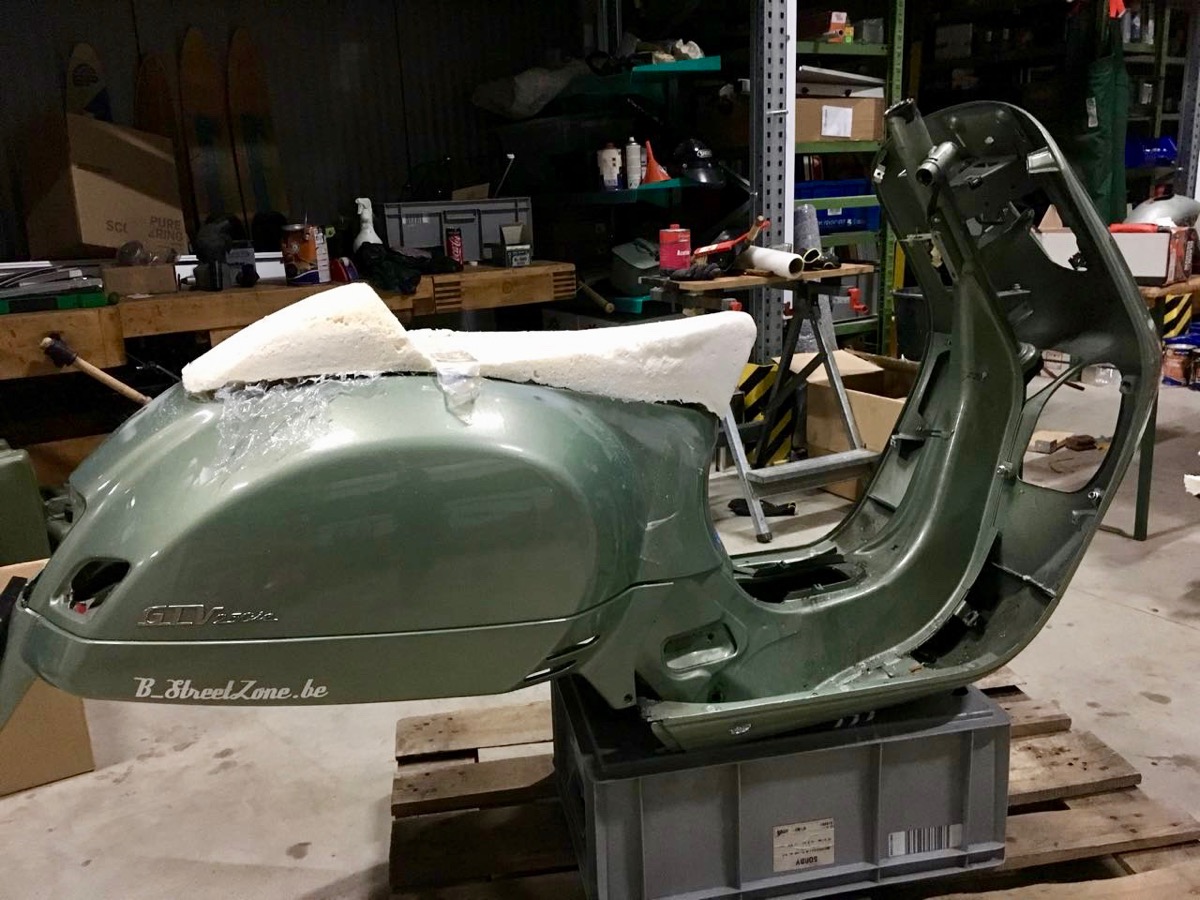
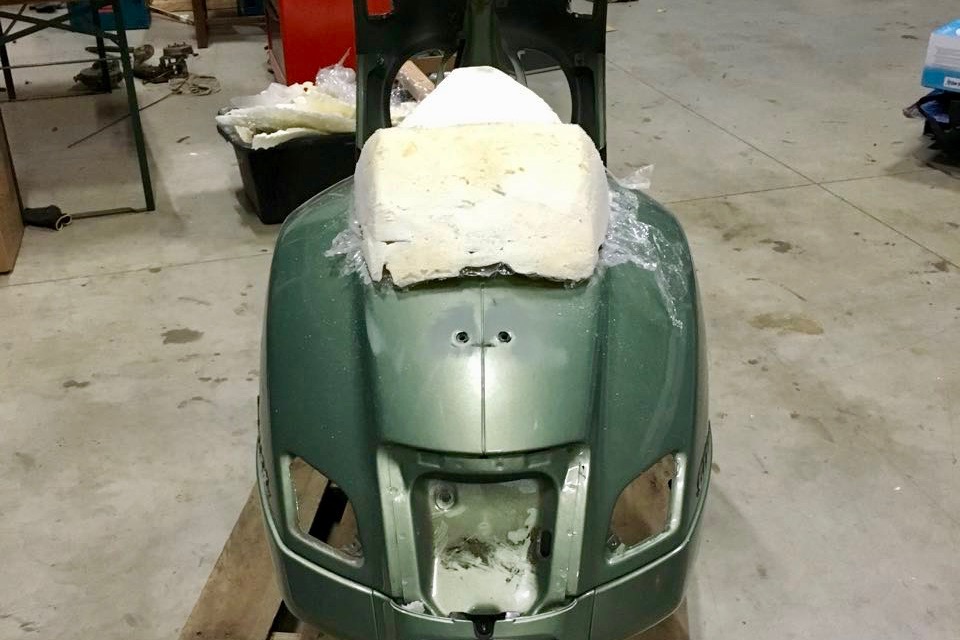
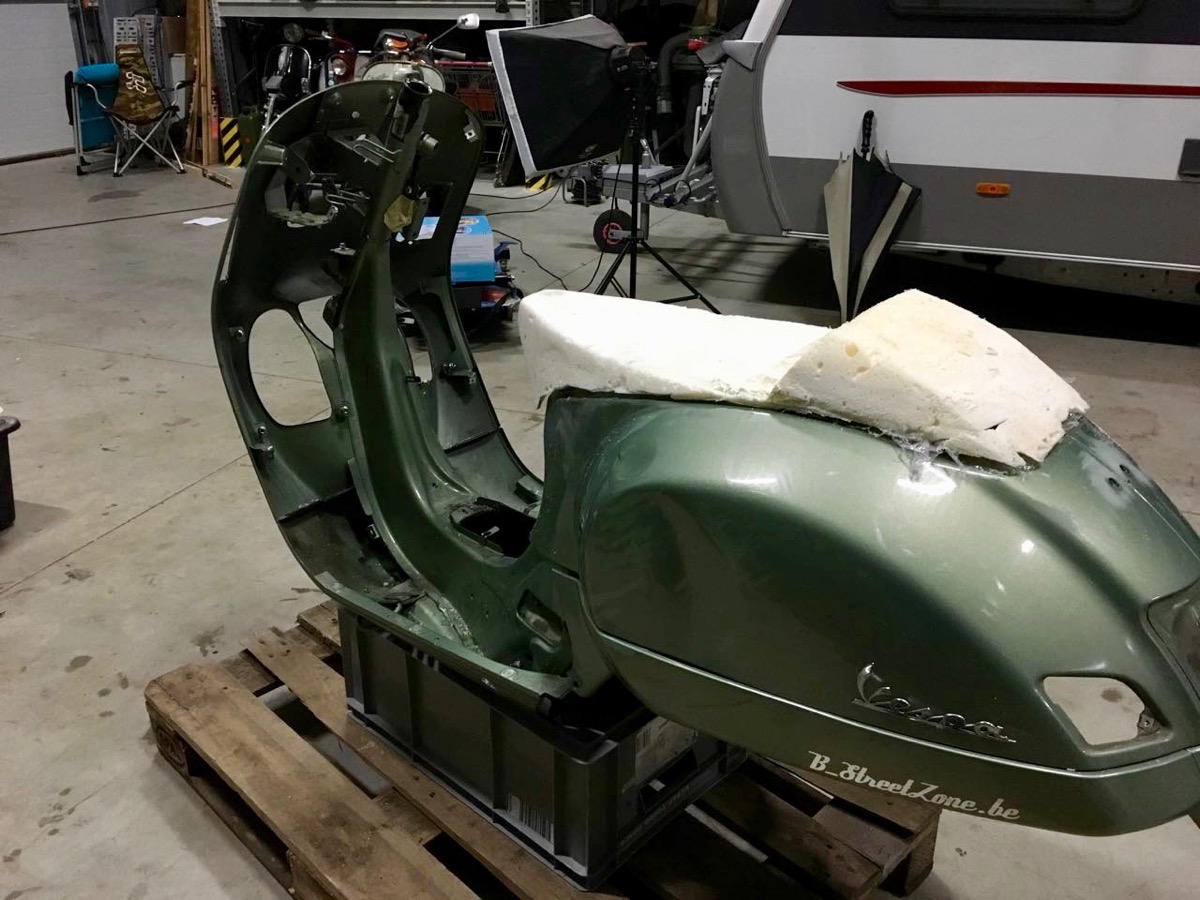
Maar than ever thinks we het schuim gewoon artistiek hebben opgevuld ...
Natuurlijk what dit alleen de sjabloon voor Mathias Laubsch van de plaatwerkfabriek in Neuss http://www.blechwerk.com/ who have favourited our sjabloon nu op meesterlijke wijze heeft omgezet in BLECH .
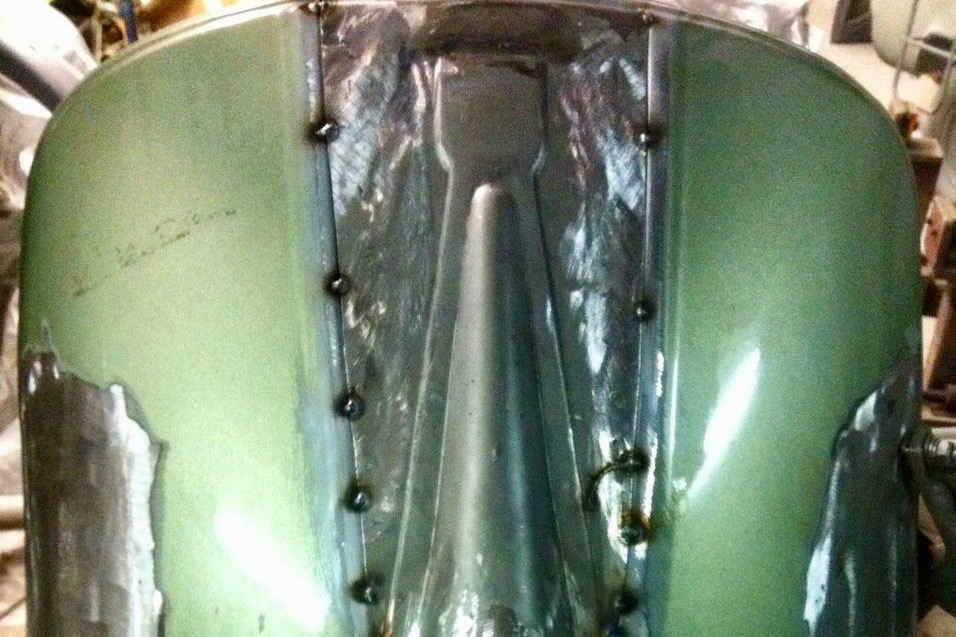
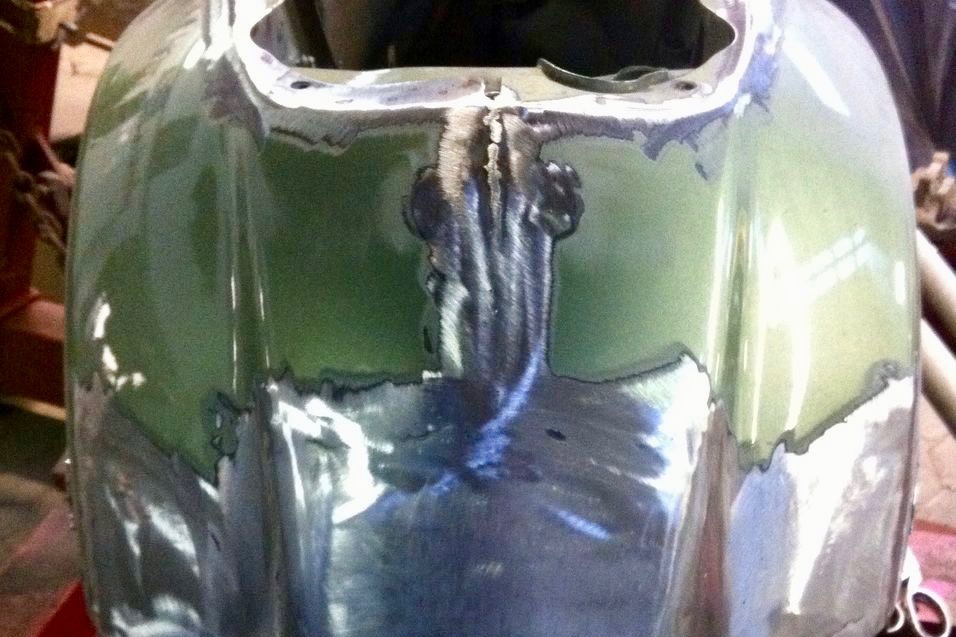

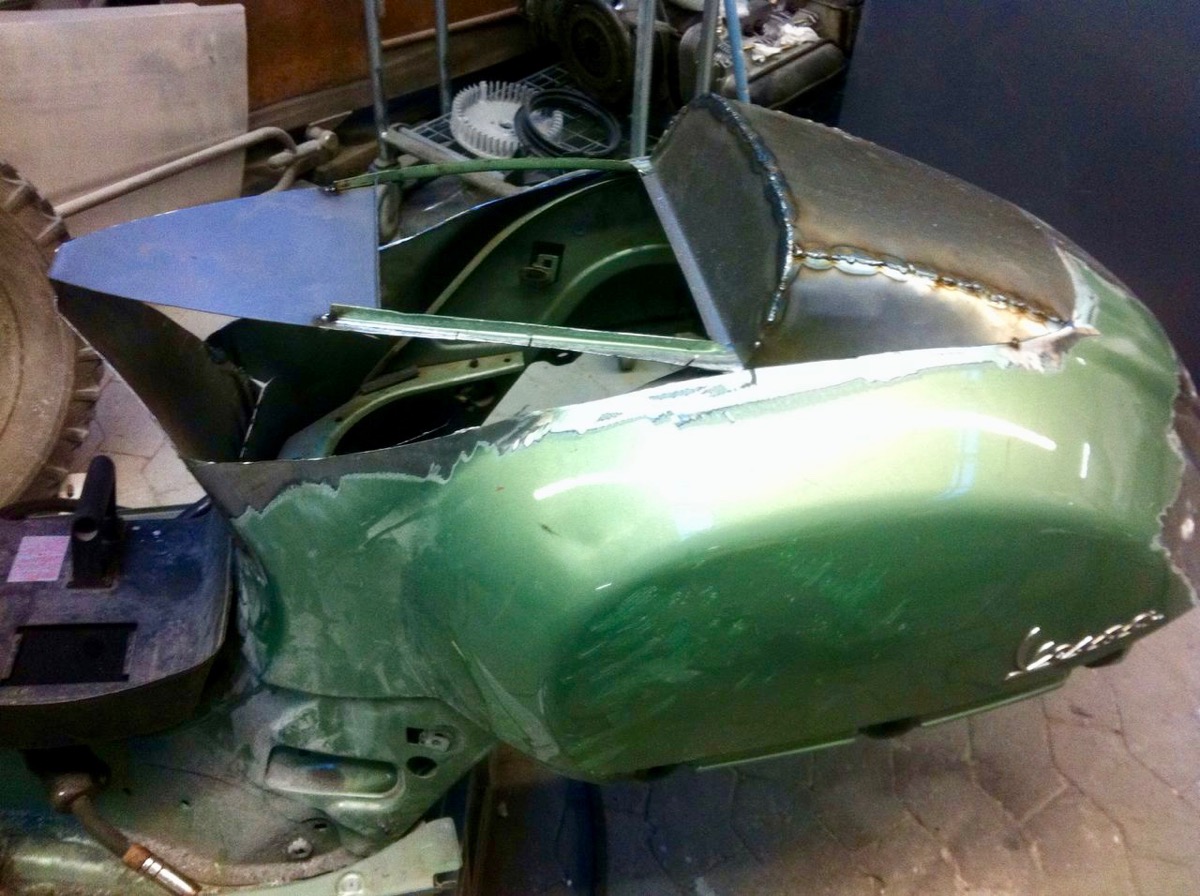
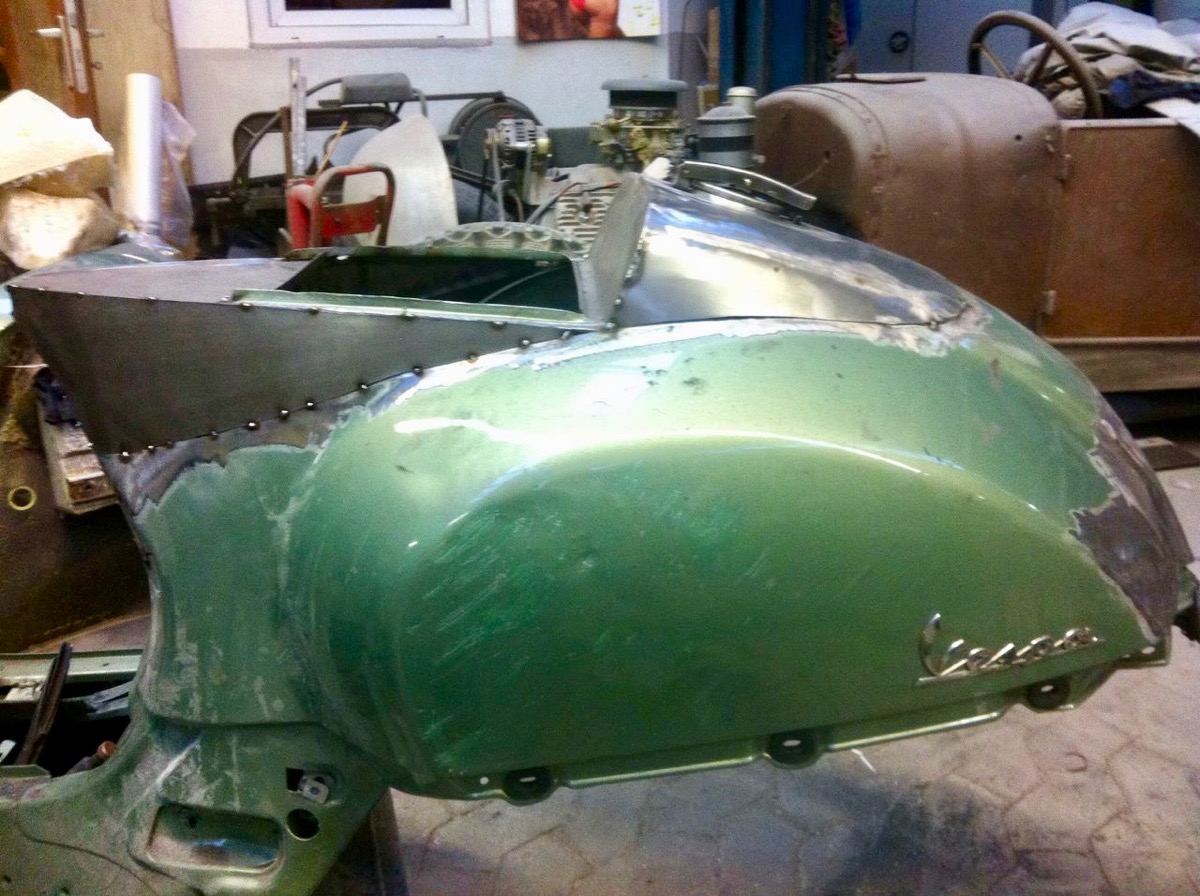
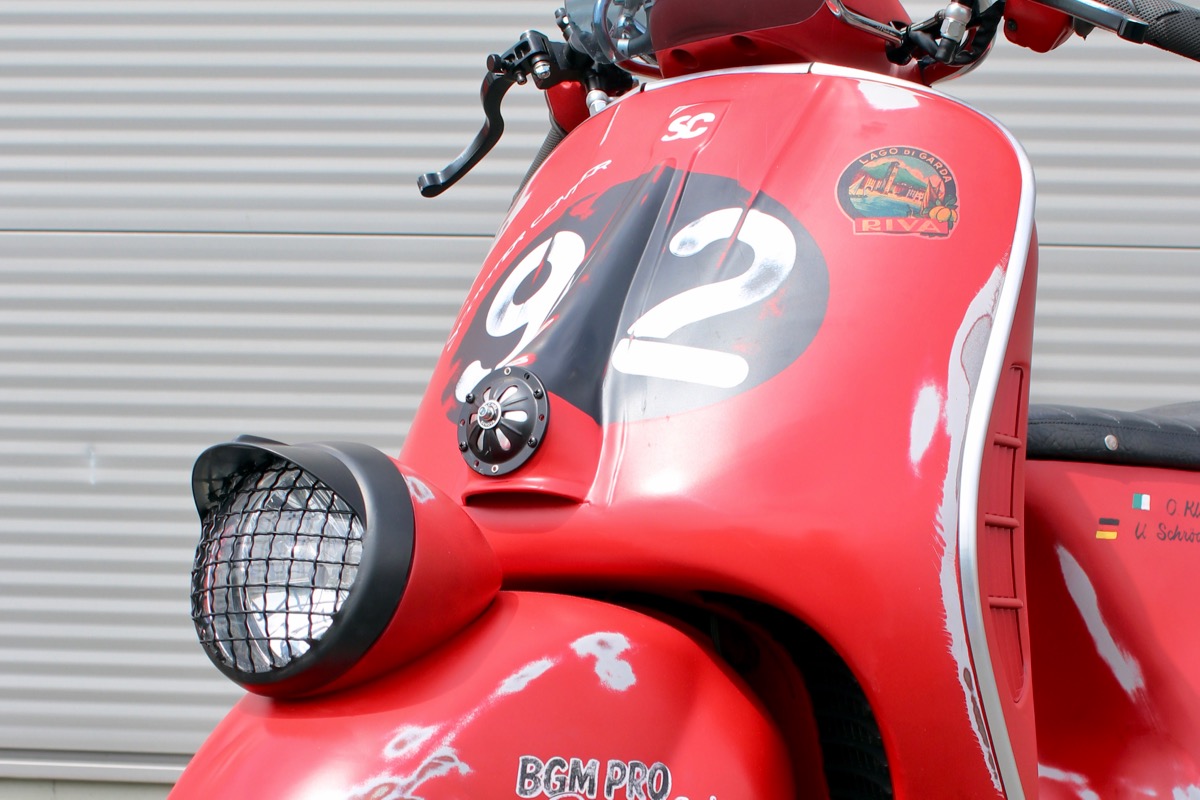
Before the characteristics “neus” we use the term according to a reparatieplaat, which is normally spoken of as a term used for a Vespa VNA-VNB. “Alleen de richtingaanwijzers en het gat onder het achterlicht are loaded en toen went de SeiGiorni naar de signs…
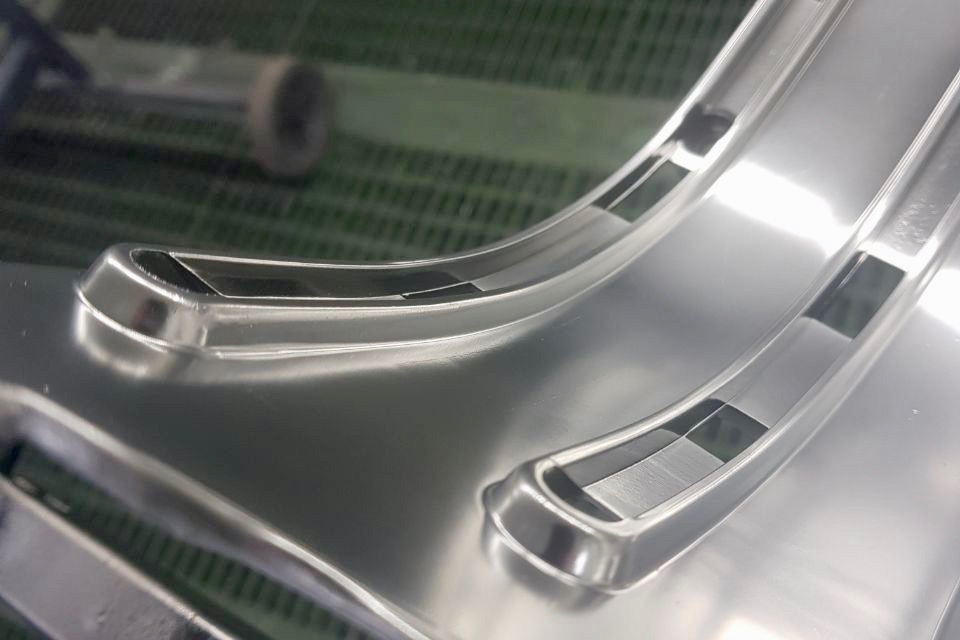
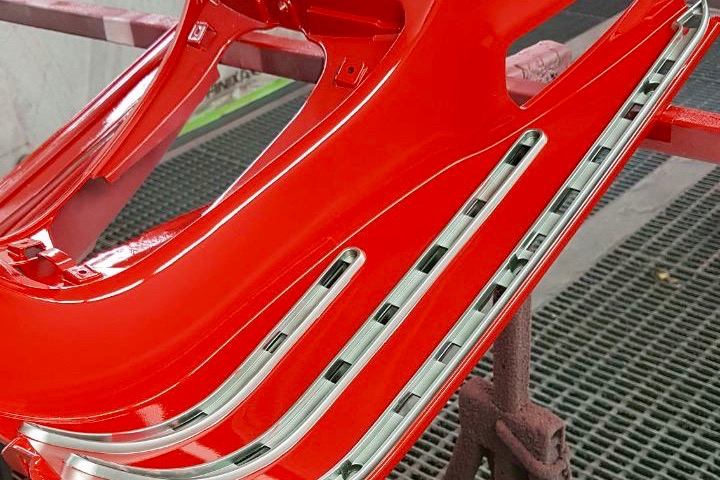
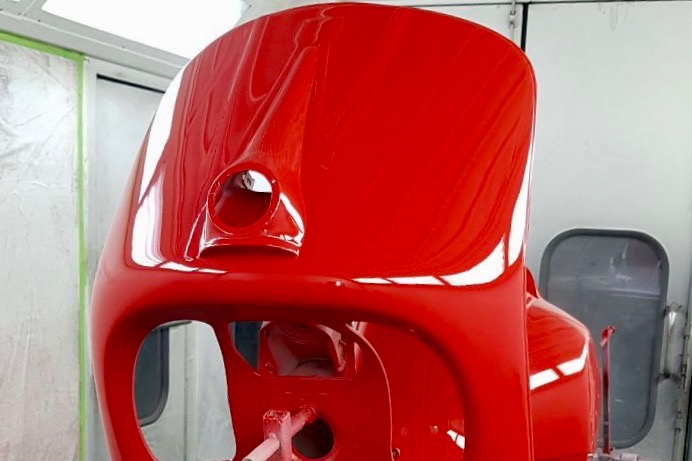
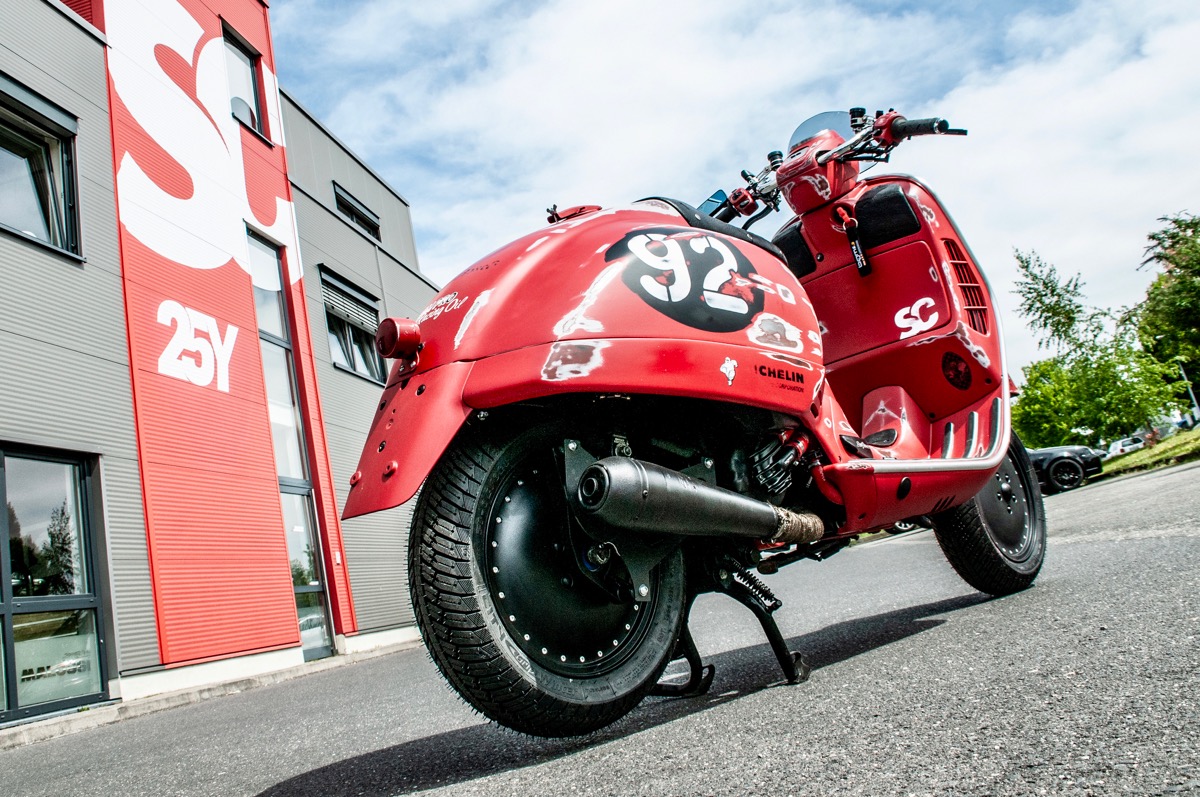
All plastic items are created on a zilveren basislaag, zodat men op “plaatwerk” belandde en niet op plastic.
According to this, all plaatwerk en plastic onderdelen are first described in de characterstics dieprode grondverf that in de jaren vijftig are used, daarna een tweede grondverf in grijs - alvorens uiteindelijk de rode aan te brengen, die gebaseerd is op het van deosportlakellen.
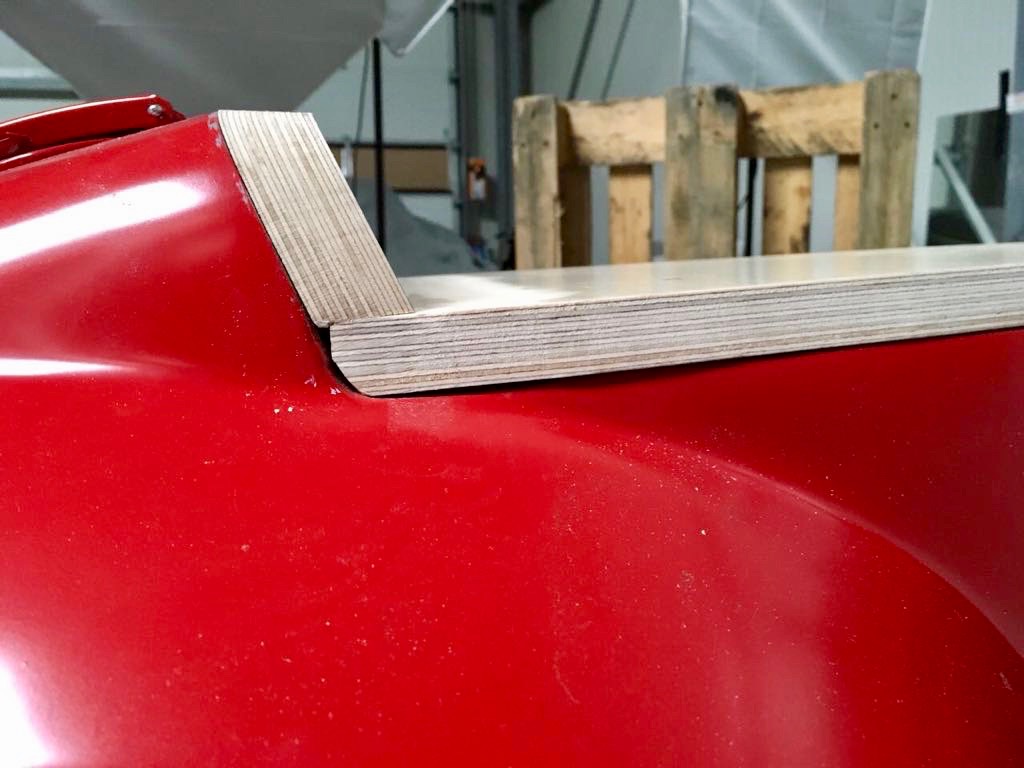
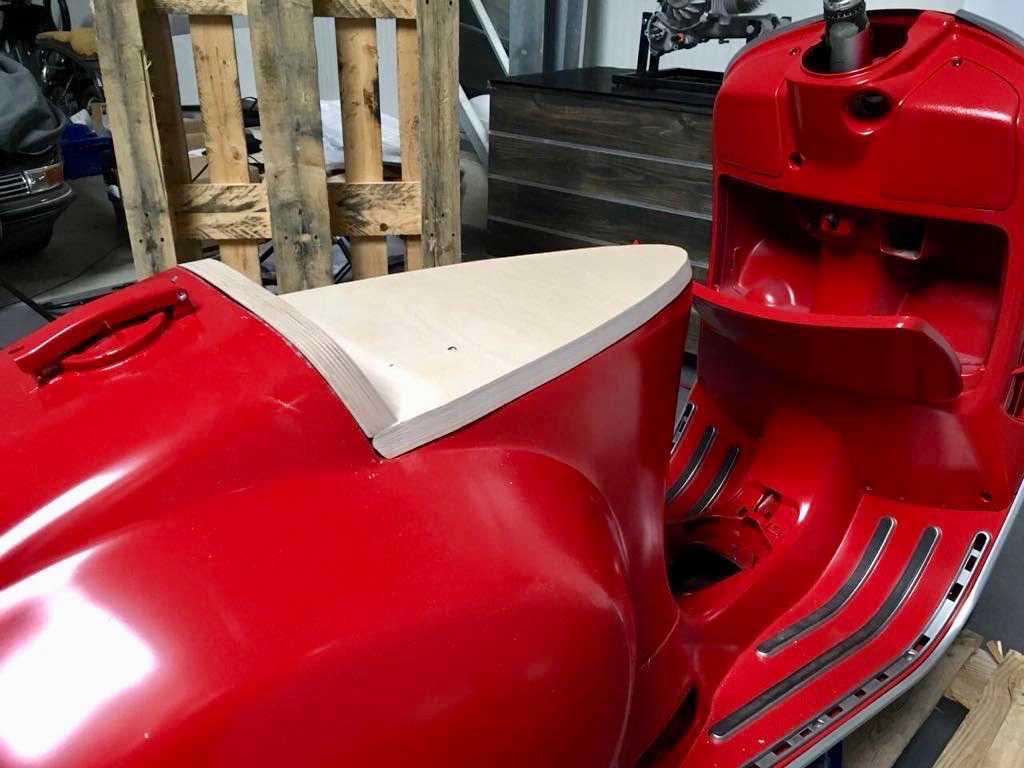
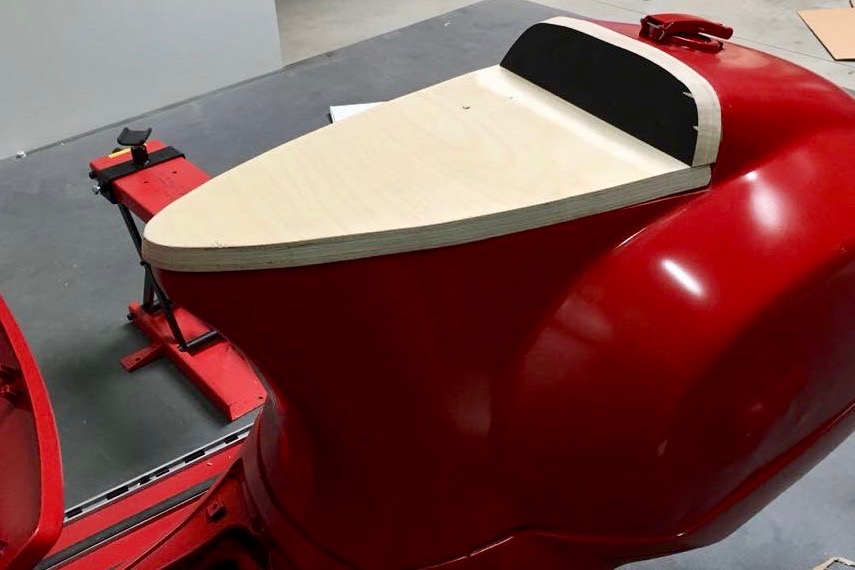
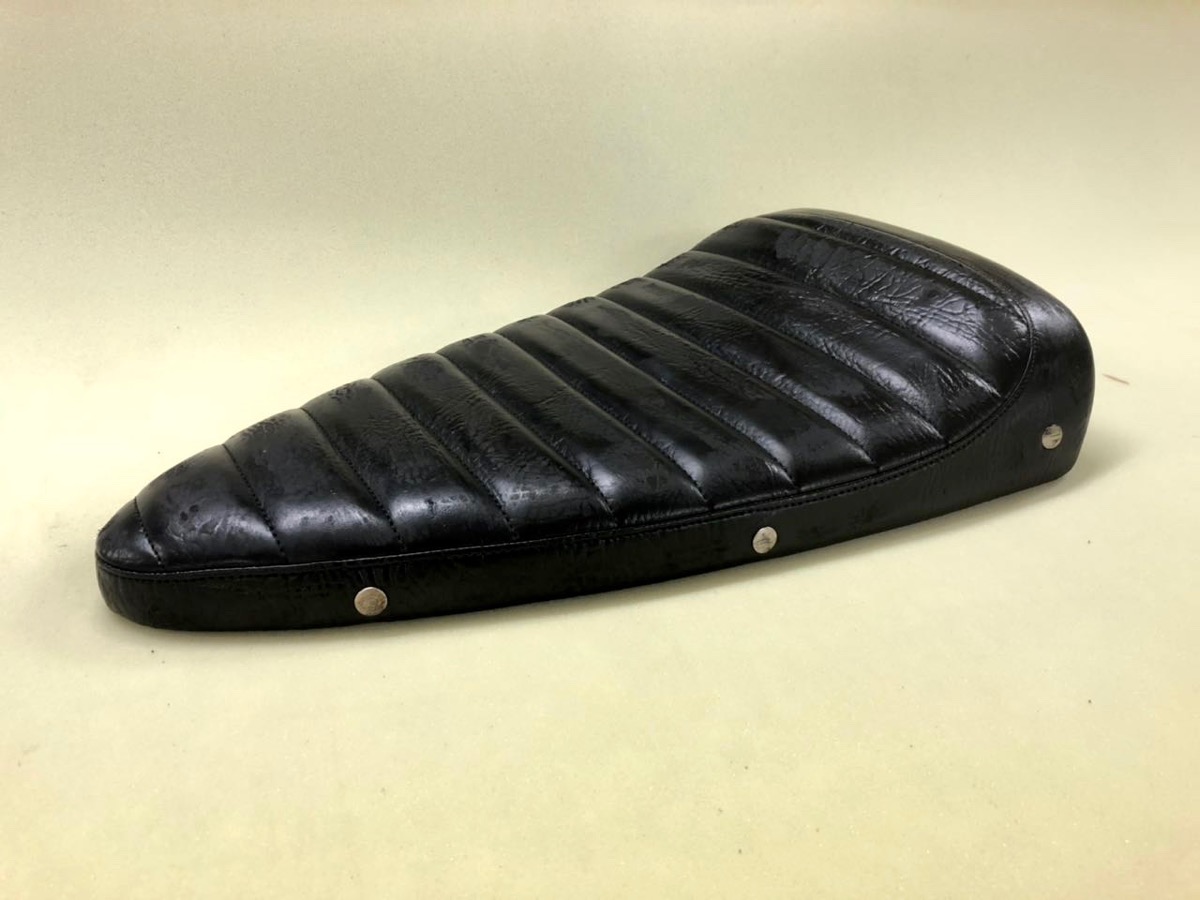
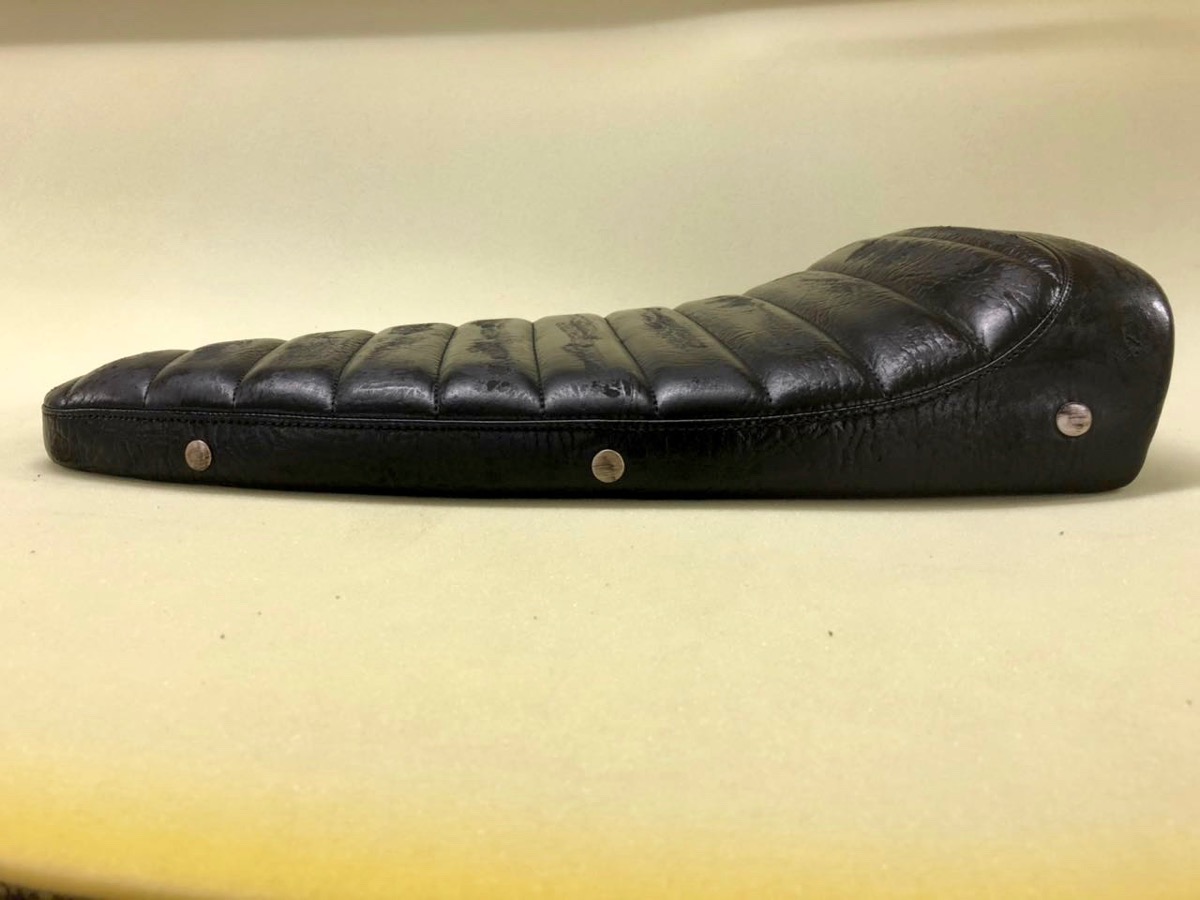
The bank base is in our Werkplaats “getimmerd” en vervolgens overhandigd aan de bankdokter Holger http://www.sitzbankdoktor.de/. Hij offerde zijn orude leren jasje op en maakte de SeiGiorni de perfecte bench for the lichaam.
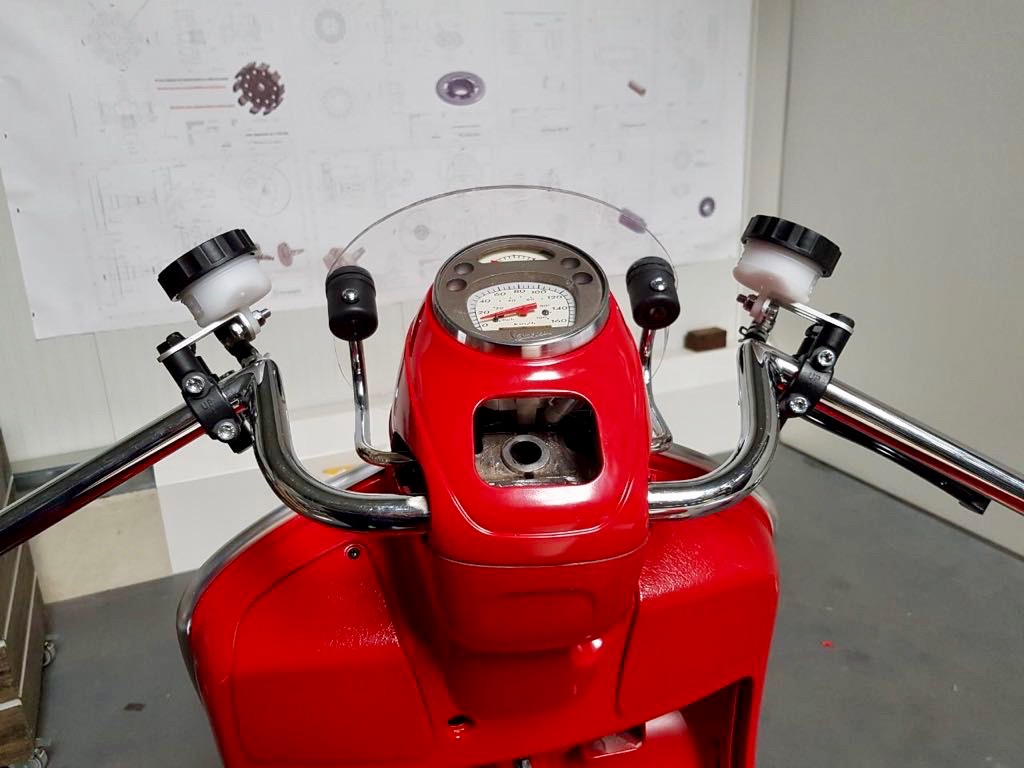
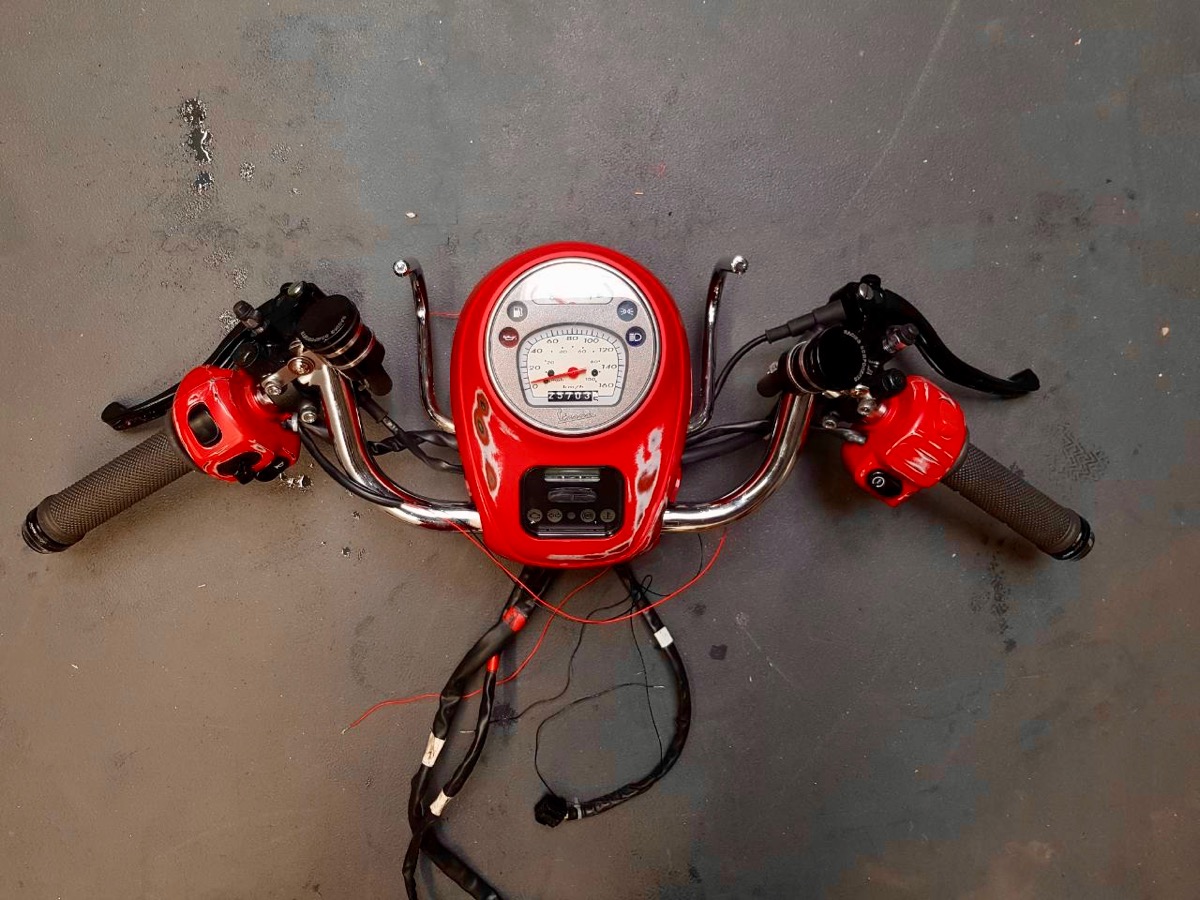
Het stuur will geruild voor een Fehling M stuur.
Om het gewenste patina te krijgen would like to pass en het schuurpapier work!
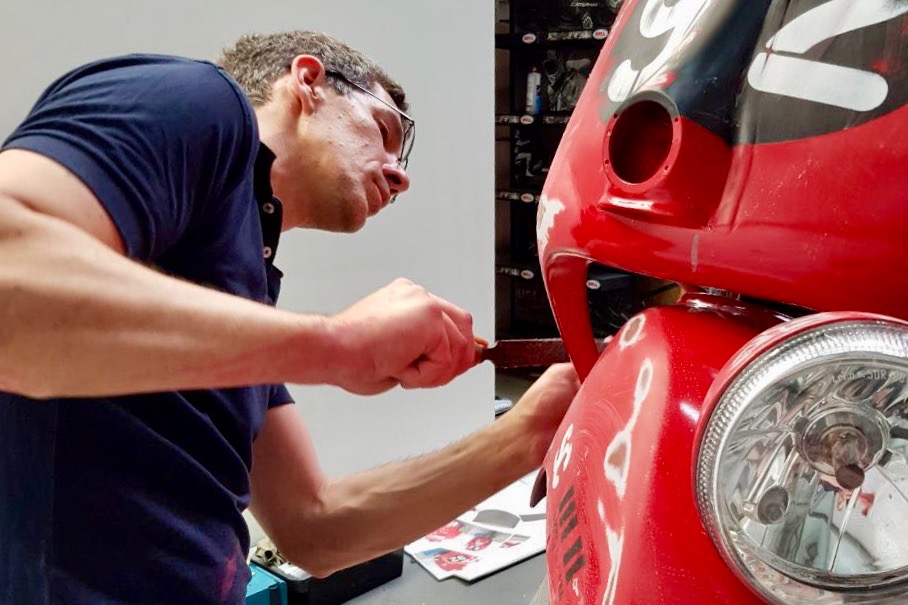
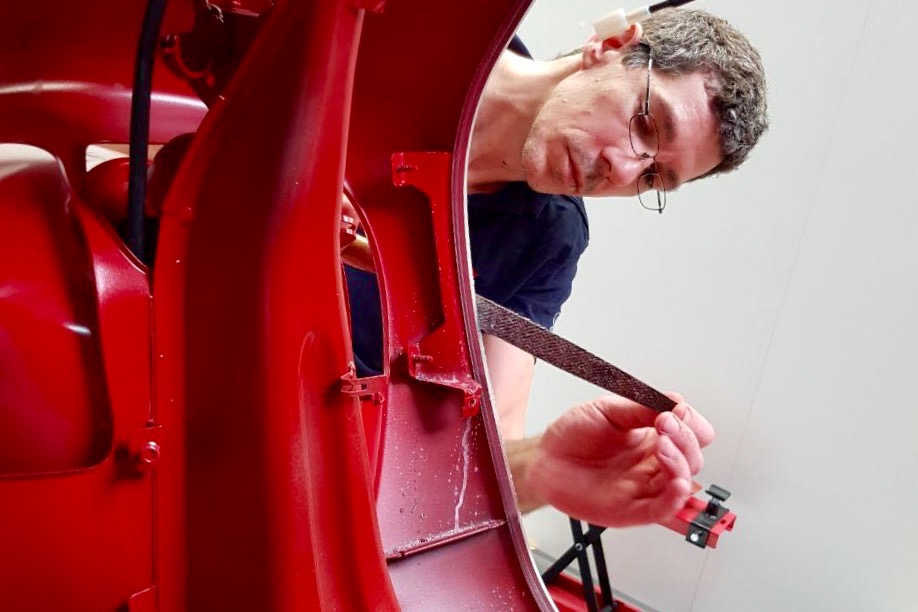
The best manner om de vespa live te zien is door er naar te kijken, er zijn nog veel meer small and big details.
We zijn met de Vespa op vele evenementen. The start with our big maatwerkshow in clubs of het Vespa-wereldrecord in Wesseling. Momenteel zijn we met de scooter op de Vespa ALp Days in Zell am See / Oostenrijk. Frank Winkel zal u graag ter plekke represent hoe hij de “SC Sei Giorni” uit een “normal” GTV tevoorschijn heeft getoverd.
Verder is our nieuwste schat ook Verkrijgbaar in onze winkel in de Kurt-Schumacher-Str. in 50129 Bergheim-Glessen. Dead ziens!
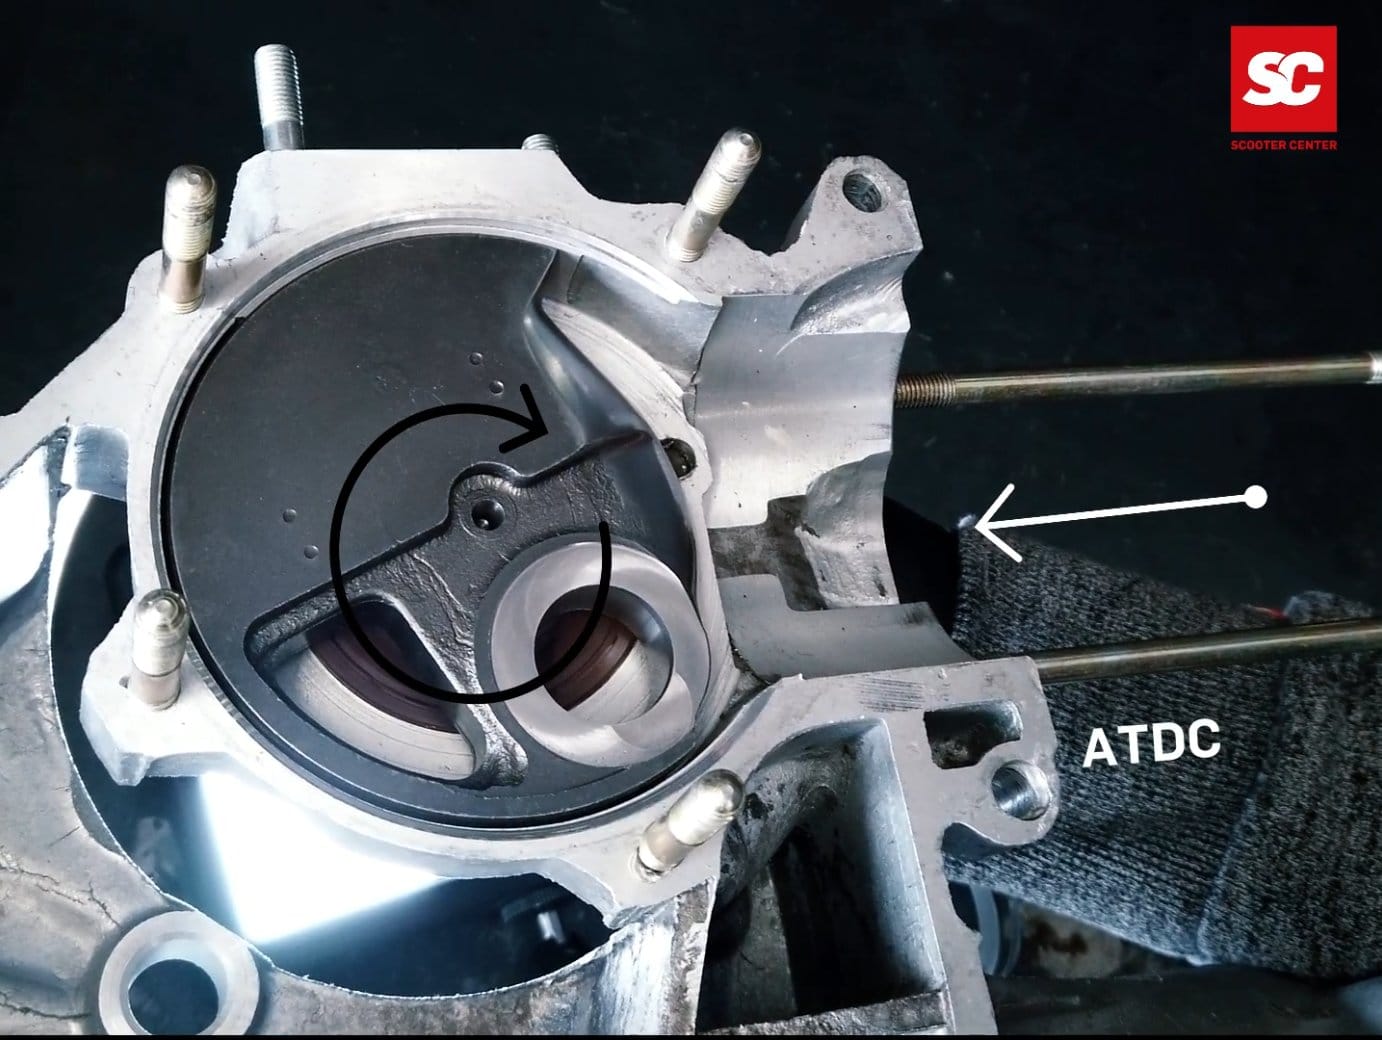
De video en blog van vandaag gaat over het meten van de opnamehoek, also wel intake-timing genoemd.
De aanzuighoeken must be within a bepaald bereik liggen dat in graden krukas wordt aangegeven. De metingen begin altijd as a vast punt vanuit het bovenste dode centrum, kortweg OT genoemd.
Het aanzuigbereik was given in de waarden “voor TDC” and “na TDC”, omdat de aanzuigopening voor het bovenste dode center was opened and near the passeren van het bovenste dode center was piloted.
For a Vespa engine with a draaischuifcontrole zijn de waarden van approx. 100 ° FTO and 65 ° NTO de best waarden voor a goed touring concept.
For zeer prestigious dishes, the concept that soms een hoger toerental must lift, can de waarden also necessary hoger liggen. 120 ° fod en tot 75 ° nod zijn here te vinden. The inlaathoeken must have been selected on the basis of the previous concept. The principle is om de aanzuigruimte zo large en zo small mogelijk te maken om de gewenste waarden te bereiken.
The tweetakthart van Platonika must have a krachtige eenheid zijn en daarom moet de inlaat in het bereik from 100 ° FTO to 65 ° NTO liggen.
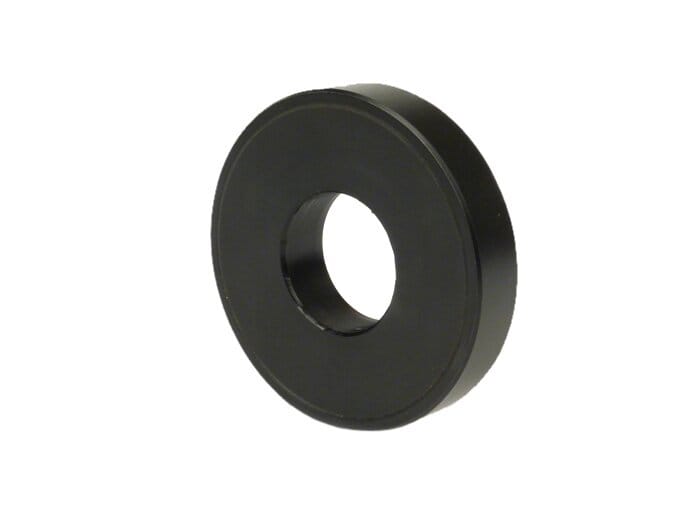
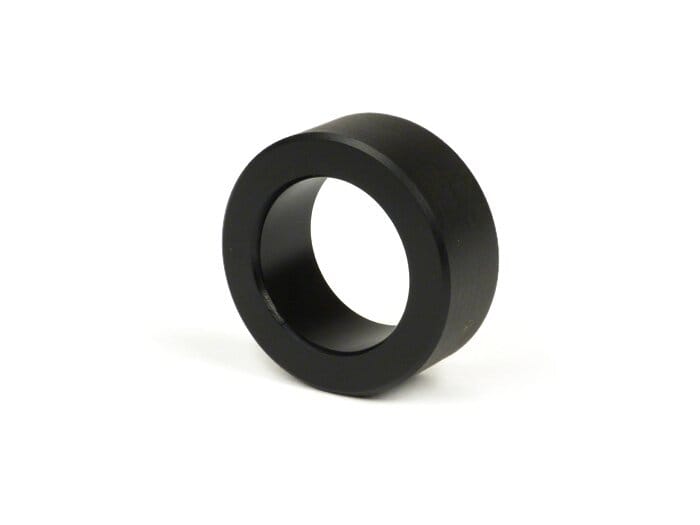
From the exact point of view of a place in the bepalen, for a smaller part of the warehouse and materials nodig.
-
krukas
en
zuigerlager-dummy's
in the engine box
Achtergrondmusiek PRO- 613912 (25x62x12mm) Achtergrondmuziek PRO-NBI 253815 (25x38x15mm)
- Graajijf of gelijkaardig meettoestel
Omdat het zeer waarschijnlijk is dat het inlaatgebied in het motorhuis moet been brought about by the hoeken te bereiken, wordt het Gebruik van zogenaamde lagerdummy's aanbevolen.
With the dummies, the krukas uit de engine cases have been used as being used in the warehouse storage areas of the krukas of the engine cases telkens te load en zonder slijtage, zelfs voordat the engine in working wordt gesteld.
The lagerpoppen zijn beschikbaar voor elke maat van de gangbare lager in the Vespa and Lambretta range.
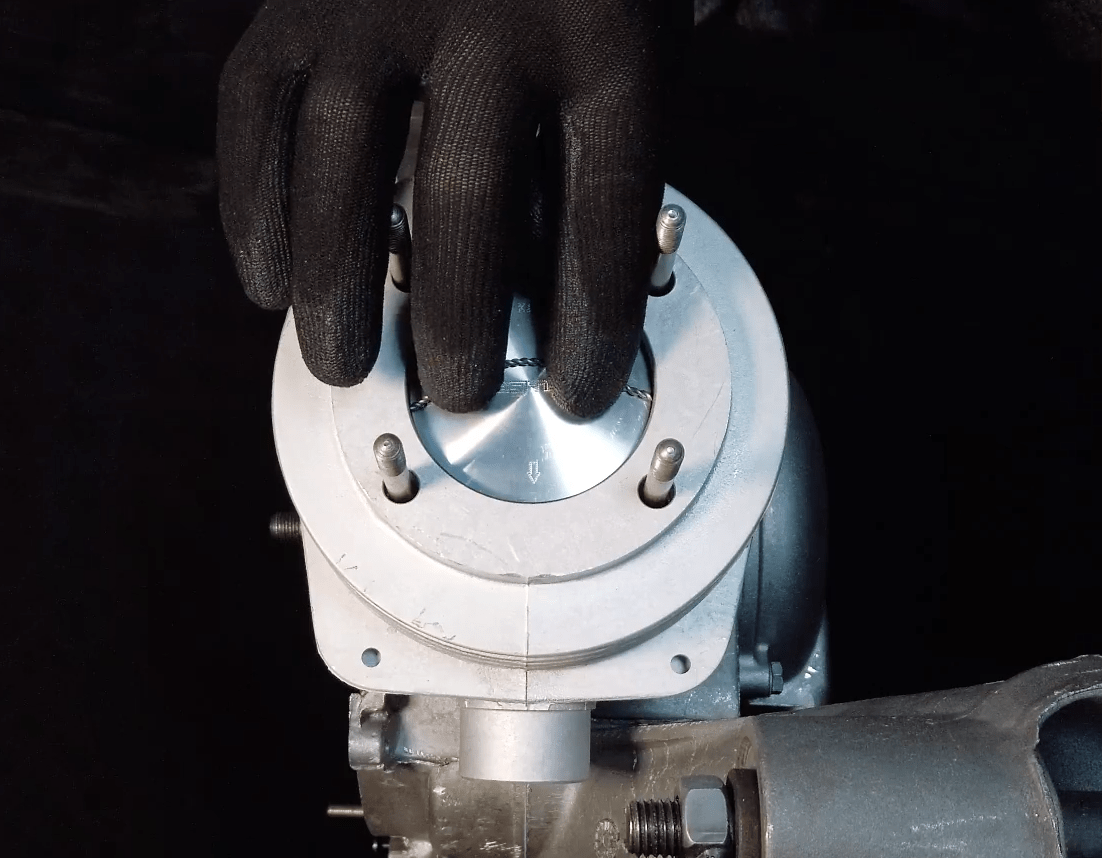
The first stap is het plaatsen van de lagerdummy's in het motorhuis. Vervolgens wordt de krukas gewoon in de lagerpoppen stoken en wordt de motor case via de tapbouten in de stator case schroefd.
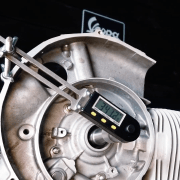
Om de TDC te bepalen zijn de cilinder en de zuiger nodig. Om de werkzaamheden soepel te laten verlopen, wordt de zuiger zonder rings in de cilinder geduwd. The wijzerplaat was paid with de houder op de cilinder geschroefd en zo kan de TDC van de krukas.
The alternatorzijde van de krukas is voorzien van een gradenschijf of a digital gradenboog. He zijn veel verschillende mogelijkheden. Het gemakkelijkst te hanteren zijn digital meet instruments zoals de Buzz Wangle Degree meters the geen referentiepunt naar de motorbehuizing nodig heeft.
As de krukas in TDC state, wordt de gradenschijf, zowel digital as analog, op “0” sigzet en then de krukas gedraaid om de aanzuiging te start en te beëindigen. De waarde, af te lezen op de draaiknop, geeft dan aan wanneer de aanzuiging open of gesloten is.
Om de inlaat op de gewenste maat te brengen, wordt de krukas vervolgens naar de gewenste waarde en went de positie van het krukasweefsel op de motorbehuizing marked.
As dit voor de waarde voor en na TDC is gedaan, de motorbehuizing weer has been opened and thanks to the positiedummies kan de krukas weer gemakkelijk been used.
Voorzichtigheid is bij de bewerking in het aanzuiggebied. The oppervlakken the draaiklep adichten may not overlap less than 1 mm with the krukas aan de zijkanten.
Nadat de inlaat op de juiste maat is bewendet en het carter is cleaned by het bewerkingsafval, wordt de krukas weer teruggeplaatst voor inspectie.
The indicator is then used to control the control of the control area is necessary.
Here we een lijst van de aanbevolen aanhaalmomenten van de fabrikanten seed gesteld. *
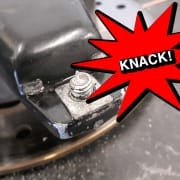
Waarschijnlijk is het iedereen wel eens overkomen, KNOCK en de schroef / bout is eraf of de schroefdraad is broken.
Geen problem, as u ave een moer of een tapbout heeft vernield, can deze meestal gemakkelijk been denied. Het begint al vervelend te been lifted as je geen vervanger beschikbaar.
Draad repair: Het wordt genuinely vervelend than ever a draad in het motorhuis lifts vernield! The wordt vaak complex en meestal duur, vooral as het niet kan been repared met een draadinzet. Voordat de behuizing must have been vested of last, is een Wire repair with Weicon-lijm Vaak mogelijk.
Behalve dat het te stevig is, is he natuurlijk ook not stevig enough! The losses are more of schroeven can gevaarlijk zijn. Je wilt niet eens need to think about what he can get as a wielmoeren of remschijven loskomen. Losse carburateurs, inlaatspruitstukken of cilinders veroorzaken snel engine damage. Afhankelijk van het toepassingsgebied zijn zelfborgende moeren of schroefborging de best keuze!
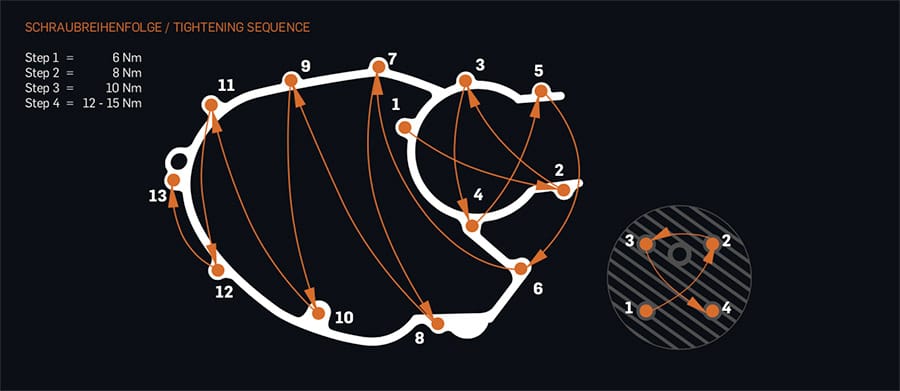
Daarnaast must also rekening been honored with het gelijkmatig aandraaien van schroeven en moeren. Weet iedereen door het wisselen van banden, bijvoorbeeld door een kruis te gebruiken om een gelijkmatige pasvorm te garanderen. Ook bij motorbehuizingen en cilinderkoppen moeten Spanningen, bijvoorbeeld door ongelijke spijkers, have been mediated. He zijn zelfs onderdelen waarvoor een bepaalde volgorde van bevestiging moet been overwogen. Volg here de instructies van de fabrikant.
Right hand? Left hand? Normally spoken de moeren en schroeven met de klok mee aangedraaid (right-handed) en tegen de klok in losgedraaid (left-handed) = normal right-hand schroefdraad. He zijn real ook uitzonderingen, zoals de poolmoer Lambretta en de linkerspiegels: vaak met leftse schroefdraad.
Before the vehicle toepassingen it is special gereedschappen, tractors And especially holders, zonder wilted onderdelen meestal helemaal niet verwijderd can be. U vindt het gereedschap voor uw scootermodel na het selecteren van het voertuig in de voertuiglijst:
In het geval van dichteverbindingen vaak doordringende olie zoals helps WD40!
We advise on consequent works with a momentleutel en de aanbevolen aanhaalmomenten aan te houden. Wij bieden discreet moments people for small and large opdrachten:
| original | MB Development | |
| Moer vliegwiel / ventilatorwiel | 68 Nm | 75 Nm |
| Cilinderuitlaat / insteekmoeren | 4.7-5,2 Nm | 9.8-11,8 Nm |
| cylinder head | 19-22 Nm | 20-24 Nm |
| Schroeven ontstekingsbasisplaat | 4.7-5,2 Nm | |
| Schroefverplaatsingsklauw (9 mm) | 4.7-5,2 Nm | |
| Moeren Afdekplaat tandwielkast | 9.8-11,8 Nm | 14-17 Nm |
| Schroef voorwiel | 29-34 Nm | |
| Moeren chain end (10 mm) | 4.7-5,2 Nm | |
| Draaipen van de Achterste remschoen (overbrengingsverhouding contr.) | 4.7-5,2 Nm | |
| Moer Afdekplaat Achterwiellager | 4.7-5,2 Nm | |
| Remtrommelmoer (8 ° + 11 ° cone) | 161 Nm | |
| Remtrommelmoer (20 ° cone) | 203 Nm | |
| Zekering Remtrommelmoer | 14-14,7 Nm | |
| Pre-connecting | 54-55 Nm | |
| Moer Vooras | 54-55 Nm | |
| Velgbevestigingsmoeren | 19.6-22,5 Nm | |
| Oliekeerring Bevestigingsplaat (overbrengingsverhouding contr.) | 4.7-5,2 Nm | |
| Chain gear (overbrengingsverhouding contr.) | 4.7-5,2 Nm | |
| Versnellingsbakafstand (overbrengingsverhouding contr.) | 0.07-0.30 Nm |
 Koppels_VespaLargeframe-to-1977
| Nm | |
| Notes Behuizingshelften | 12-15 Nm |
| stator plate roef | 3-5 Nm |
| Moer Koppeling | 40-45 Nm (change from coupling to 65) |
| Moer Hulpas as | 30-35 Nm |
| Schakelkruis (left schroefdraad, schroefvergrendeling) | 15-18 Nm |
| Moer rotor (poolwiel) | 60-65 Nm |
| Carburateurbevestigingsschroef | 16-20 Nm |
| Schroef coupling cover | 6-8 Nm |
| Aansluiting stop contact (P200) | 75-80 Nm |
| Moeruitlaat op cilinder | 16-26 Nm |
| Aluminum cilinder (neem de instructies van de fabrikant in eight) | 14-16 Nm |
| Moer cylinder head (P 125 X, P 150 X, M7) | 16-18 Nm |
| Moer cylinder head (P 200 E, M8) | 20-22 Nm |
| Bougies (neem de instructies van de fabrikant in eight) | 20-24 Nm |
| Kruiskopschroef motor drum arm | 60-75 Nm |
| Montage van de moer or de schokdemper | M9 = 14-22Nm, M10 = 16-24Nm |
| Moer Velgbevestiging Remtrommel (v / h) | 20-22 Nm |
| Nm | |
| Notes Behuizingshelften | 12-15 Nm |
| stator plate roef | 3-5 Nm |
| Moer Koppeling | 40-45 Nm (change from coupling to 65) |
| Moer Hulpas as | 30-35 Nm |
| Schakelkruis (left schroefdraad, schroefvergrendeling) | 15-18 Nm |
| Moer rotor (poolwiel) | 60-65 Nm |
| Carburateurbevestigingsschroef | 16-20 Nm |
| Schroef coupling cover | 6-8 Nm |
| Aansluiting stop contact (P200) | 75-80 Nm |
| Moeruitlaat op cilinder | 16-26 Nm |
| Moer starter motor (M8) | 10-15 Nm |
| Schroef van de start engine (M6) | 6-8 Nm |
| Aluminum cilinder | 14-16 Nm (draw specificaties from the manufacturer) |
| Moer cylinder head PX 125-150 (M7) | 16-18 Nm |
| Moer cylinder head PX 200, (M8) | 20-22 Nm |
| Bougies (neem de instructies van de fabrikant in eight) | 20-24 Nm |
| Kruiskopschroef motor drum arm | 60-75 Nm |
| Montage van de moer or de schokdemper | M9 = 14-22Nm, M10 = 16-24Nm |
| Moer Velgbevestiging v / h remtrommel | 20-22 Nm |
| V50, PV, ET3 | PK | |
| Notes Behuizingshelften | 13-15 Nm | 13-15 Nm |
| Schroef anchor plaat | 3-5 Nm | 3-5 Nm |
| Schroefkick starter | 23-26 Nm | 23-26 Nm |
| Moer Primaire uitrusting | 50-55 Nm | 50-55 Nm |
| Moer Koppeling | 40-45 Nm (afhankelijk van de koppeling tot 65 /) | 40-45 Nm (change from coupling to 65) |
| Schroef for ploegvork | 17-22 Nm | |
| Moer Paalwiel / ventilatorwiel | M10 = 45-50Nm, M12 = 60-65Nm | |
| Moer Zuigpoort | 6-8 Nm | 8-10 Nm |
| Uitlaatspruitstuk op cilinder (M6 / M8) | 8-10 Nm | 8-10 Nm |
| Schroef coupling cover | 8-10 Nm | PK 50: 8-10 Nm PK 80-125: 9-10 Nm |
| Moer Remankerplaat | 17-22 Nm | 17-22 Nm |
| Kruiskopschroef motor drum arm | 38-50 Nm | |
| More rem drum | M14 = 60-100Nm, M16 = 90-110Nm | |
| Olievuller and aftapplug | 3-5 Nm | |
| Schroef for the handshake of the transmission works | 17-22 Nm | |
| Bout uitlaat om arm te scommelen | 18-20 Nm | 18-20 Nm |
| Schroef Pick Up | 2-2,5 Nm | 2-2,5 Nm |
| Schroef voor fan assembly (Dynastarter) | 8-10 Nm | |
| Moeder Group Dynastarter (?) | 60-65 Nm | |
| Aluminum cilinder | 13-18 Nm (target specifications from the manufacturer) | 12-18 Nm |
| Moer cilinderkop | V50: 14-18 Nm | PK 50: 13-18 Nm |
| Moer cilinderkop | PV, ET3: 14-18Nm | PK 80-125: 13-18 Nm |
| Cylindervoetmoer | V50: 12-16 Nm | PK 50: 12-16 Nm (rivet HP) |
| Bougies (neem de instructies van de fabrikant in eight) | 14-18 Nm | 18-24 Nm |
| Moer Naafafsluiter (or zwenkarmdeksel) | 50-55 Nm | 50-55 Nm |
| Borgmoer voorwielas (V50 with zonder speedo-aandrijfrondsel) | 45-50 Nm | 45-50 Nm |
| Ringmoer van de quickheidsmeteraandrijving | PV / ET3: 45-50 Nm | |
| Moer bovenste schokdemper assembly | 20-27 Nm | PK 50: 20-30 Nm PK 80-125: 30-40 Nm |
| Montage van de moer or de schokdemper | 20-27 Nm | PK 50: 20-30 Nm PK 80-125: 20-27 Nm |
| Moer van de motorzwenkarm on the frame | 38-52 Nm | 38-52 Nm |
| Bovenste loopvlak van het bovenste balhoofdlager (of handvast tot aan het contact met de lagerkogels) | 6-7 Nm (control) | 50-60 Nm (control) |
| Bovenste ringmoer om het bovenste stuurlager te grendelen (near het aanhaalmoment de moersleutel approx. 1,4 omwenteling (80-90 °) terugdraaien) | 50-60 Nm (control) | |
| Stuurbout | 30-44 Nm | 30-44 Nm |
| Topkopsluitmoer | 30-40 Nm | |
| Moer Achterwielas | 90-110 Nm | 90-110 Nm |
| Sheet music Velgen v / h op remtrommel | 23-27 Nm | 20-27 Nm |
| Centrale moer vorwiel | 75-90 Nm | PK 50: 50-80 Nm PK 80-125:? |
[printvriendelijk]
* We have worked here in advance, so all information is desondanks with a guarantee.
De Vespa motor - het hart van Platonica - heeft in het laatste article de wernste stuurhoeken van de krukas kregen
Before the complete assembly of the motor can plaatsvinden, moet al het work dat de chips have been generated. Alleys then can de behuizing been cleaned.
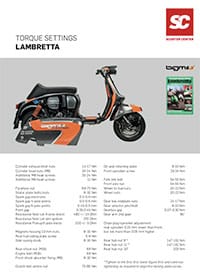
In the following stage there were also overstroom channels van de cilinder in de motor meegenomen.
De BGM177 is zo ontworpen dat de cilinder perfect functioneert, zelfs op de original overloop channels.
In ons project we really fit in with the company in accordance with de zaak direct aan te. Een betere vulling van de cilinder betekent altijd een hoger mogelijk coupling.
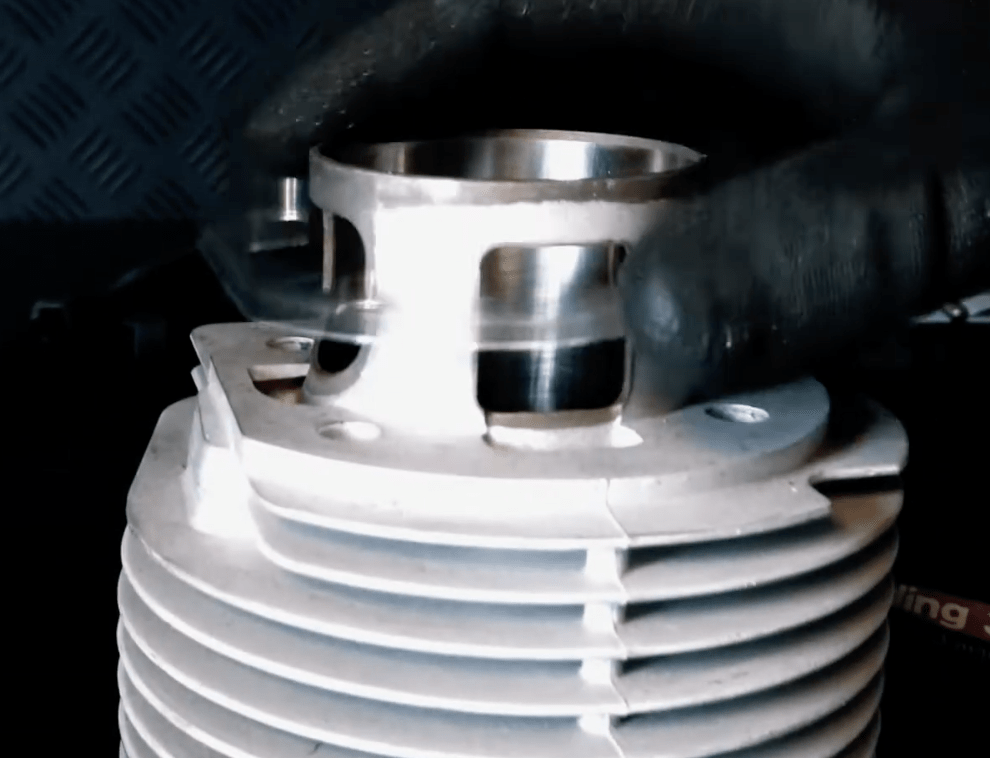
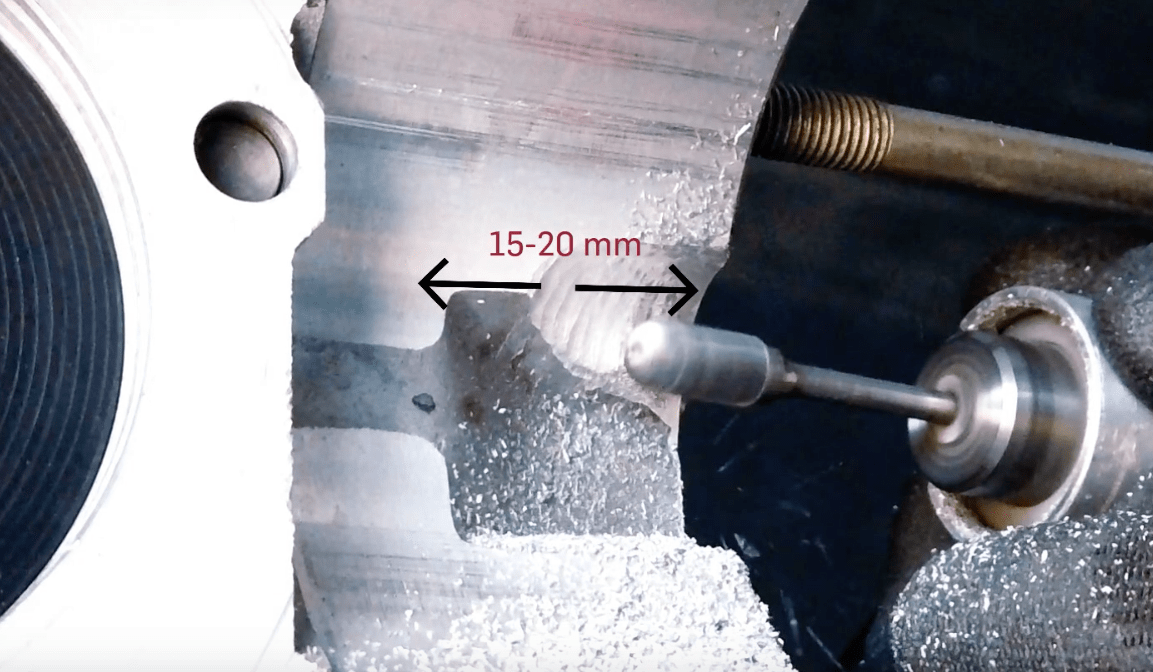
Om de contouren van de overstroomkanalen over te brengen naar de motorbehuizing is het eenvoudigst om de bijpassende cilinderbasispakking op de behuizing te plaatsen en zo de contouren over te brengen naar de behuizing.
Het sealoppervlak can het best been marked with a foil. Vervolgens wordt de contour of the overloop channels marked with behulp van de pakking van de cilinderbodem.
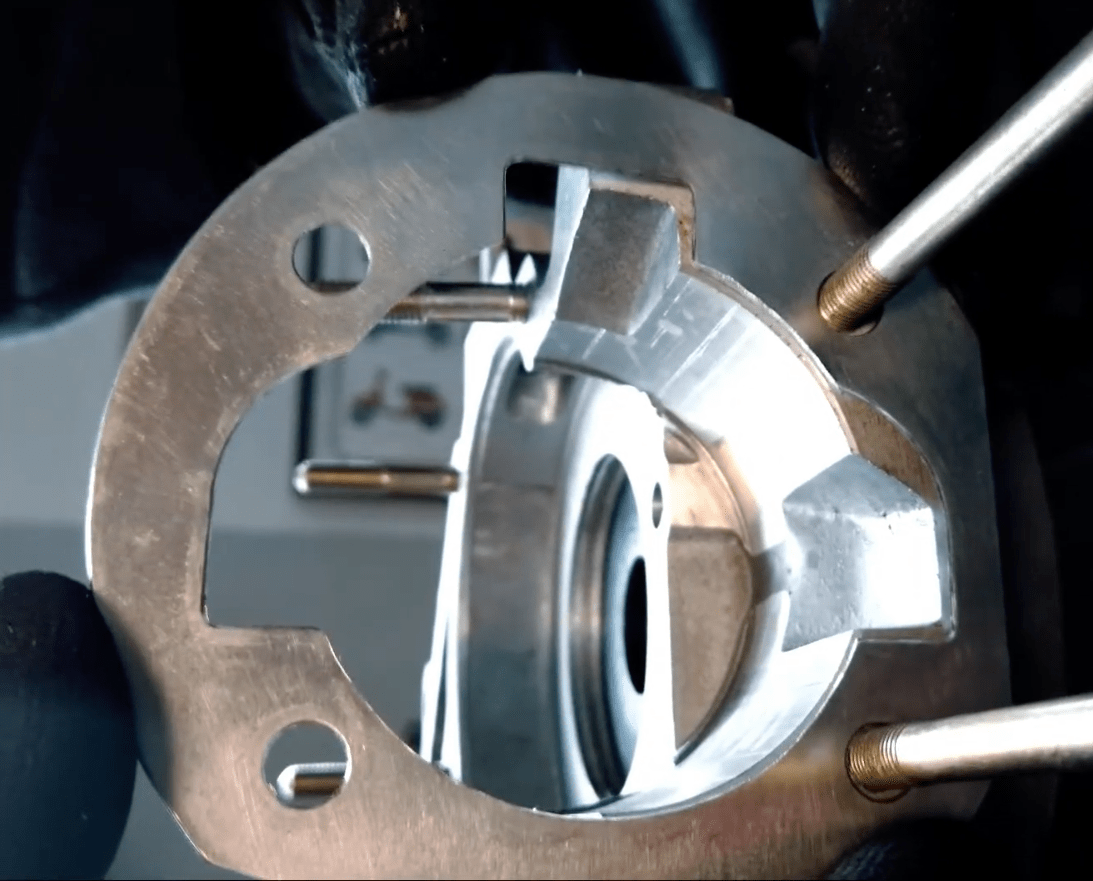
With a free wordt dan the contour in de motorbehuizing adapted. Het is niet nietig om het kanaal precies zo diep te frezen als in de oorspronkelijke motorbehuizing.
The basic design of the BGM 177 cylinder It is important that the Zuiger voldoende doorsnede bidt.
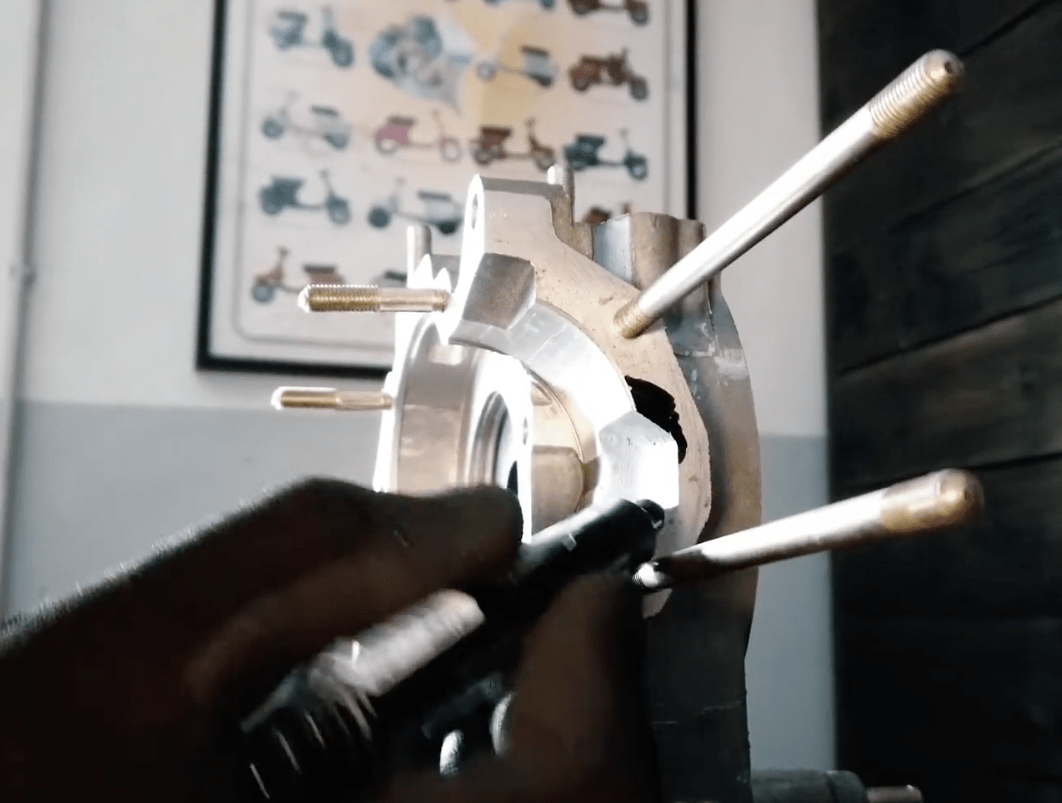
Het Gegenereerde oppervlak van het aangepaste kanaal kan ruw has been freed. Verder polijsten is not necessary. So long he geen ruwe hoeken en randen meer zijn, is een light opgeruwd oppervlak perfect.
Nadat de kanalen zijn gefreesd en de behuizing weer is schoongemaakt, gaat de montage verder ..
Alleen het best van het best, there is a different aan special ontwikkelde products from het merk bgm. Het zou voor mij niet gemakkelijk zijn geweest om the best products uit te kiezen, maar successful heeft de technical afdeling van het Scooter Center mij here ondersteund en heeft in a couple uur tijd een indeloze lijst met details opgesteld.
Het zou maanden geduurd hebben, want het gaat not all om de cylinder - BGM PRO 177 cc, de Stoel BGM Pro SportTouring or for schokdempers - BGM PRO SC F1 SPORT, maar really ALL onderdelen, van de sluitring tot het chassis Volledig LML Star. Dankzij de wishlistfunction van de online shop kunt u nu all other items that have been used in de Platónika:
Tip: Maak verlanglijstjes en deel ze met je vrienden, zodat ze kunnen voor cadeaus om je dit jaar met Kerstmis te geven.
https://blog.scooter-center.com/naechstes-projekt-px-177cc/
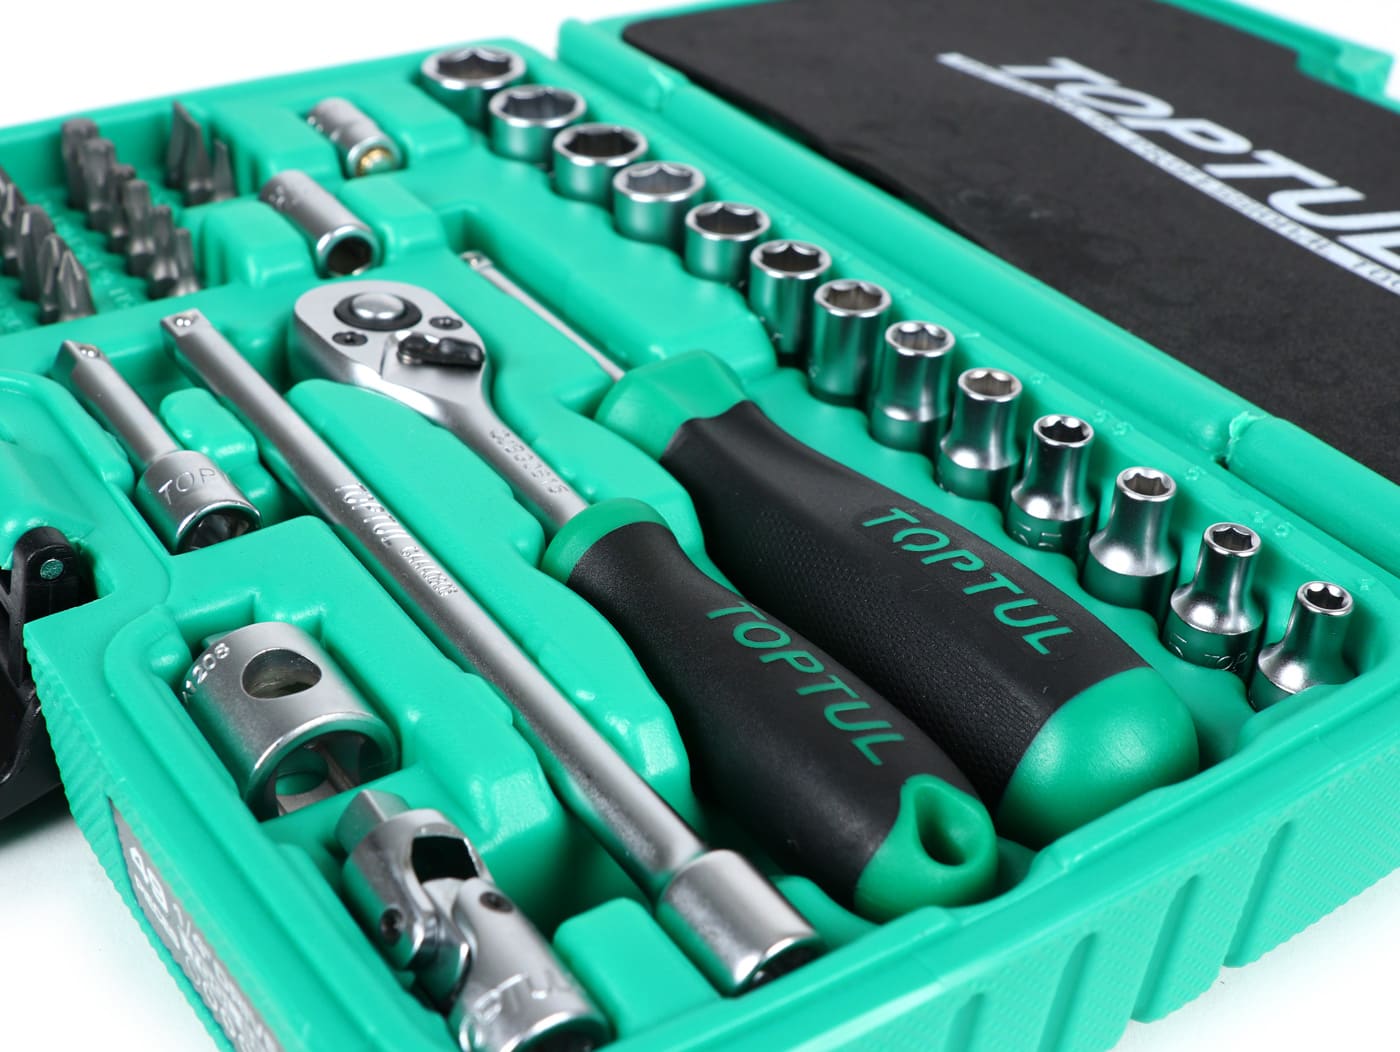
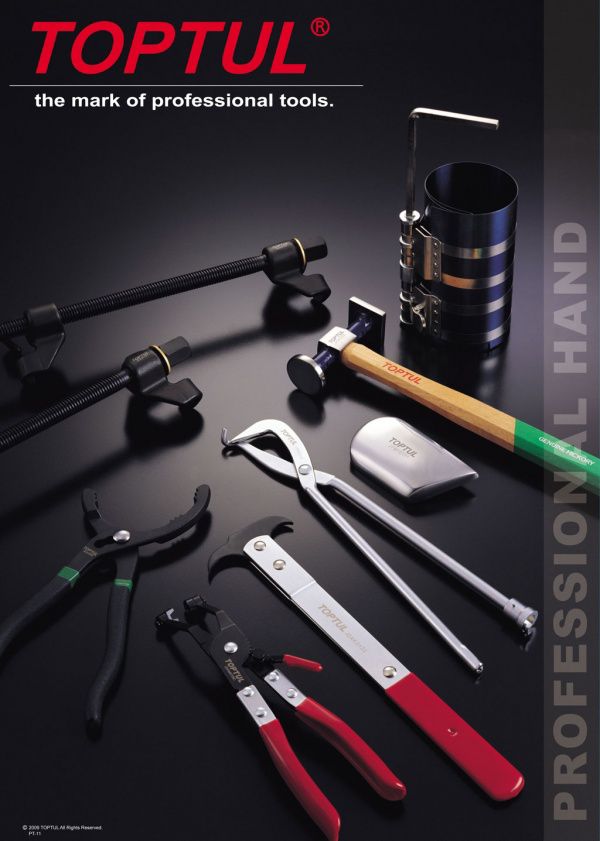
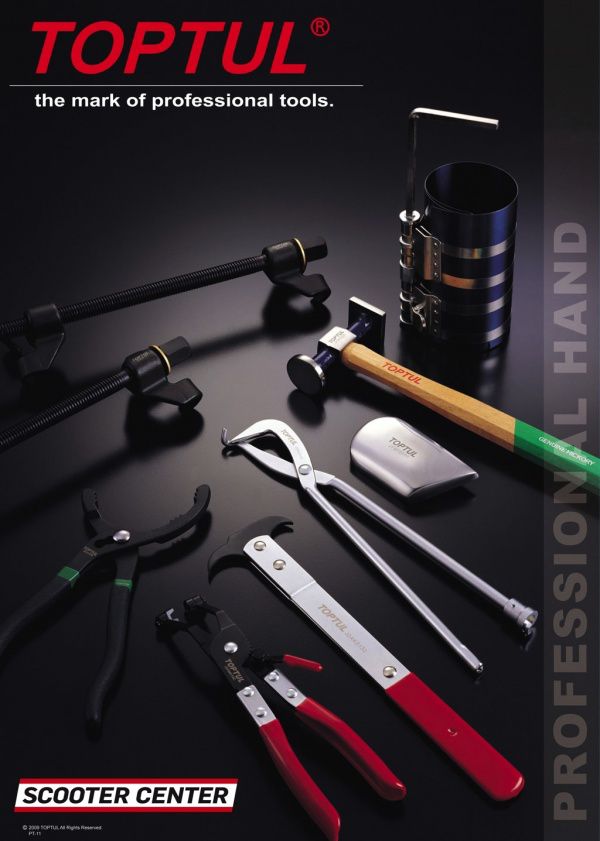
Our gewedschappen van het merk TOPTUL Vervaardigd in 1994 by Rotar Machinery Industrial Co. The ROTAR Groep heeft vele jaren ervaring in het vervaardigen en fijnbewerken van uitsluitend zorgvuldig ontwikkelde en hoogwaardige advertised Toptul-gereedschappen voor de professional. Alleen de meest betruwbare vereedschapsstaal were slightly broken, zo as chroom-molybdeenstaal of chroom-vanadiumstaal.
With the right assortment of TOPTUL products we have a selection for you scooters opgenomen in het Scooter Center programma. The Gesedschappen was noted for a cheap one prijs-prestatieverhouding. Al bijzonder popular bij ons zijn de TOPTUL gesedschapssets, Verkrijgbaar in vele maten - van handige moersleutel, moersleutel en dopsleutelsets tot complete gefedschapskasten voor de Vespa of scooterwerkplaats.

With our bgm classic bands as voorbeeld tonen we de juiste montage van de band (splitvelg).
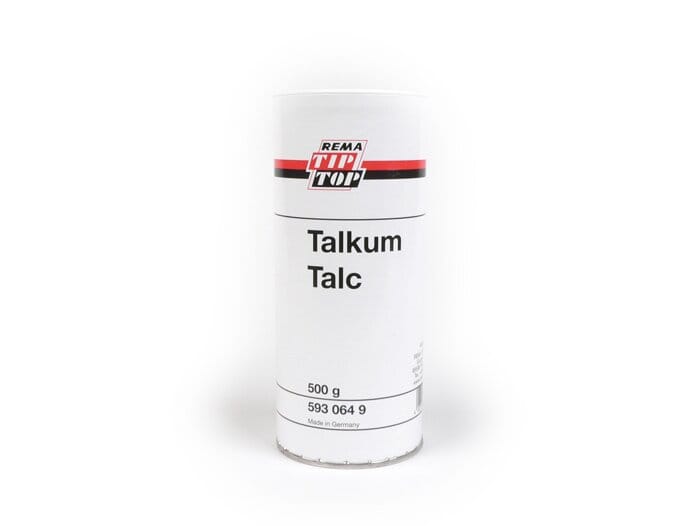
Bij het afrollen van de band is de binnenband onderhevig aan doorbuiging en daarom is het raadzaam om de wrijving the wordt veroorzaakt door het talcum powder in de band te decrease.
Het witte poeder reduces the wrijving tussen de binnenband en de band en daarmee de slijtage van de binnenband.
A small hoeveelheid talkpoeder was written in the band gestrooid en de binnenband was net genoeg met lucht gevuld zodat deze nog niet uitzet en ook nog eens bestrooid met wat talkpoeder.
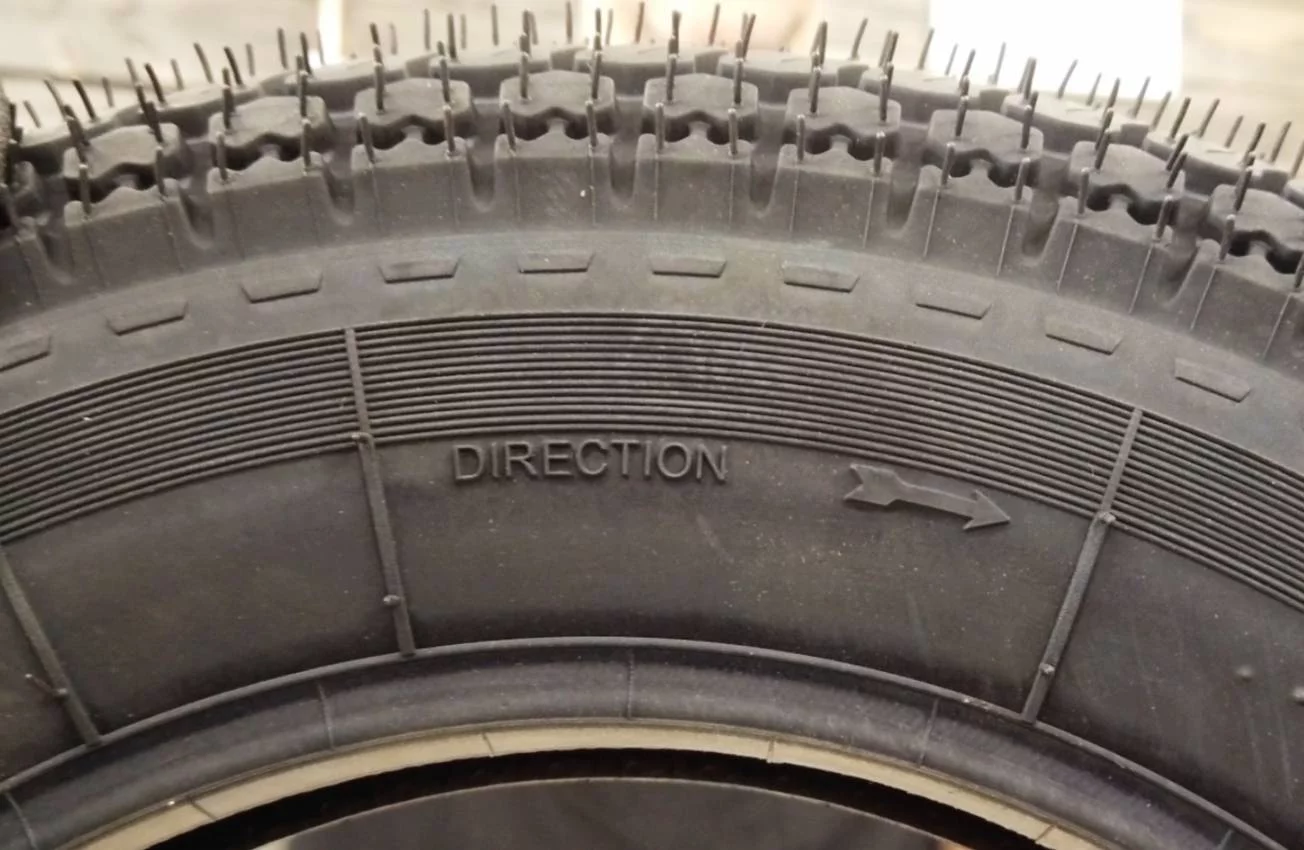
Voordat u de inside band assembled, serves first controleren of the band een door de manufacturer opgegeven draairichting heeft.
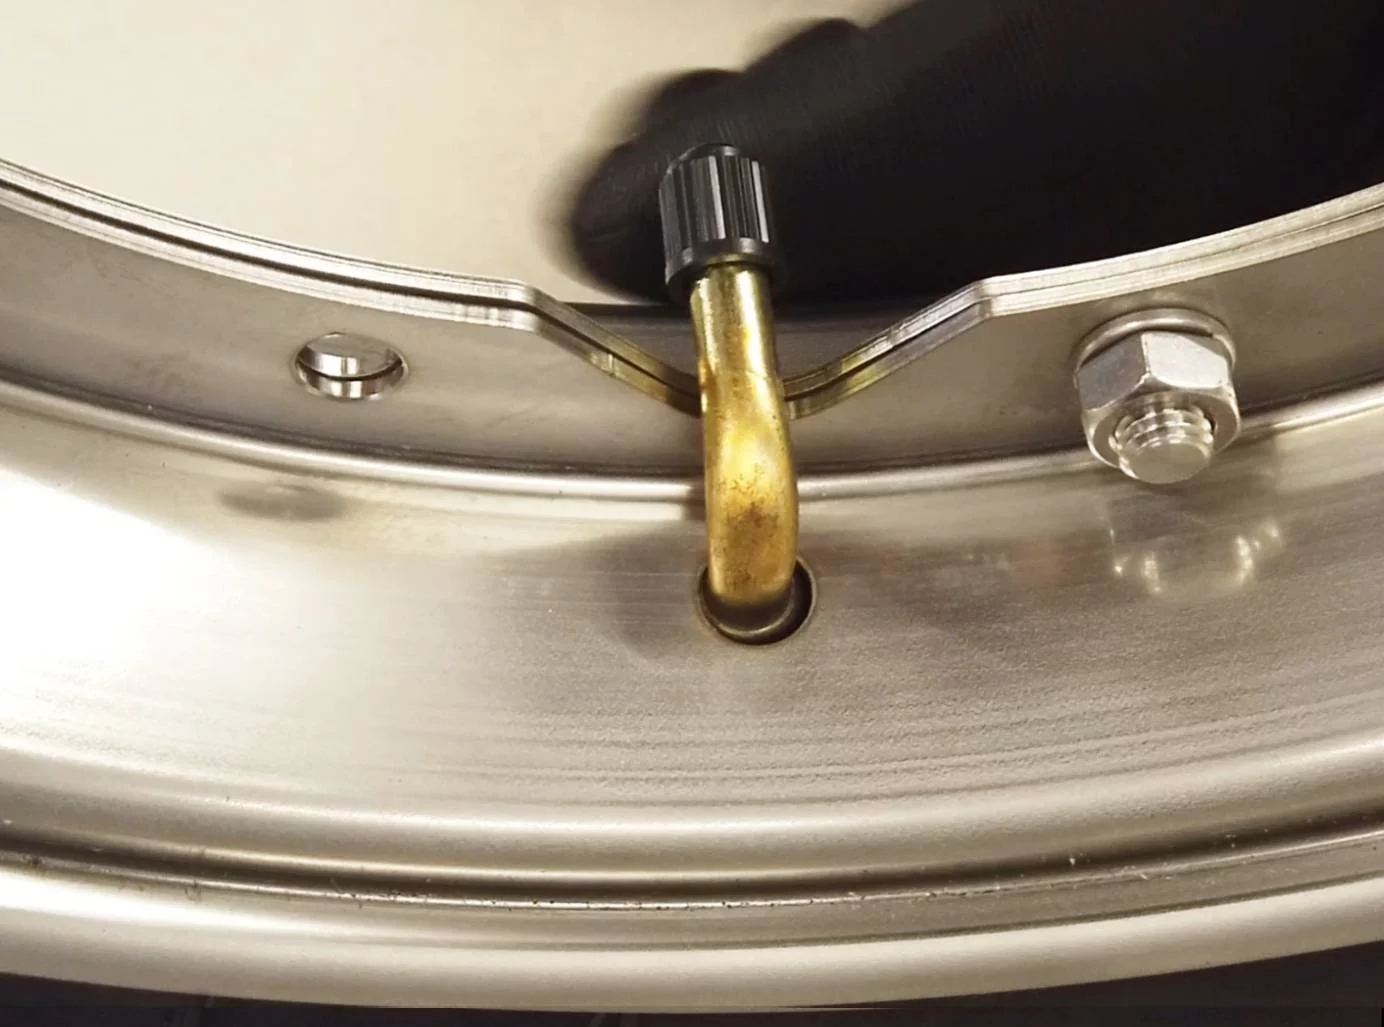
This indication is te vinden op onze bgm classic band in the front of a pijl op a zijwand van a band and wijst in the wiring of the band tijdens het rijden.
The inside band is then used in the draairichting van de band, zodat het ventiel naar de linkerzijde in de rijrichting wijst, what is typical for Vespa.
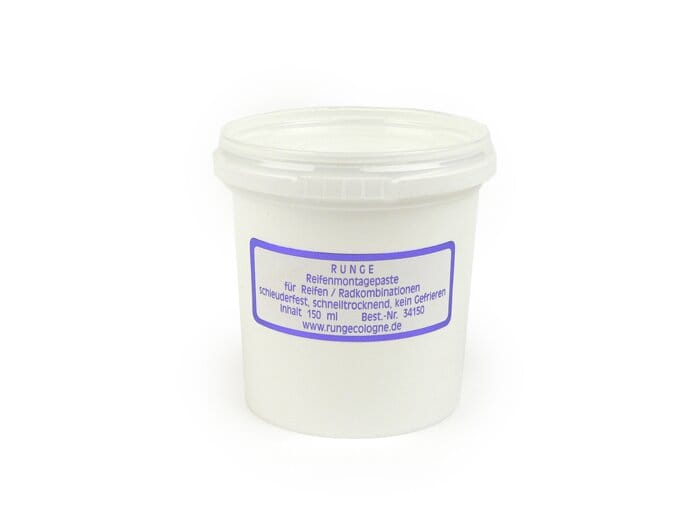
Om de band op de velg te monteren is de drawnaamde assembly pasta a real hulp. Hiermee kan de band zeer ver op de velg been duwd. The maakt het veel gemakkelijker om de tweedelige rand in elkaar te schroeven.
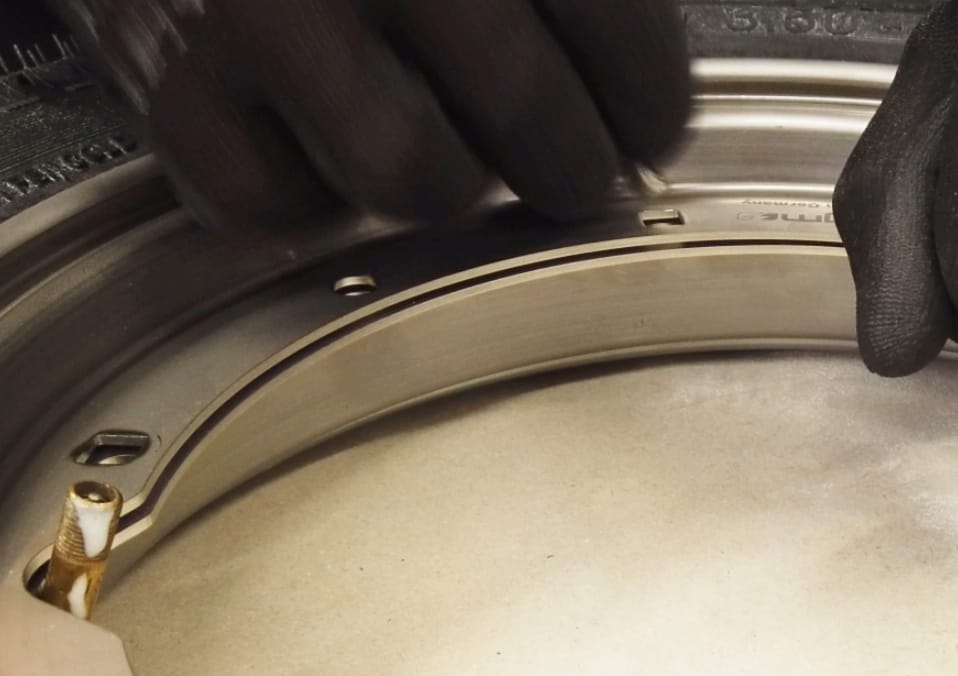
First wordt het ventiel door de brede help van de velg gestoken en vervolgens wordt de velg in de band geduwd.
De small help van de velg heeft also an opening waardoor het ventiel toegankelijk is. Let him bij het inbrengen van het ventiel in de band op dat de ruimte voor het ventiel is uitgelijnd met de ruimte in de brede velghelft.
Our bgm roestvrijstalen velgen liftable boutiques. Let him bij de montage op dat de kop van de bout in the square wordt gestoken om de rotatie tegen te gaan.
The vijf moeren van de velghelften zijn kruislings bevestigd with 16 - 18Nm. Zorg ervoor dat de slang niet tussen de velghelften wordt clamped.
Pomp de band runs op met 2 bar en controleer de juiste zitting van de band en het ventiel in de velg.
Finished
Music: Rene Winkler from SC / NXT Level Title: First één dub 4
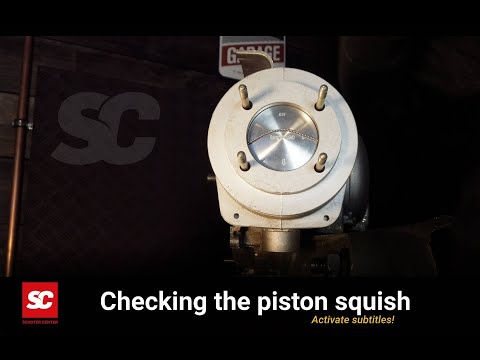
In our tweede tutorial we hoe we het knijpunt van a bgm177-cylinder can not be purchased adjust meten en a. Natuurlijk is de volgorde van toepassing op all other cilinders, maar de afmetingen kunnen sterk variëren, afhankelijk van de fabrikant of de gewenste toepassing van de cilinder en kunnen afwijken van onze afmetingen in the video.
For het hart van Platónika we eerst de bgm177 cylinder droog gemonteerd.
That said the zuiger in eerste instantie zonder zuigerringen en alleen met het bovenste lager van de krukas is mounted. When de cilinder dus meerdere painting must have been put in place by de juiste knijpmaat, de schroefdraad van de zuigerringen omzeild tot de ein Montage.
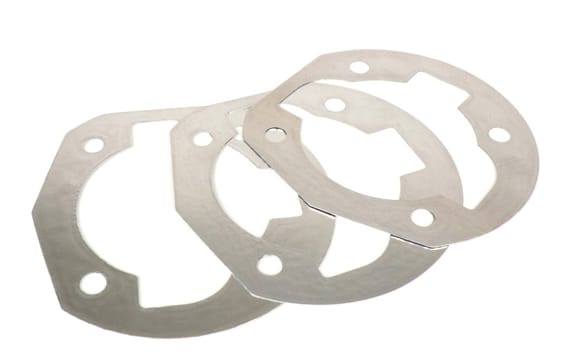
De bgm177 cylinder word geleverd met verschillende gaskets voor de cilindervoet met verschillende dictes of 0,2, 0,4 and 0,6 mm.
The cilinder is gemonteerd zonder afdichting voor de cilindervoet. Om de knijpmaat in kaart te brengen gebruiken we zacht should have a diameter of 2mm.
The length of the stuk soldeer moet overeenkomen with the diameter of the gate. A little overmaat kan geen kwaad om de soldeertin with poster tape op de zuiger te plaatsen, parallel to de zuigerpen.
The cilinderkop wordt seeds met de pakking gemonteerd en gefixeerd. Door de krukas te draaien is wordt de zuiger één keer over het TDC = bovenste dode punt gedraaid. Daar wordt het soldeer tussen de zuigerkop en het afknijpoppervlak van de cilinderkop tot de knijpmaat geperst en vormt zo de good knijpmaat.
Nadat de cilinderkop weer is demonteerd, can het brijzelde soldeer aan de uiteinden eenvoudig met de schuifmaat. In ons voorbeeld the result is a metering of 0,62mm.
De Manual of ours bgm177 cylinder geeft ons as aanbeveling een knijpmaat of 1mm.
Om met de bestaande knijpmaat of 0,62 mm tot 1 mm te komen, a cilindervoetpakking of 0,4 mm has been toegevoegd; om zuiver rekenkundig dead de were maat van 1 mm te komen.
https://blog.scooter-center.com/tutorial-stehbolzen-vespa-px/

The next week will start we met onze Vespa tutorial videos, a series van het Vespa Platónika bgm177 project van het Scooter Center.
Platónika is de naam van de scooter. A Vespa PX, which we fully herbouwen met nieuwe onderdelen uit de Scooter Center voorraad. Natuurlijk gebruiken we onze best achtergrondmuziek. Profiteer of our knowhow, krijg veel tips en neem een kijkje achter de schermen.
Volg het project here op de Scooter Center blog:
https://blog.scooter-center.com/category/sc-shop-demonstrator/platonika/
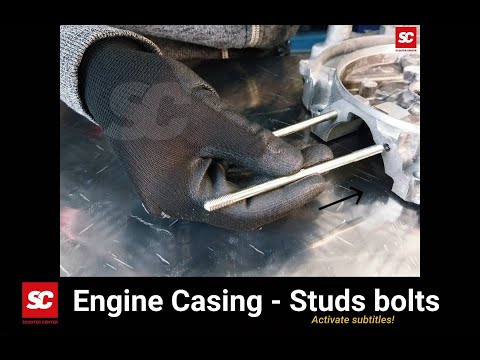
In het kader van ons project Platonika dat we samen met Maryzabel op de wielen zetten, bereiden we vele belangrijke stappen van de assemblage voor, also in video's as a tutorial.
Our first tutorial toont de belangrijke verschillen tussen de verschillende soorten noppen en de juiste montage.
Veelgestelde vAGEN zoals
been answered in deze Vespa tutorial.
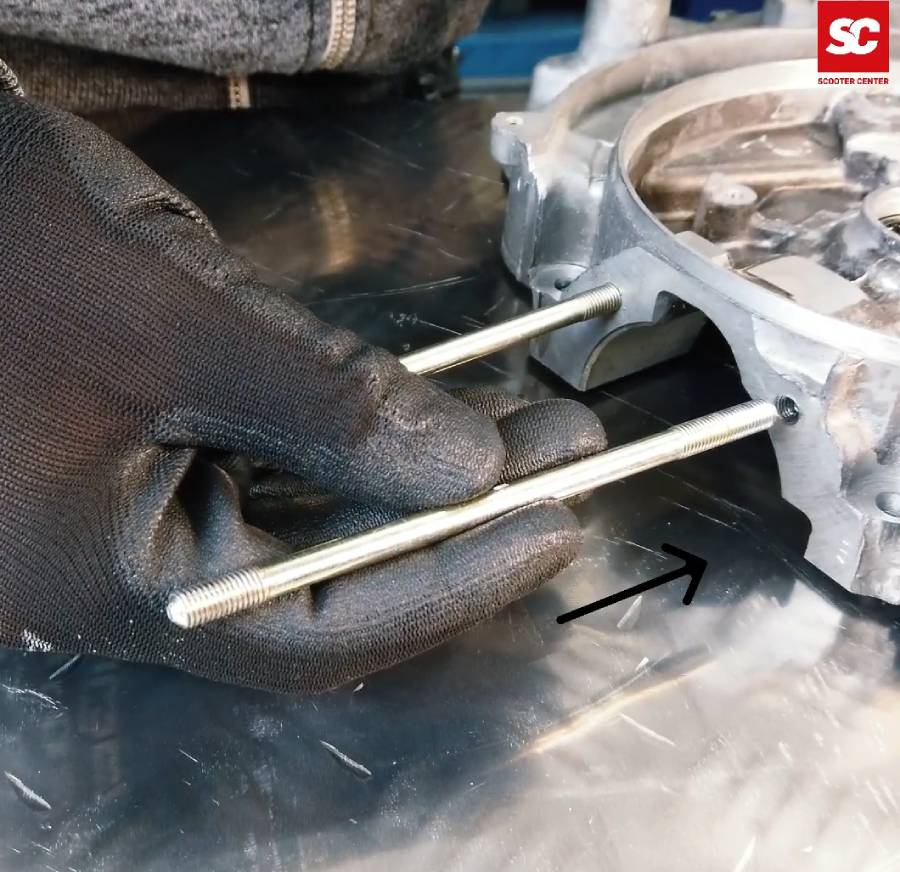
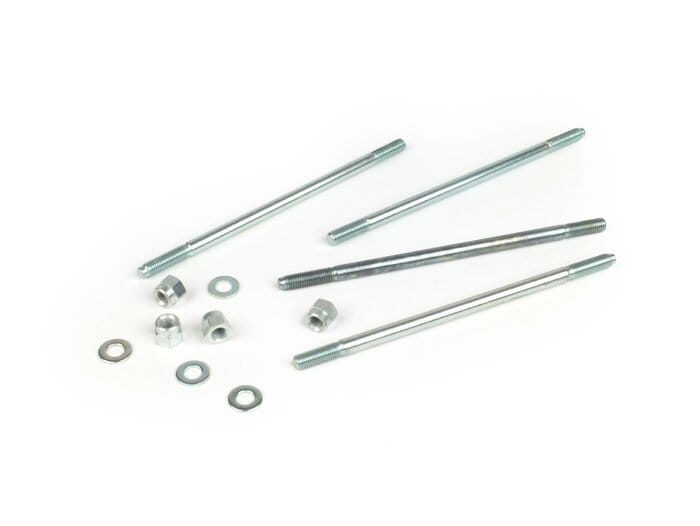
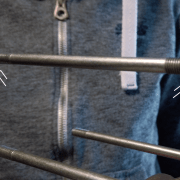
In the Vespa area, the draden van de original tapbouten have a “thick” and a “thin” zijde.
De draad is aan de dunne kant korter en aan de dikke kant longer.
De zijde met de dikkere schroefdraad wordt daarom in het motorhuis schroefd en klemt daar, with the motorhuis intact is, automatically vast. The tapbout is dus beveiligd against zelfontlading. De vrije lengte die boven de motorbehuizing blijft, wordt bepaald door de cilinder en cilinderkop.
Naast de verschillende lengtes van de draden zijn he nog other notes about ze te onderscheiden.
Here zijn de most prevailing:
As een van de uiteinden afgerond of duidelijk is moved to a tapbout en het other uiteinde vlak is, wijst de afgeronde zijde naar de cilinderkop en wordt de zijde met het vlakke uiteinde in het motorhuis geschroefd. Stuikbouten with a schouder worries he also has been installed before the ringen en moeren later gemakkelijker in the cilinderkop.
Aan één kant van de tapbout was a markering in the front of the van een ring onder de schroefdraad. De gemarkeerde zijde wijst naar de cilinderkop en de zijde zonder markering wordt in de motorbehuizing geschroefd.
As het ene uiteinde van de tap is marked, wat een punt, een ster of een soort kruis kan zijn, dan is dit de vrije kant van de tap en wordt het other uiteinde in de behuizing geschroefd.
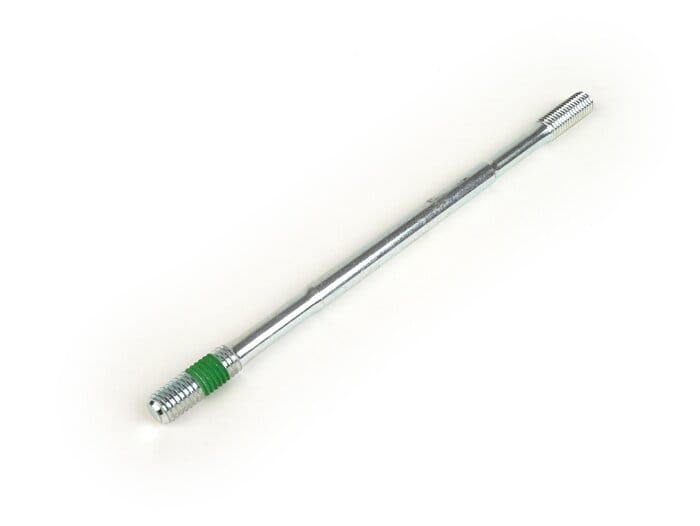
Schroefbouten with door of the manufacturer attached schroefvergrendeling zijn gemakkelijk te from the material. De zijde met het schroefslot, duidelijk zichtbaar in blauw, groen of rood, wordt in de behuizing schroefd. The vrije pagina is leeg, zonder some volgorde van back-up.
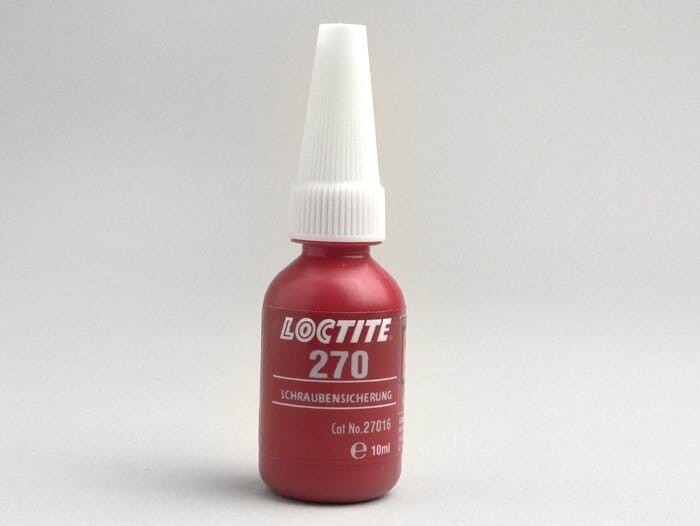
zijn bijvoorbeeld tapbouten the een duidelijk mark zijde hebben, maar waarvan de montagezijde aan het motorhuis geen dikkere schroefdraad heeft. Deze tapeinden must have been mounted with schroefvergrendeling.
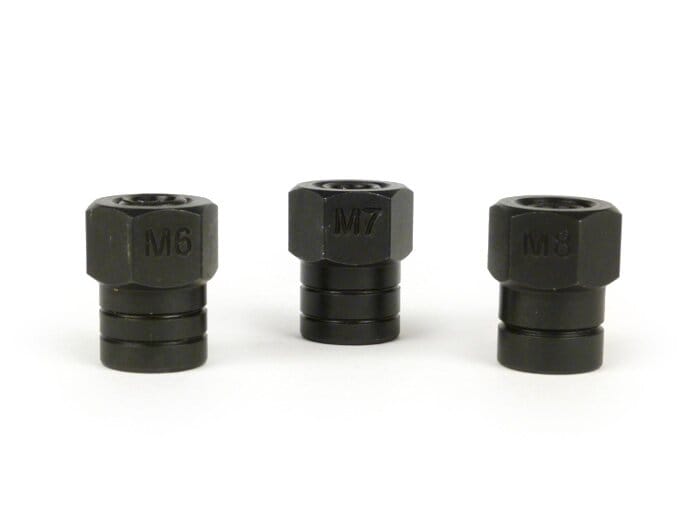
From the tapbouten veilig te monteren, biden wij deze eenvoudige maar ingenieuze tapboutcelebrationsset aan. The result is that the tapbout bij het vastschroeven wented vastzit en niet zomaar kan doordraaien, zoals vaak het geval is bij twee contramoeren.
Gereedschapsset voor het monteren van tapbouten -BGM PRO- M6 / M7 / M8
Platónika is de naam van de scooter. A Vespa PX, which we fully herbouwen met nieuwe onderdelen uit de Scooter Center voorraad. Natuurlijk gebruiken we onze best achtergrondmuziek. Profiteer of our knowhow, krijg veel tips en neem een kijkje achter de schermen.
Volg the project here op de Scooter Center blog
Get all video's op ons Youtube Channel
https://blog.scooter-center.com/das-herzstueck-vespa-platonika-bgm-177/