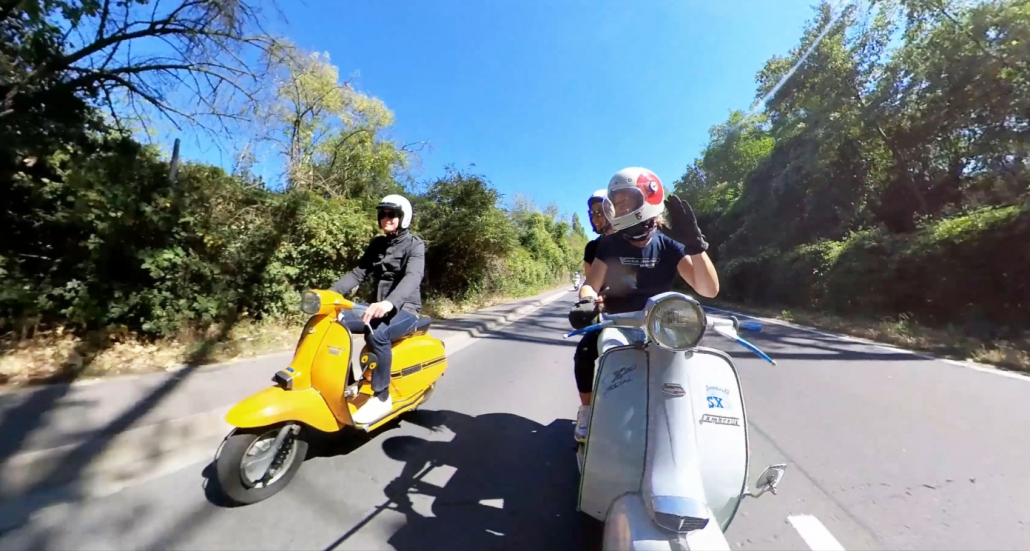
Platónika test drives after more than 7,000 km is more than completed, so here we go!

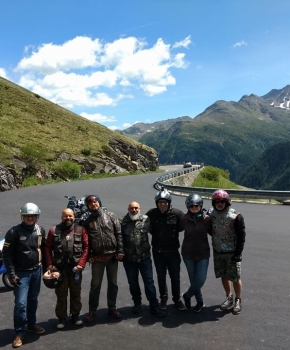
Together with Scooter Center to Zell am See from 10th to 12th September 2021

Enough of mile munching going and leaving work from day to day. It is about time for those epic trips, meeting other Vespisti and collecting memories for a lifetime. The Vespa Alp Das will be the perfect start for new adventures!
In my personal ranking of events, VAD have a special place:

  • It was the second biggest event that I took part in. The biggest were the Vespa World Days in Celle, both in 2017. At the VAD I celebrated together with 1.000 Vespistas from 20 different nations.
  • It was the first meeting after I set foot on European soil.
  • It was the first time to see so many Vespas together, including the 60 oldest Vespas on the continent at the Faro Basso race.
  • It was also the longest event I have participated in, 8 days non-stop fun.
  • The oldest Vespa I’ve ever ridden, the beautiful Vespa Super Sport 180 from Franz, which he nicely lent me.
  • The most beautiful landscapes that my eyes have seen.
  • In addition, it was the beginning of beautiful friendships, of which I have been able to continue reinforcing.

Back to the future

Now the reasons are others, I‘m going to work there! As part of Scooter Center, which is the official sponsor of the event. The plan -for certain- is riding Platónika there. I‘m getting ready to show you first-hand all this adventure, by now here are some good memories from 2017:


the good friends that I made

The Colombian representation!

Super Sport 180 of Franz


See you there!
https://www.the-alp-days.at/


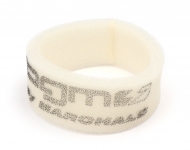
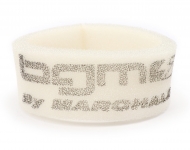
Motovespa Luftfiltereinsatz bgm PRO

Air filter insert bgm for Motovespa air filter

The identical air filter inserts are fitted to many Motovespa Largeframe models. Often this important component for the protection of the engine is missing or is no longer in a usable condition. For this reason, we have produced a high-quality air filter insert for the Spanish licensed versions of the Vespa Largeframe models.

Air filter fleece bgm PRO for Motovespa Largeframe

High quality filter fleece from Marchald (Italy), manufactured for bgm PRO. Suitable for the direct-intake engines (carburettor sits directly on the cylinder) of the Largeframe Motovespa engines.

  • 1:1 replacement for the original wire mesh.
  • Significantly better and finer filtration with higher air flow at the same time.
  • Therefore also ideal for already performance-enhanced engines.
  • Washable.

Installation instructions for the Motovespa air filter element

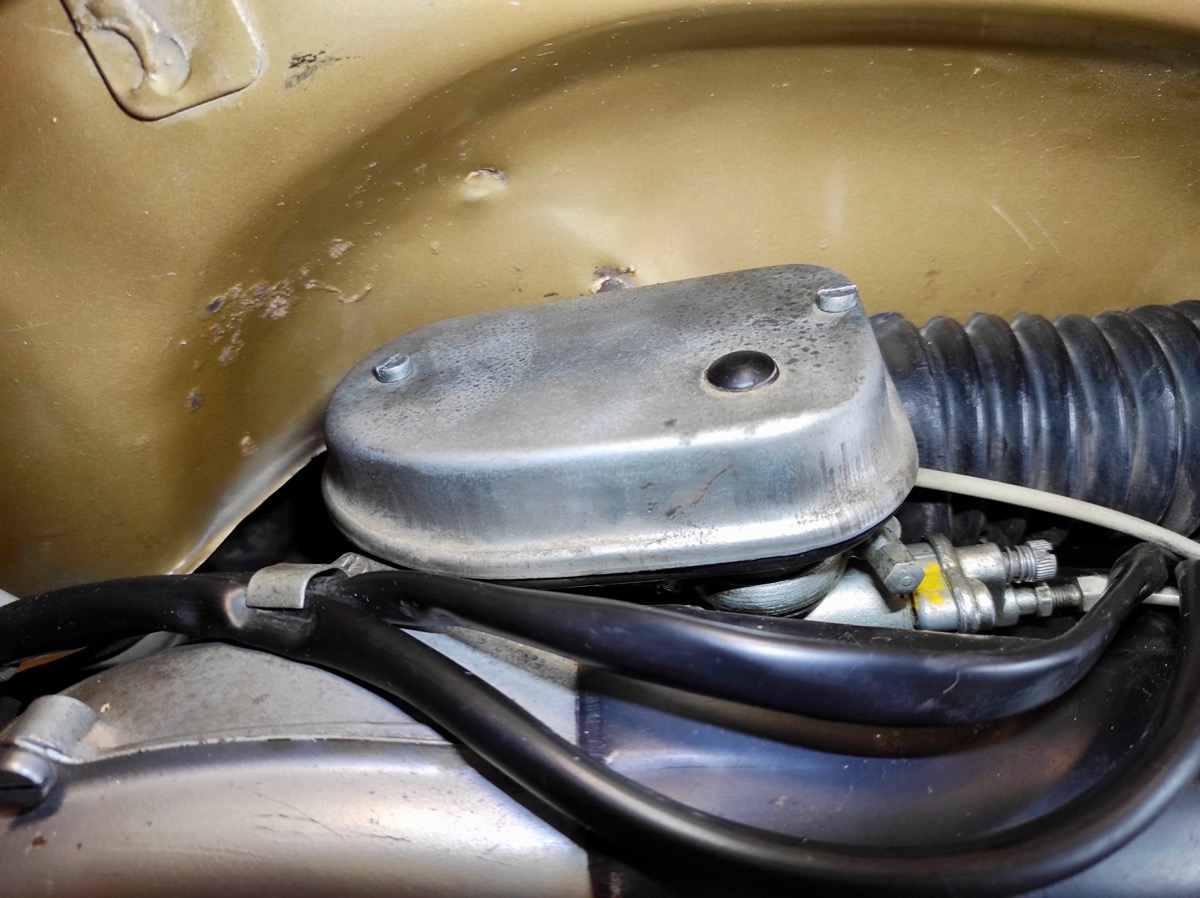
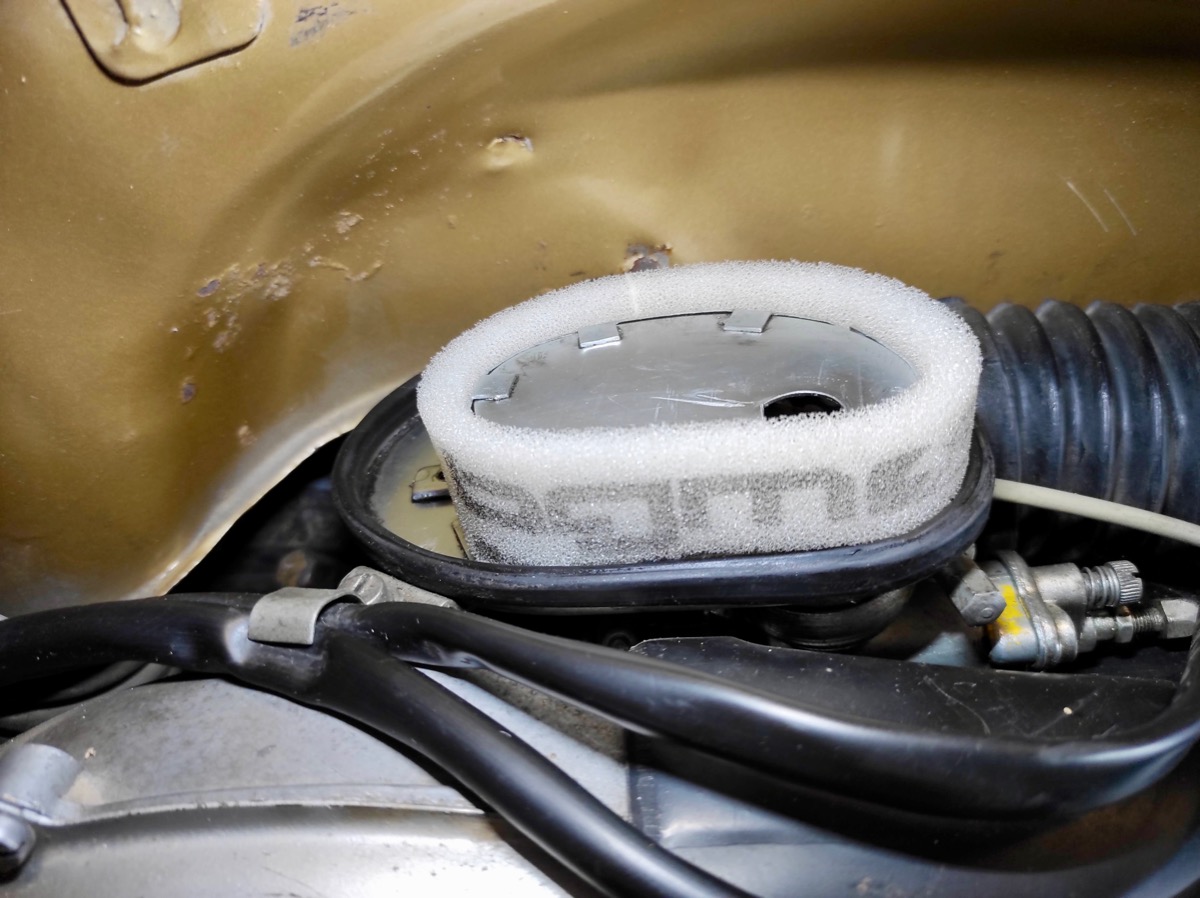
Replacing the air filter element is very easy. After removing the right side cover, the air filter box is immediately visible.

Motovespa Luftfilterkasten Vespa

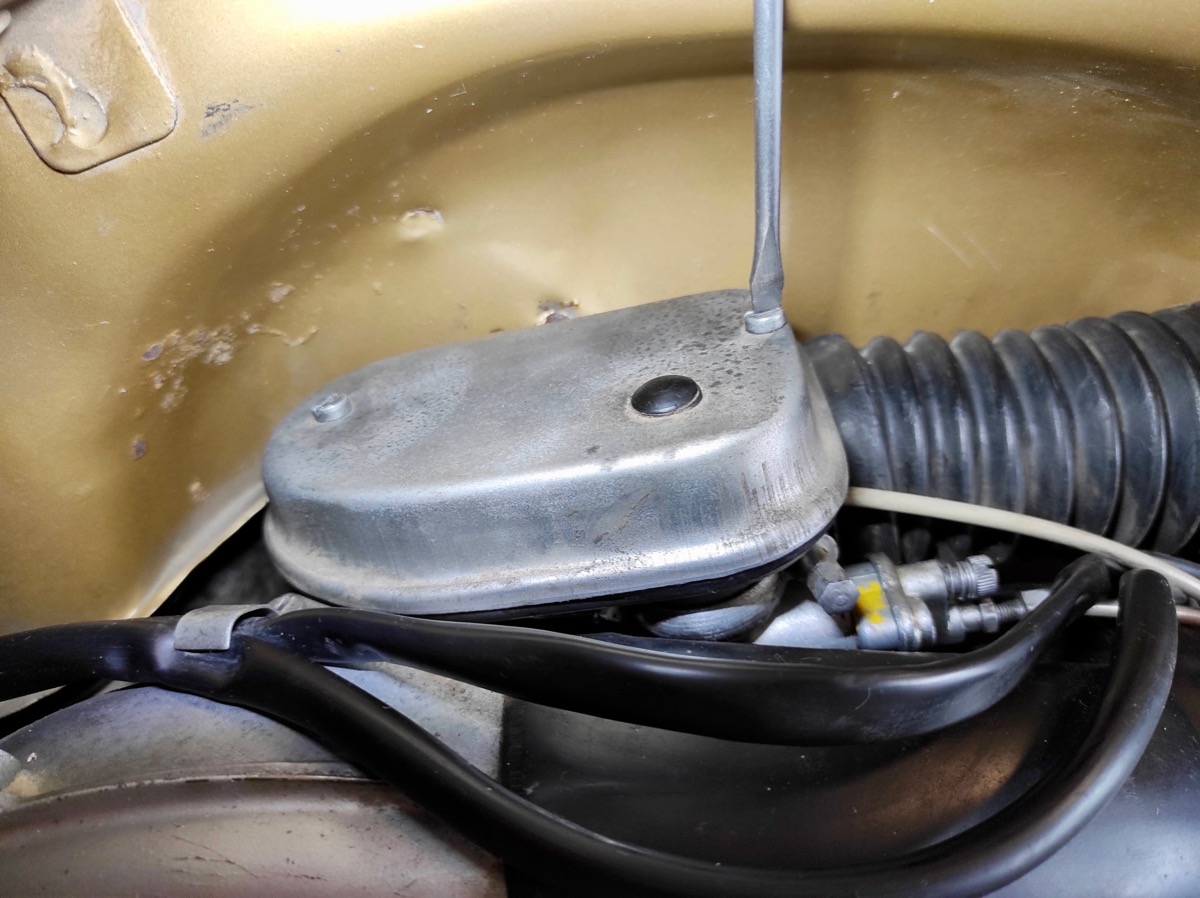
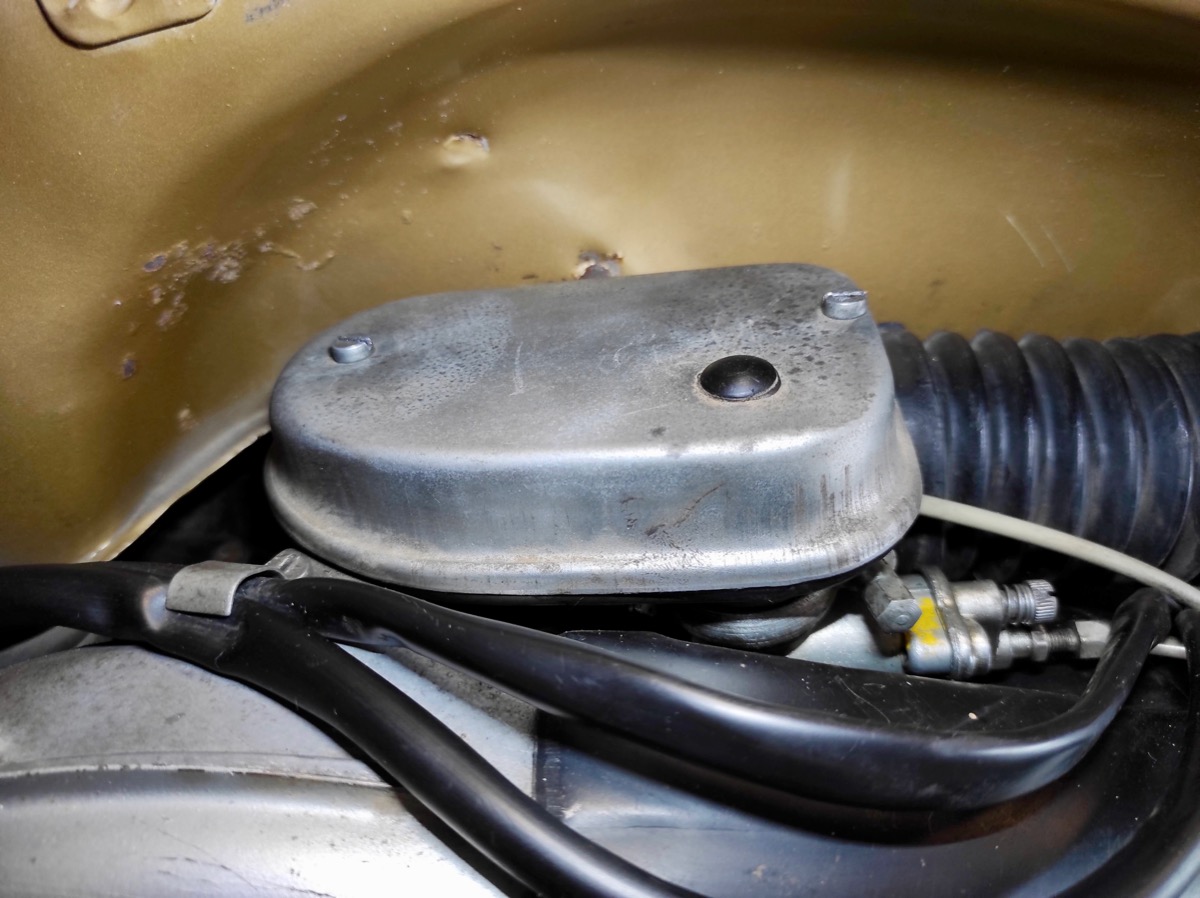
Open and remove the air filter box

The cover is fixed with two M5 screws. These can be loosened with a size 5 to 6 flathead screwdriver.

The air filter of the Motovespa

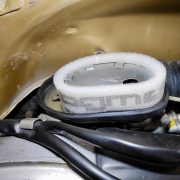
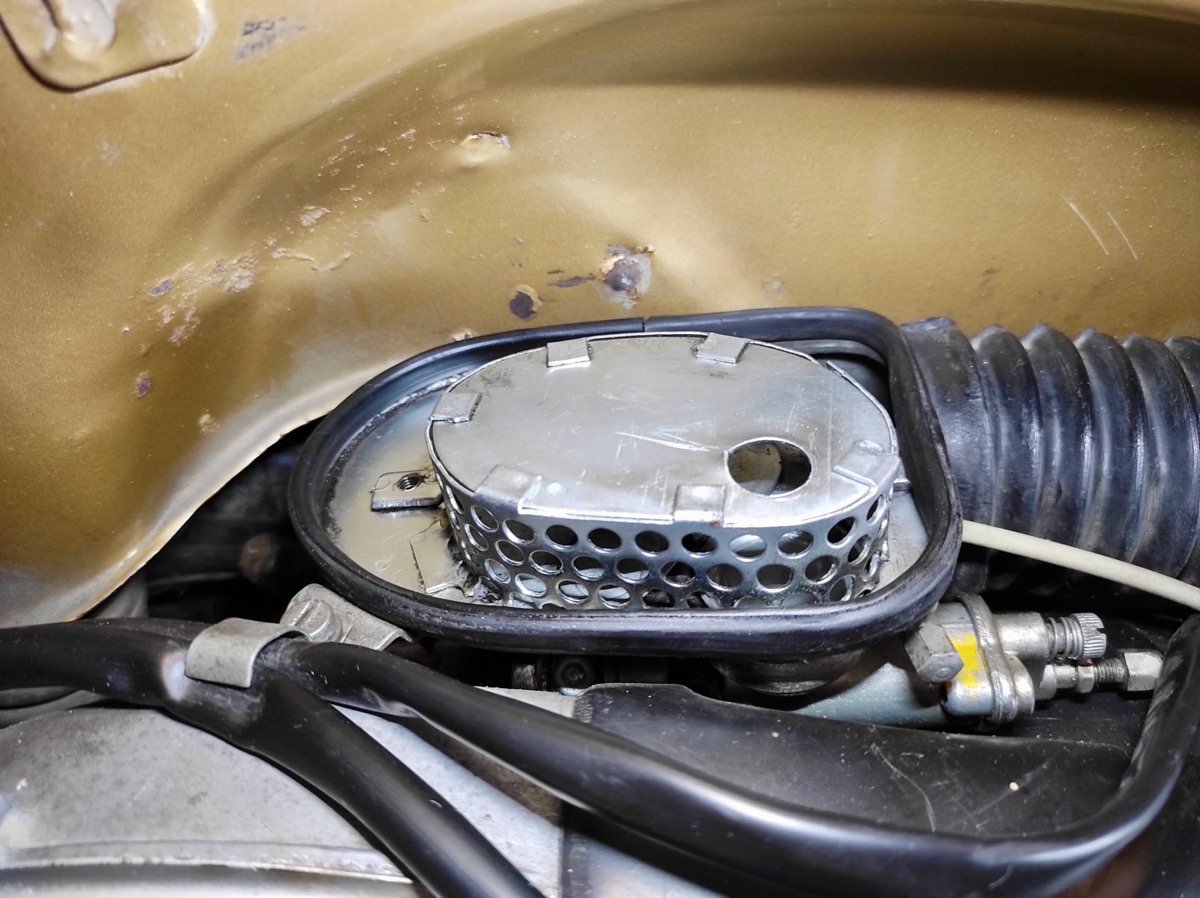
After removing the two screws, the cover can simply be lifted off. Here, in our example, the original air filter insert of the Motovespa is no longer present!

Attaching the air filter element

The air filter insert has no installation orientation and can simply be pushed onto the filter housing from above.

Closing the air filter box

The remaining protrusion of the air filter insert seals towards the air filter box cover when mounted. Refit the cover of the air filter box with the two screws, refit the side cover and the change is complete.

Air filter cleaner and oil

To achieve an even higher filter performance, the air filter insert can be used with air filter oil. However, this is not absolutely necessary due to the high-quality filter material of the bgm PRO filter.

Luftfilter Öl und Reiniger

7 On the Road - Vespa bgm Platónika project by Scooter Center

How we would say in Colombia: now I’m on my Salsa“ (what means I am in my element). I received Platónika with 18 km on the clock and exactly 15 days later, she had thousand kilometers more.

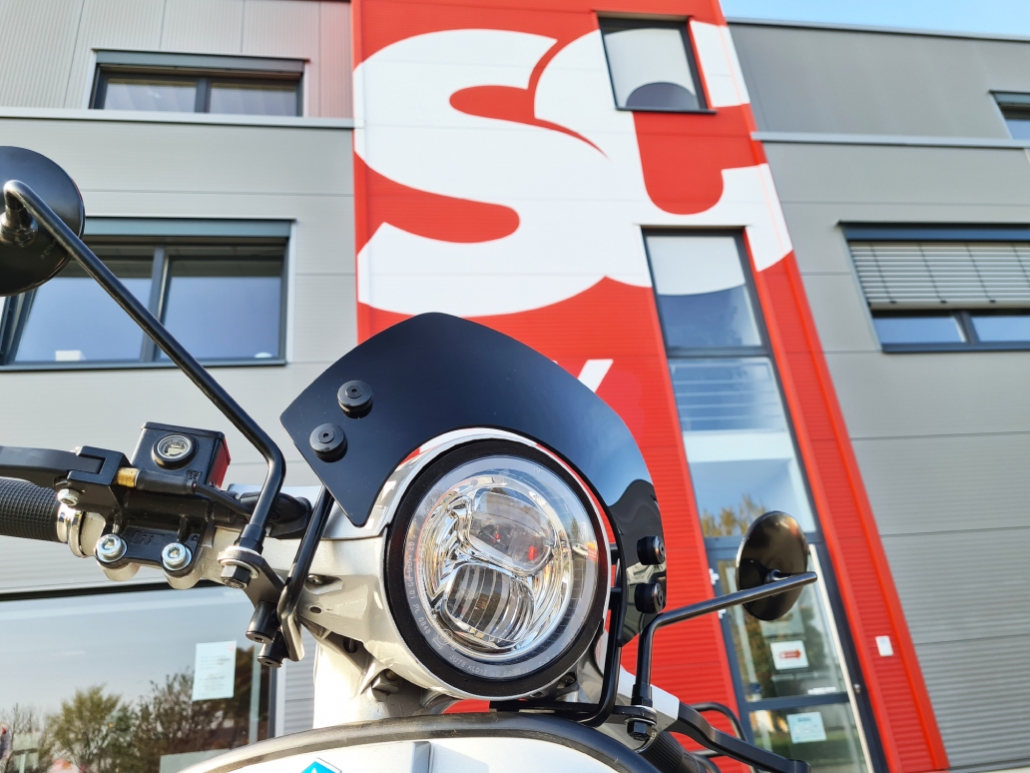
Excited because the spring is arriving, I started to ride, and even prepare a Moto Nostra Kit for better touring:

Flyscreen with black brackets

MN2514BB

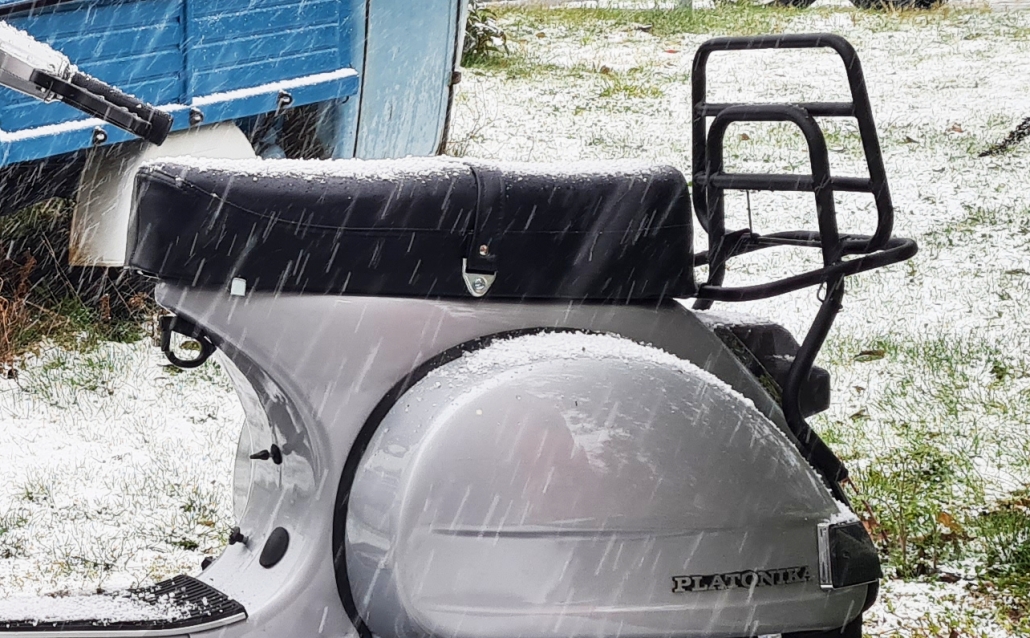
Rear rack

TW3223B

But with this German weather you never know.. Indeed the following week it started to snow… But that wouldn’t stop me, so I protect myself against the nasty cold and go on.

Photos and videos come and go, but still, I think, I am beginning to miss something, the reason of why I fell in love of with this scene: That’s right! The Vespisti.

Without any meeting in sight, „I will roll with my team mates“ I thought, so I turn my head around in the marketing office, where I am, and I only saw two Lambretta people

And well… why not?


Did you miss a chapter? here you find the complete Story:

Platónika Projekt - die komplette Geschichte - Vespa PX bgm 177 by Scooter Center


To put our feet on the ground is itself a statement! A reaffirmation of our identity: Scooter boys & girls, Mods, Racers and travelers know that their ideologies and beliefs land on accessories, which will become symbols of their most intrinsic qualities.

This is how Platónika takes this great step forward, after spending months in the air, preparing as the ideal Vespa, she descends, to finally touch the floor of the garage that equipped her with symbols of safety, style and fun. Being the first to integrate the last bgm releases:

5 Down to earth Platónika Vespa PX bgm 177 by Scooter Center

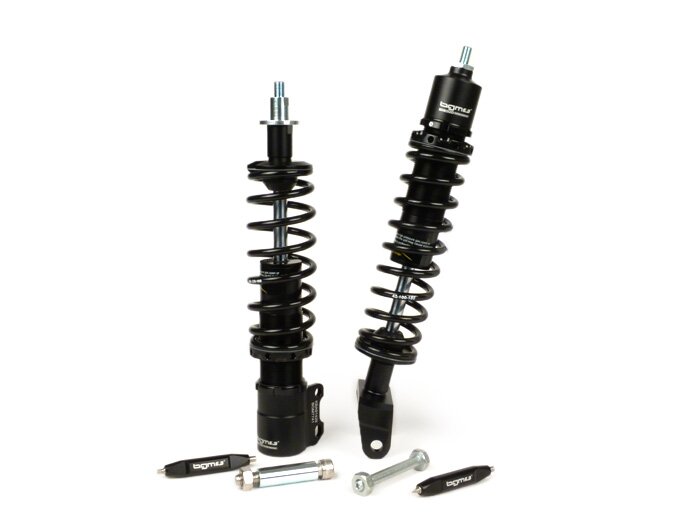
The Shock absorber set bgm PRO SPORT bgm7741BKTS

Which in spite of their high load capacity are very light, thanks to the high material quality and the length can be adjusted,  this is beneficial to driving stability, top speed and last but not least to the appearance.


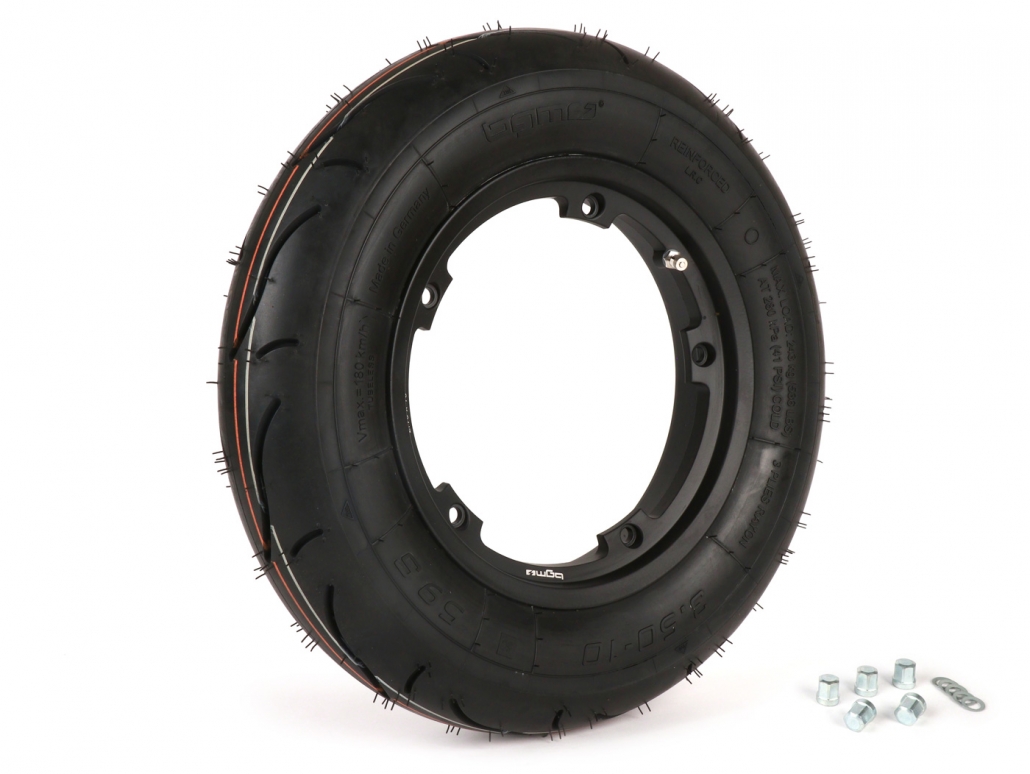
The set wheel and rims Sport tubeless  black matt bgm – bgm35010SLKB

Tyres design with V shape for steering much better into the bend and offers more contact area when leaning and rims which its weight saving improved noticeably the response behaviour of the Chassis.


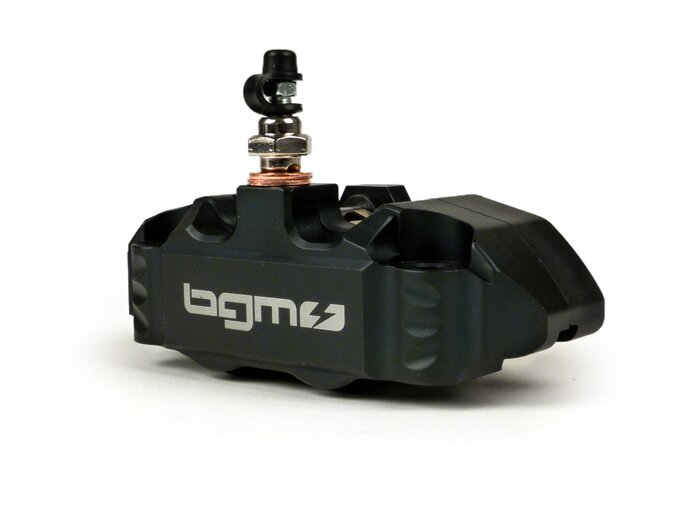
Brake caliper and bracket bgm Touring

Bgm2506BK

With 4 pistons improve greatly the hydraulic transmission ratio and the braking force (with the same lever force) is increased.


Break caliper bracket bgm 

bgm2507LBL

and the Premiere, the brake caliper bracket for bgm, Platónika is the one that will put to the test, but soon you can be the pioneer of this German Technology.


These are undoubtedly highlights that, do not end the adventure of the building, but start an experience on the roads of the world.

Music:

Artist: Sunsearcher

Title: Flamenco Rhythm

Album: Sunsearcher Spirit

License: CC-BY-SA

Zündung einstellen Vespa mit Zündpistole Stroboskop

Adjust the Vespa ignition – but correctly!

The correct ignition timing is important for the thermal health of the engine:

  • Reliability
  • Durability and
  • full power delivery

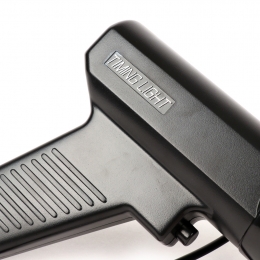
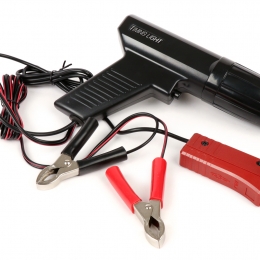
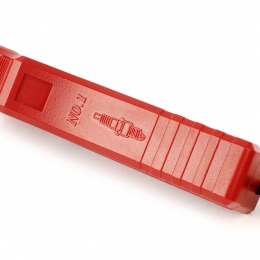
Whoever tunes his Vespa, rebuilds the engine or rebuilds it in the course of a restoration, should not rely on the existing markings on the engine housing, the pole wheel and ignition base plate for ignition adjustment, but should measure it himself and adjust the Vespa ignition correctly. The correct adjustment of the ignition on your Vespa engine is easily possible with these electronic ignition timing guns for petrol engines with contact or electronic ignition -> transistor ignition system (CDI ignition as in series for ET3, PK, PX, Cosa, T5 etc.) Of course this also works with the Lambretta ignitions. With these ignition pistols you can also adjust the Lambretta ignition. With these stroboscope guns you can adjust both old 6-volt and modern 12-volt ignitions!

To the ignition light guns in the shop
In this video tutorial Vespa ignition adjustment we show you how Maryzabel and Alex adjusted the ignition on our Platonika Vespa:
https://www.youtube.com/watch?v=ZDv-mouT_mk&t=11s

Comparison stroboscope ignition guns for Vespa & Lambretta

3 versions: large, small and with onboard or external battery

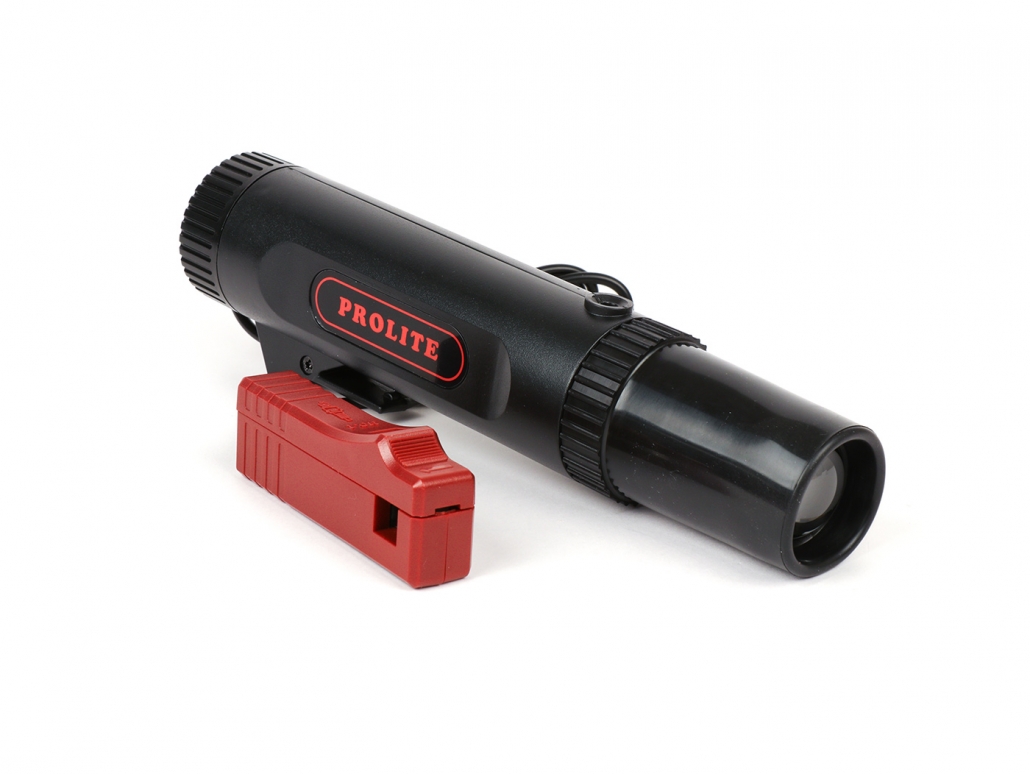
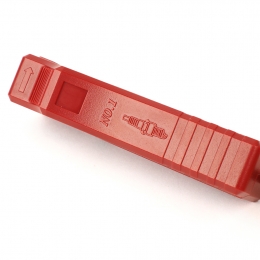
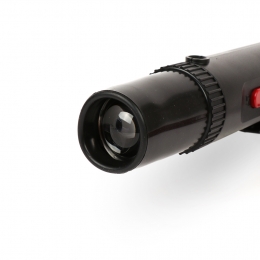
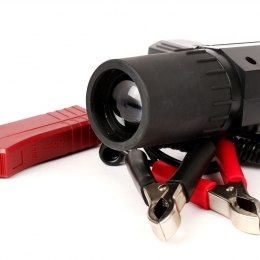
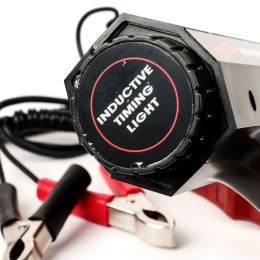
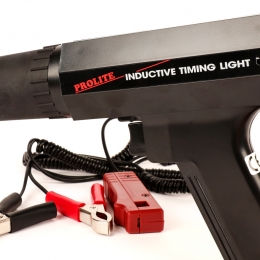
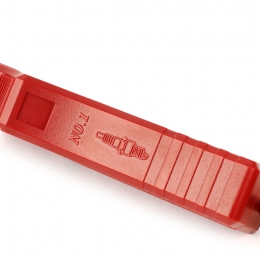
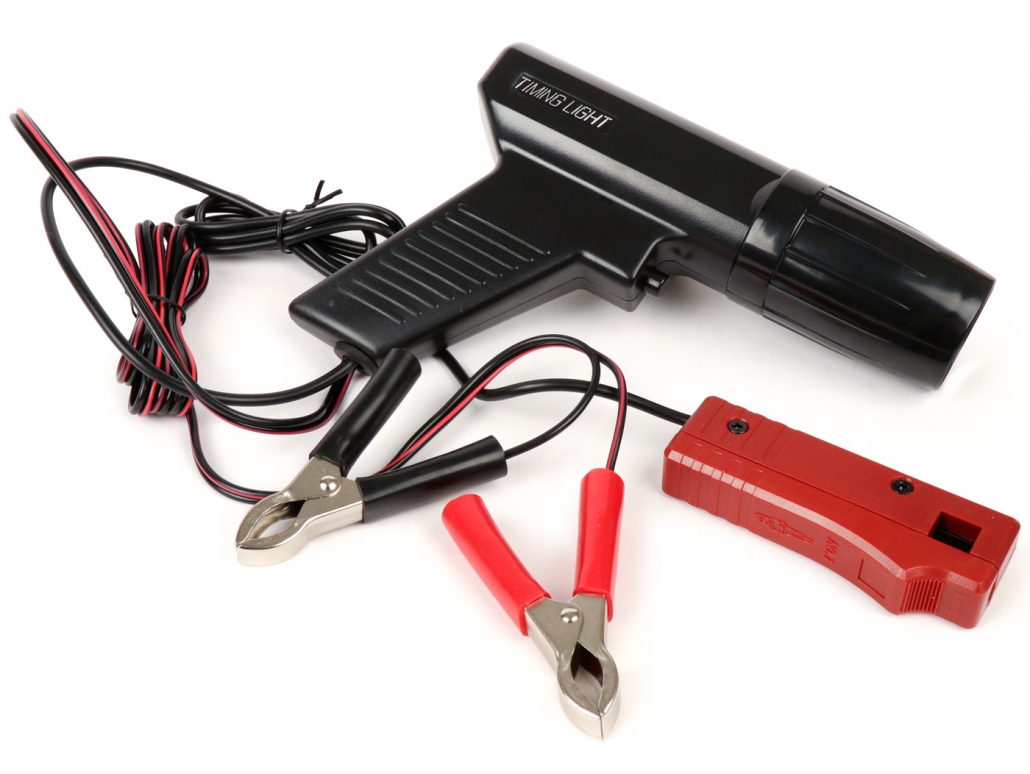
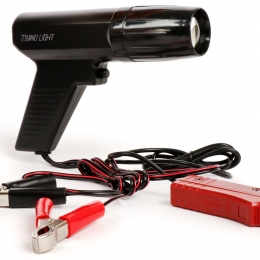
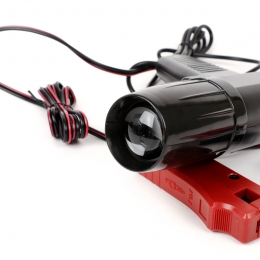
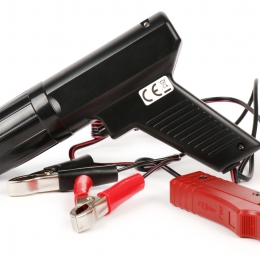
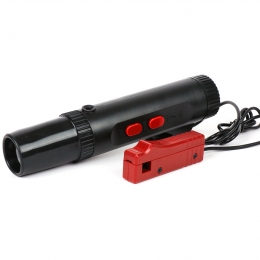
A super-bright xenon tube and a special converging lens guarantee optimum visibility of the fixed marks on these ignition light guns: even at speeds above 8000 rpm in the near field range. The pistol is connected by means of an inductive clamp on the spark plug cable directly to the rubber insulation, without direct contact to the stranded wire. Our ignition timing guns are equipped with a rubber coating on the lens. This protector protects the plastic housing as well as the lens and ensures the longest possible enjoyment of the product.

1. Handy, mobile, operated with mono cells

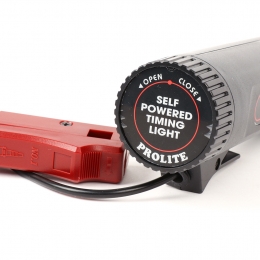
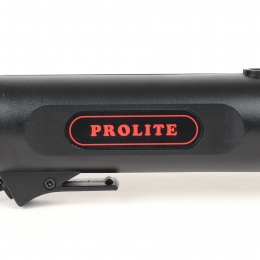
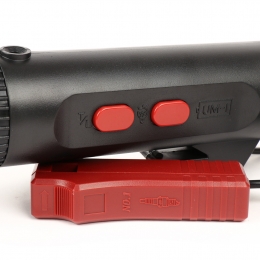
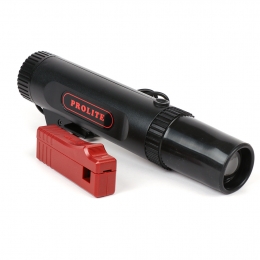
Ignition light gun TRISCO-ProLITE (double-D) (- strobe lamp flash gun – ignition 6V / 12V Article No.: MN911B Zündlichtpistole -MOTO NOSTRA (Doppel-D) (- Stroboskoplampe Blitzpistole - Zündung 6V / 12VMoto Nostra Artikel-Nr.: MN911B No external power supply is required. For power supply two D-batteries (Mono, LR20, MN1300) are used, these are not included! But you can order them right here. In addition to its use as an ignition light gun, it can also be used as a working lamp!

  • small and handy
  • Batteries on board
  • Torch function
  • Rubber Protector

2. PROLITE version for the ambitious scooter tuner

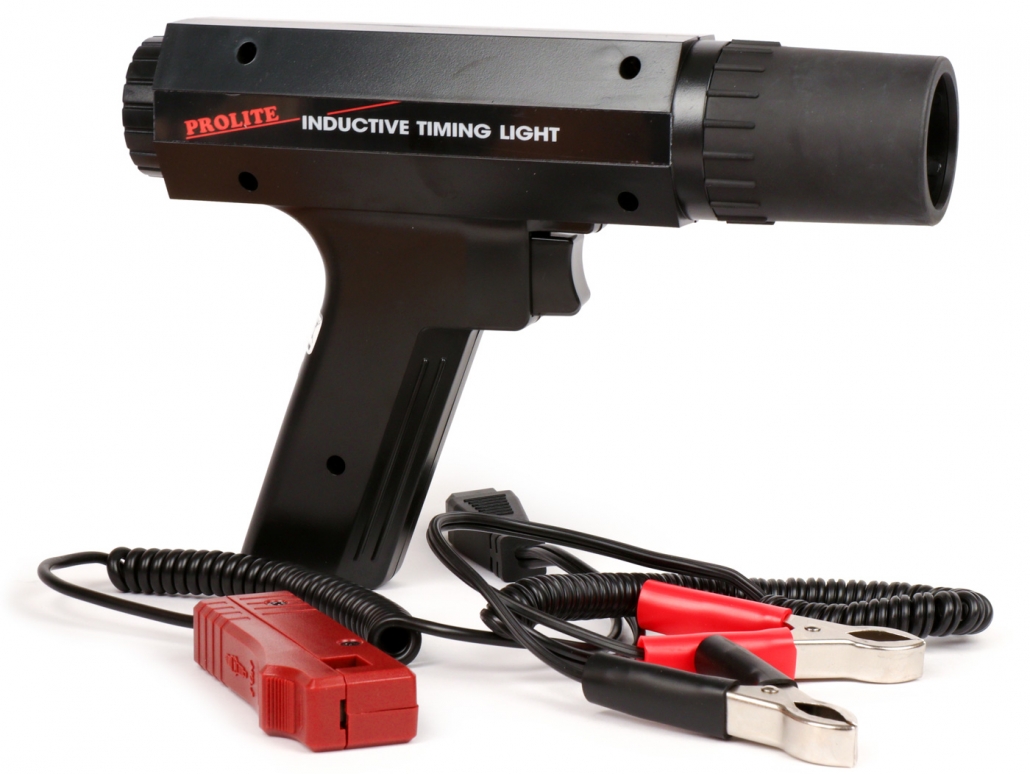
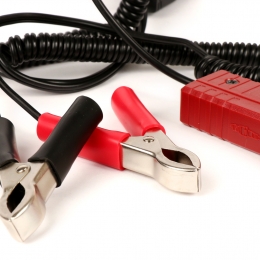
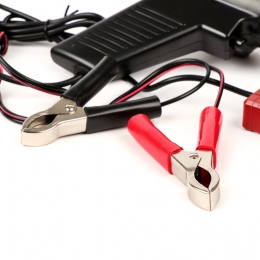
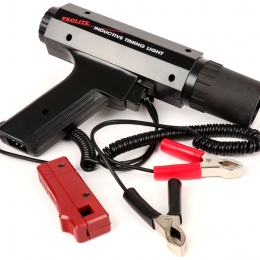
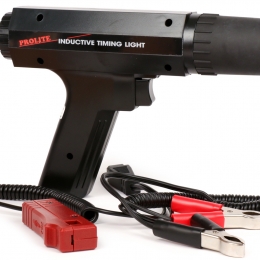
Ignition light gun TRISCO-ProLite – stroboscopic lamp flash gun – ignition 6V / 12V Article No.: MN922 Zündlichtpistole -MOTO NOSTRA- Stroboskoplampe Blitzpistole - Zündung 6V / 12VMoto Nostra Artikel-Nr.: MN912 This is the largest pistol that fits perfectly in the hand. The cable with the two crocodile clips is a robust and practical spiral cable connected to a plug on the gun. Optimal pistol for the ambitious screwdriver and tuner – PROLITE – version. No matter if 6V or 12V ignition, an external power source with 12-Volt (e.g. a car battery) is always required, unless the vehicle already has one.

  • external 12 power source required
  • practical spiral cable
  • Cable separable from housing / plug
  • for the ambitious screwdriver
  • Rubber Protector

3. Handy and cheap 12V version

Ignition light gun TRISCO-ProLite stroboscopic lamp flash gun – ignition 6V / 12V Article No.: MN912 Zündlichtpistole -MOTO NOSTRA- Stroboskoplampe Blitzpistole - Zündung 6V / 12VMoto Nostra Artikel-Nr.: MN912 For the occasional adjustment of the ignition we have this light and handy TRISCO-ProLite ignition light gun in our programme. It lies well in the hand and of course also has the rubber protector. The cables are firmly connected to the housing of the pistol. No matter if 6V or 12V ignition, an external power source with 12-Volt (e.g. a car battery) is always required, unless the vehicle already has one.

  • external 12 power source required
  • for the hobby area
  • cheap version
  • Rubber Protector
To the ignition light guns in the shop
These are for Vespa and Lambretta scooters: Strobo or stroboscope – lamp also strobolamp it is colloquially abbreviated among scooter drivers also ZZP. Don’t worry, you don’t need a gun licence for this pistol, you control with this ignition timing pistol also stroboscopic pistol / strobe or strobe pistol and strobe flashes the ignition timing on the scooter via flashes, flash light from the light pistol after the ignition you can adjust the ignition then flash off to control the ignition setting.

Vespa PX LED-Scheinwerfer Animation

Vespa PX LED Headlight

In this Vespa tutorial video we show you how to install our Vespa PX LED headlight for the Vespa PX. The MOTO NOSTRA HighPower LED headlight itself can also be installed in other cars (Lambretta, Vespa GTS, Sprint, Rally). With the included car specific frame, the installation of the Vespa PX LED headlight as e.g. Vespa PX LED headlight is very easy

CONTENT

  1. Mounting Vespa PX headlights 00:08
  2. Electrical part / connection Vespa LED headlights 01:42
Vespa PX LED Scheinwerfer Tutorial MOTO NOSTRA LED Scheinwerfer Vespa PX

DOWNLOAD PDF Assembly instructions for printing as PDF

WHY AN LED HEADLIGHT ON THE VESPA?

The limit with conventional Bilux bulbs is on most scooters a headlight bulb with 45/45 W. The 80 W to max. 120 W ignition does not give more. The luminosity measured in lumens is less than 400 and the LED headlight has a luminosity three times as high (1300 lumens). The power consumption is only 20 W. This corresponds to the luminous efficiency of a conventional 100 Watt spotlight. This means that with a given alternator/power supply a considerably better illumination can be achieved. In addition, more capacity remains for other consumers

PARTS LIST / SHOP

Parts used in this video

  • LED headlights incl. conversion frame Vespa PX and headlight bracket -MOTO NOSTRA- LED HighPower
    Article number: mn1101kt
  • Ignition switch -VESPA 4-cable- Vespa PX Lusso (from year 1984 up)
    Item number: 9520133
  • Light switch -GRABOR- Vespa PK125 XL/ETS, Vespa PX Elestart (1984-1998) – 10 cables (DC, models with battery, normally open)
    Item number: 9520145
  • Rubber flasher relay Vespa PX
    Item number: 3330940

MOTO NOSTA LED HEADLIGHT!

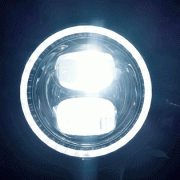
LED headlamp with E9 marking (road approval) and high-intensity main/dipped beam. Additional feature is a separately switchable position light. With a diameter of 143mm it also fits perfectly in the steering head of the PX and Cosa models as well as in the lamp bezel of e.g. Vespa Sprint, GTR and Rally.


Vespa Moto Nostra LED High Power LED Scheinwerfer

TECHNICAL DATA

Luminosity 1300 lumen Voltage: 12 Volt DC (direct current) Power consumption: 1.8A/1.3A Power consumption: 21.5W/15W/1.9W Diameter: Ø143mm Overall depth body: 54mm (measured from headlight ring without glass bulge) Overall depth overall: 79mm (measured from headlight ring without glass bulge with cable entry)

NOTE

The LED headlight works exclusively with direct current, therefore it needs a battery or another equivalent power source with 12V DC. Operation with an AC power source will result in immediate failure

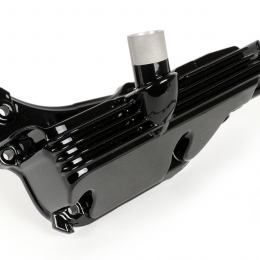
Ölwanne Vespa GTS schwarz

Install black oil pan Vespa GTS

Why convert a Vespa GTS oil pan?
In this article about Vespa GTS conversion we have shown you some great examples of custom and tuning a Vespa GTS.

It is often the details that make for a successful conversion with a coherent overall concept.

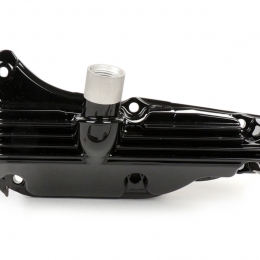
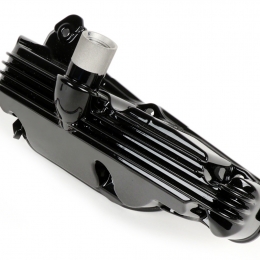
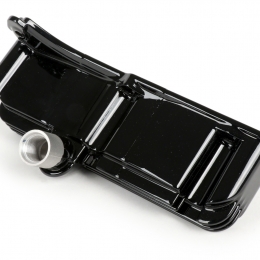
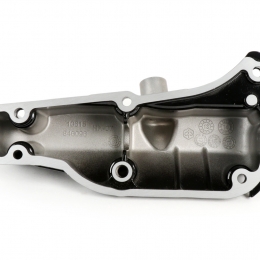
A nice detail of the modern Vespa scooters is for example a black oil pan. We offer you with our MOTO NOSTRA oil pan a brand new original Piaggio – oil pan, which we have provided with a high-quality high-gloss powder coating. The video below shows how the conversion is very easy to do.


This GTS oil pan is first prepared for the refinement in a complex way and then professionally processed. The result is an extremely hard-wearing surface with a super look. The sump is of course delivered ready for installation, you have the choice:

Note: Please do not forget to install a new gasket -> oil pan gasketA
great opportunity to use new engine oil and oil filter:

Tip: We offer you cheap and practical sets! The inspection kits are equipped with all parts needed for an inspection, depending on the mileage and recommended revision work:

Vespa GTS Inspektion Set

Vespa GTS oil pan conversion

The installation is very simple, but there are a few things to consider.
Here you can find a great video of Scooteria, who also change the MOTO NOSTRA oil pan in the course of their GTS 300 conversion. Helpful tips from the custom professionals of Cafe Racer 69 with tricks for installing the Vespa GTS oil pan:

Vespa Gts 300 hpe "British Classic" Teil 5 - Ölwanne schwarz Einbau

So this is how the conversion works:

  1. Drain oil
  2. Detaching the air filter box
  3. Unscrew vario cover
  4. Unscrew oil pan
  5. Clean sealing surface (knife or fine sandpaper, degrease)
  6. put on a new gasket (without additional sealing compound)
  7. now reassemble in reverse order

Note:

See video above. Use correct screws, replace spring, observe tightening torque: M6 screws oil pan: 10-14Nm.

MOTO NOSTRA oil pan purchase

The MOTO NOSTRA tub is available in :

Inlet timing Vespa P PE PX

In today’s video and blog it is about measuring the intake angle, also called intake timing.
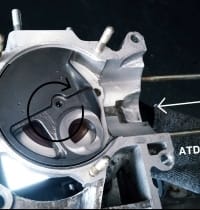
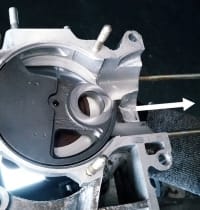
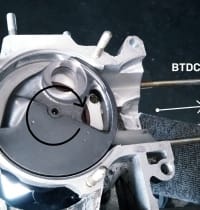
The intake angles should be within a certain range which is indicated in degrees crankshaft. The measurements always start as a fixed point from the top dead center, called OT for short.
The intake range is therefore divided into the values “before TDC” and “after TDC”, because the intake is opened before the top dead center and closed after passing the top dead center.

For a Vespa engine with rotary vane control, the values of approx. 100° F.T.S. and 65° N.T.S. have been found to be good for a good touring concept.
For very performance-oriented concepts which sometimes have to operate a higher engine speed, the values can also be significantly higher. 120° f.o.d. and up to 75° n.o.d. can be found here. The inlet angles should always be selected to match the desired concept. Here the principle is to make the intake area as large as necessary and as small as possible in order to reach the desired values.
The two-stroke heart of Platonika should be a powerful unit and therefore the inlet should be in the range of 100° F.T.O. to 65° N.T.O.

In order to determine the exact angle of one side, some tools and material are necessary.
– engine case-
crankshaft-
cylinder and piston-
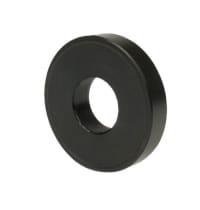
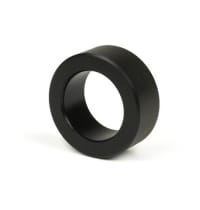
bearing dummies

BGM PRO- 613912 (25x62x12mm) BGM PRO- NBI 253815 (25x38x15mm)

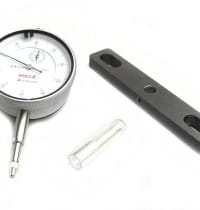
– Dial gauge with holder

Degree disc or similar measuring device

Bearing dummies

As it is very likely that the inlet area in the motor housing has to be machined to achieve the desired angles, the use of so-called bearing dummies is recommended.
With these dummies, the crankshaft can be removed from the engine case for machining as often as desired without stressing the bearing seats of the crankshaft or engine case each time and without wear and tear even before the engine is put into operation.

The bearing dummies are available for every size of the commonly used bearings in the Vespa and Lambretta range.
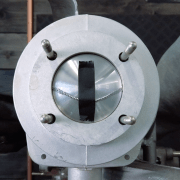
The first step is to insert the bearing dummies into the engine housing. Then the crankshaft is simply inserted into the bearing dummies and the engine housing is screwed into the stator housing via the stud bolts.

Measurement

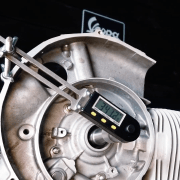
To determine the TDC, the cylinder and the piston are required. To ensure that the work is carried out smoothly, the piston is pushed into the cylinder without rings. The dial gauge is screwed onto the cylinder with the holder and thus the TDC of the crankshaft can be determined.
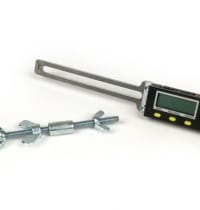
The alternator side of the crankshaft is fitted with a degree disc or a digital protractor. There are many different possibilities available. The easiest to handle are digital measuring tools such as the Buzz Wangle Grade Meter which does not need a reference point to the engine case.
If the crankshaft is in TDC, the degree disc, whether digital or analogue, is set to “0” and then the crankshaft is rotated to start and end of intake. The value, read on the dial, then shows when the intake is open or closed.

Increasing the intake time

In order to bring the inlet to the desired dimension, the crankshaft is moved to the desired value and the position of the crank web is marked on the engine casing.
Once this has been done for the value before and after TDC, the engine housing can be opened again and the crankshaft can be easily removed again thanks to the position dummies.
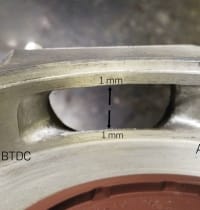
Caution is required when machining in the intake area. The surfaces sealing the rotary valve must not be less than 1 mm overlap with the crankshaft at the sides.

Once the inlet has been machined to the proper size and the crankcase has been cleaned of machining debris, the crankshaft is re-inserted for inspection.
The indicator is then used to check once again whether the desired control angles have been achieved or whether reworking is necessary.

Scooter Center Tutorial - Setting the Inlet Timing Vespa PX

The Vespa engine – the heart of Platónika – has received the desired control angles of the crankshaft in the last article

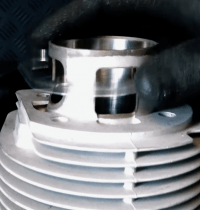
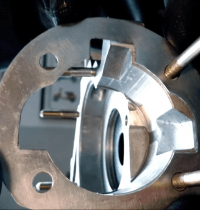
Cylinder transfer ports in the engine adapt for performance optimization

Before the complete assembly of the motor can be done, all work that generates chips must be done. Only then can the housing be cleaned.

In the next step, this includes the ports of the cylinder in the engine.
The BGM177 is designed in such a way that the cylinder functions perfectly even on the original ports.
However, in our project we took the opportunity to directly adapt the case. A better filling of the cylinder always means a higher possible torque.

In order to transfer the contour of the overcurrent channels to the motor housing, the easiest way is to place the matching cylinder base gasket on the housing and thus transfer the contour to the housing.

The sealing surface is best marked with a foil pen. Then the contour of the overflow channels is marked with the aid of the cylinder base gasket.

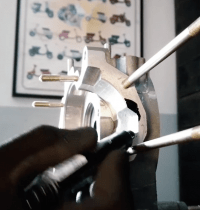
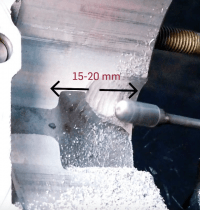
A milling cutter is then used to adapt the contour in the motor housing. It is not necessary to mill the channel exactly as deep as in the original motor housing.

The BGM 177 cylinder is designed from the basic construction so that the piston offers a sufficient cross section.
The generated surface of the adapted channel may be milled rough. Further polishing is not necessary. As long as there are no more rough corners and edges, a slightly roughened surface is perfect.
After the channels have been milled and the housing has been cleaned again, the assembly process continues

Scooter Center Tutorial Vespa PX - Modifying the transfers (activate subtitles)

How do I mount the tyres on a Vespa / Lambretta?

Using our bgm Classic tires as an example, we show the correct mounting of the tire (split rim).

1. Reduce friction

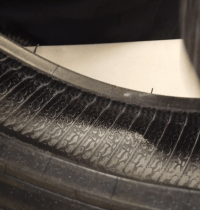
The tube inside is subject to flexing when the tire is unrolled and therefore it is useful to reduce the friction inside by talcum.
The white powder reduces the friction between the tube and the tyre and thus the wear of the tube.

A small amount of talcum powder is spread inside the tire and the tube is filled with air just enough to prevent it from expanding and also sprinkle some talcum powder on it.

2. Check the direction of travel

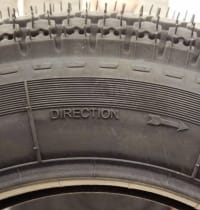
Before fitting the tube, first check that the tyre has a direction of rotation specified by the manufacturer.
This indication can be found on our bgm Classic tire in the form of an arrow on a tire sidewall and points to the direction of rotation of the tire when driving.
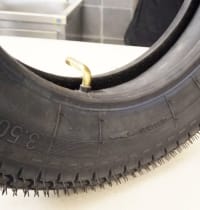
The tube is then inserted to match the direction of rotation of the tyre, so that the valve points to the left side in driving direction, typical for Vespa.

3. Assembly

For mounting the tyre on the rim, the so-called mounting paste is a real help. With it the tyre can be pushed very far onto the rim. This makes it much easier to screw the two-piece rim together.

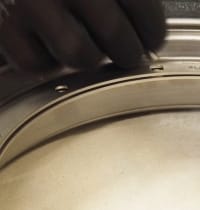
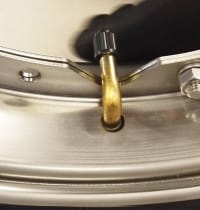
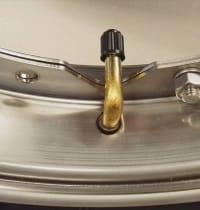
First the valve is put through the wide half of the rim and then the rim is pushed into the tyre.
The narrow half of the rim also has an opening through which the valve is accessible. When inserting the valve into the tire, make sure that the valve hole is aligned with the hole in the wide rim half.

Our bgm stainless steel rims have exchangeable bolts. Please make sure that the head of the bolt is inserted into the square to prevent rotation.

The five nuts of the rim halves are fixed crosswise with 16 – 18Nm. When fastening, make sure that the tube is not clamped between the rim halves.
Then inflate the tyre with 2 bar and check that the tyre and valve are correctly seated in the rim.

Ready

Tutorial How to assemble the bgm CLASSIC tyres for Vespa


Music: Rene Winkler from SC / NXT Level Title: First one dub 4


https://blog.scooter-center.com/neue-10-zoll-rollerreifen-von-bgm-reifen-sport-bis-180km-h-classic-bis-150km-h-made-in-germany/

How do I measure the pinch point on the cylinder head?

In our second tutorial we describe how to measure and adjust the pinch point of a bgm177 cylinder. Of course, the sequence is applicable for all other cylinders, but the dimensions can vary greatly depending on the manufacturer or the desired application of the cylinder and may differ from our dimensions in the video.

For the heart of Platónika we mounted the bgm177 cylinder dry first.
This means that the piston is initially mounted without piston rings and only with the upper bearing of the crankshaft. So if the cylinder has to be mounted several times to set the correct squeeze size, the threading of the piston rings is bypassed until the final assembly.
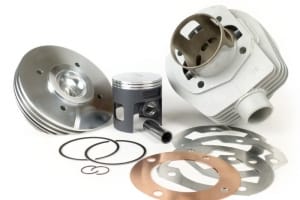
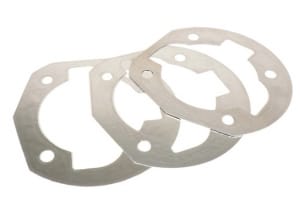
The bgm177 cylinder is supplied with several gaskets for the cylinder base with different thicknesses of 0.2, 0.4 and 0.6 mm.
The cylinder is mounted without a seal for the cylinder base. To map the squeeze size we use soft solder with a diameter of 2mm.

The length of the piece of solder should correspond to the diameter of the hole. A little overlength does not harm to position the soldering tin with adhesive tape on the piston, parallel to the piston pin.

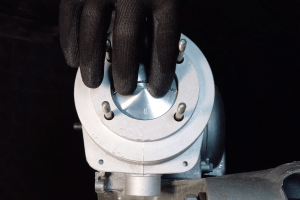
The cylinder head is mounted and fixed together with the gasket. By turning the crankshaft the piston is turned once over the TDC = top dead center. There, the solder is squeezed between the piston crown and the pinch-off surface of the cylinder head to the squeeze size, thus forming the current squeeze size.
After the cylinder head is disassembled again, the crushed solder at the ends can be easily measured with the caliper gauge. In our example this results in a dimension of 0.62mm.
The manual of our bgm177 cylinder gives us as recommendation a squeeze size of 1mm.

How do I change the squeeze size?

In order to get to 1mm with the existing squeezing dimension of 0.62mm, a cylinder base gasket of 0.4mm must be added; to get to the desired dimension of 1mm purely by calculation.


Scooter Center Tutorial Vespa PX - Checking the piston squish (Activate subtitles)


https://blog.scooter-center.com/tutorial-stehbolzen-vespa-px/


Vespa Tutorial Video

Instructions and tutorial videos for your Vespa PX

Next week we will start with our Vespa Tutorial Videos, a series from the Vespa Platónika bgm177 project of the Scooter Center.

  • How do I install a Vespa cylinder?
  • How do I measure the squeeze gap cylinder / piston / cylinder head?
  • How to assemble a carburettor?
  • Tips for cylinder studs on a Vespa!
  • How to install a Vespa clutch?
  • How do I install a new transmission in my Vespa PX?


New Vespa PX tutorials by Scooter Center inspired by the Platónika's project

Vespa Platonika (Platónika)

Platónika is the name of the scooter. A Vespa PX, which we completely rebuild with new parts from the Scooter Center stock. Of course we use our best BGM parts. Benefit from our know-how, get lots of tips and take a look behind the scenes.
Follow the project here on the Scooter Center blog:

https://blog.scooter-center.com/category/sc-shop-demonstrator/platonika/