
Wheel rim – PINASCO V2.0, tubeless 2.10-10 alloy, split rim- Vespa (type PX)
Tubeless Vespa rims
For some time you can now find more examples of Vespa rims for tubeless tyres on the market. 
Pinasco alloy rim for Vespa
Pinasco is now offering a version including laboratory report by TüV.
However, the report is no guarantee for the e-pass remaining valid. So please check with the registration office responsible for restrictions on admission.
Which are the advantages of tubeless tyres?
- in case you damaged the tread, air can only escape slowly. The tyre remains solid for a longer period of time.
- no tube, which could burst or be jammed while assembling.
- in case the tread punches on the rim, there is no tube that might be damaged.
- if there is an increase in stress on your tyre or low pressure making the tyre move on the rim, the air valve won’t rip off.
- no tube that might ream by the tyre
- Split rim
- O-ring to seal the two halves of the rim
- Set of screws to link the two halves of the rim
- Air valve
- Nuts with flansh to fasten the rim to the brake drum
- How to install
- Laboratory report by TüV
Split rim – easy assembly
So far, all rims for tubeless tyres on the market have been one-piece rims, as for cars or motorbikes.
For classic scooters however, necessary brake drums have limited the design of rims immensely.
This limitation meant that mounting tyres on a one-piece rim was hard work and in some cases you even had to damage the tyre.
Split rims have always been a strong selling point of Vespas, because this led to quick mountings of tyres.
For mounting tyres on a one-piece rim, you need suitable equipment, which you will only find in a garage. There is no way to do it at the side of the road.
Pinasco dealt with this deficiency and finally launched a tubeless split rim onto the market, which rejuvenates the advantages of a quick change of tyres.
We took a closer look at the new Pinasco rim for you.
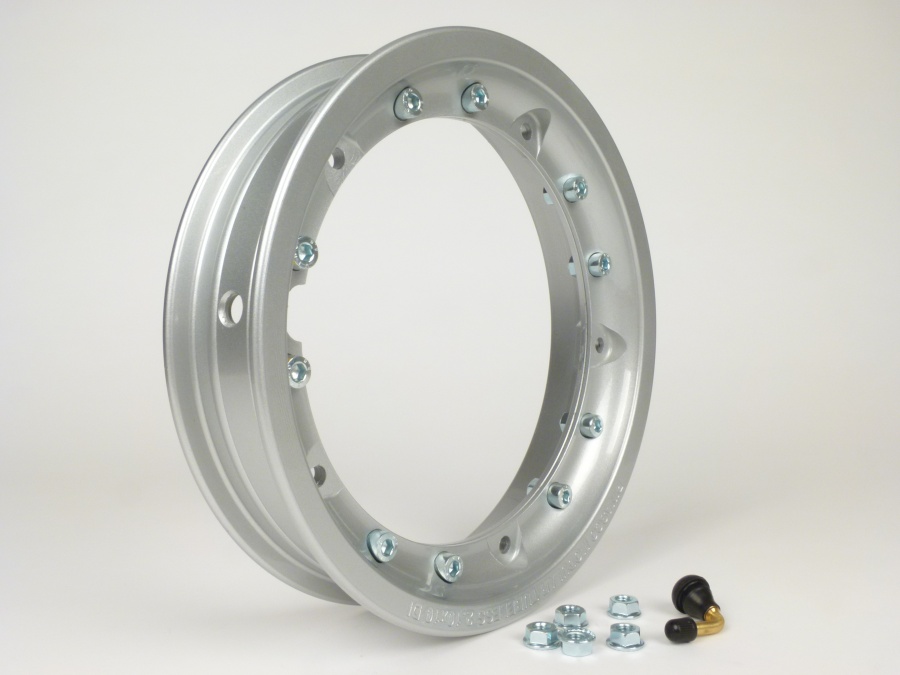
Delivered with
- Split rim
- O-ring to seal the two halves of the rim
- Set of screws to link the two halves of the rim
- Air valve
- Nuts with flansh to fasten the rim to the brake drum
- How to install
- Laboratory report by TüV

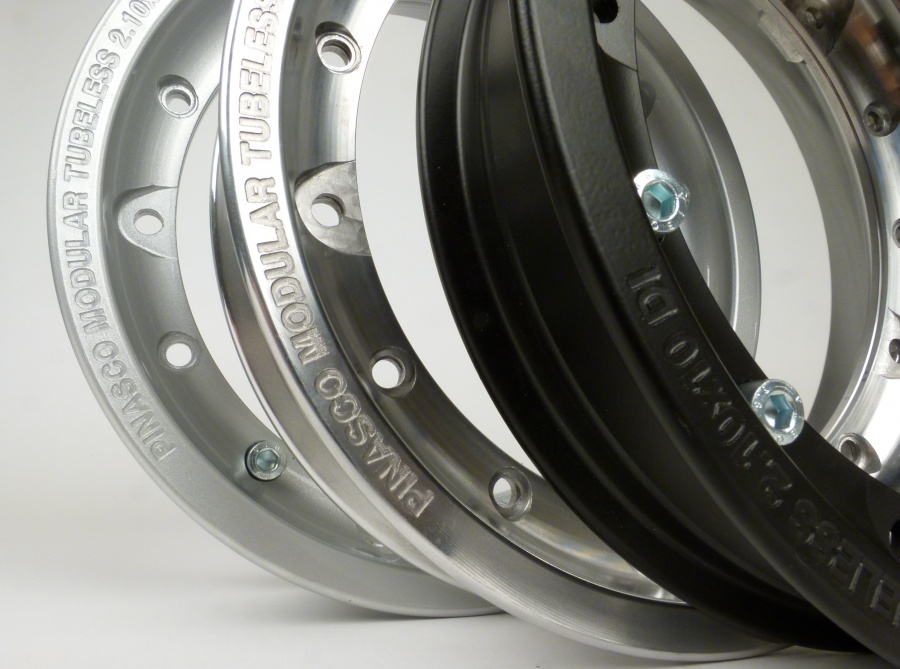
Colours Vespa alloy rims
Pinasco offers a traditional range of colours. You can buy rims in black, polished alloy and traditionally in silver.
Wheel rim -PINASCO, V2.0, tubeless 2.10-10 alloy, split rims- Vespa (type PX) – silver
Wheel rim -PINASCO, V2.0, tubeless 2.10-10 alloy, split rims- Vespa (type PX) – black
Wheel rim -PINASCO, V2.0, tubeless 2.10-10 alloy, split rims- Vespa (type PX) – alloy polished
Assembling the Vespa rim
First step should be to assemble the air valve. It’s easily done with the help of tyre mounting paste.
Secondly you should prepare the wider half of the rim with tyre mounting paste and put on the tyre, starting at the valve.
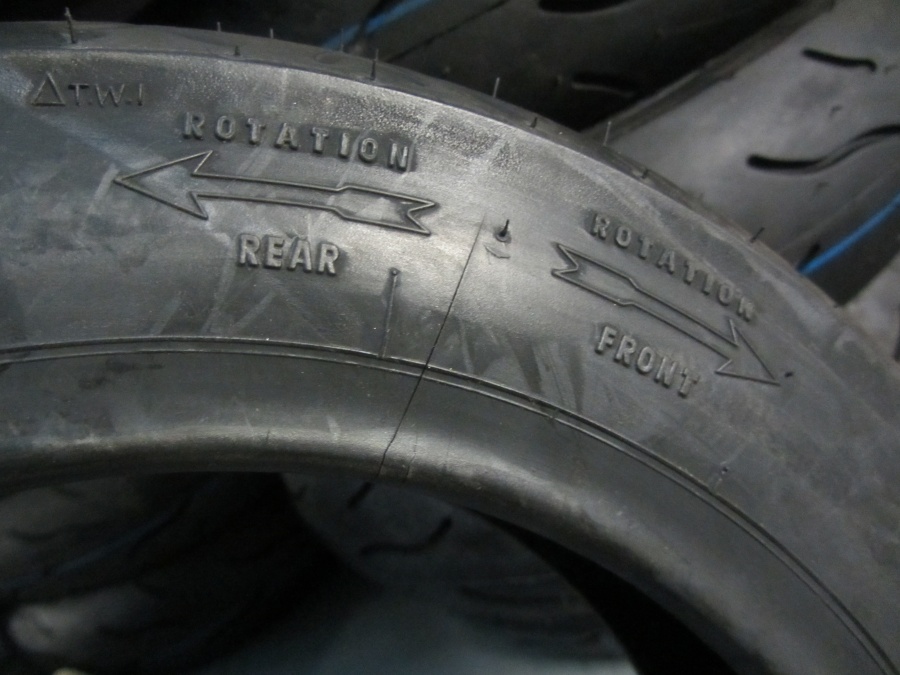
Please note: your tyre may have a profile that is bound to a running direction. This may vary for front and rear tyres.
If the tyre is well placed, the o-ring will find its way to the groove.
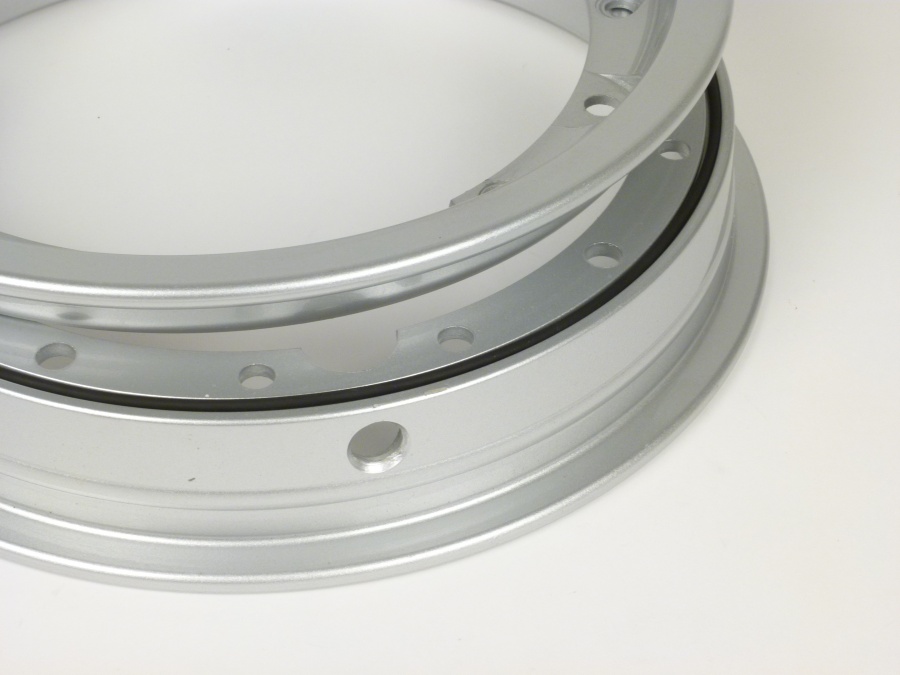
Once the o-ring is well placed, you may put on the second half of the rim.
Now, both halves have to be linked with 10 screws. Pinasco sets a maximum torque of 18Nm.
Nuts are interlocked in the larger half of the rim. The head of the allen screw is being secured with a schnorr washer, so that it won’t open without someone’s ado.
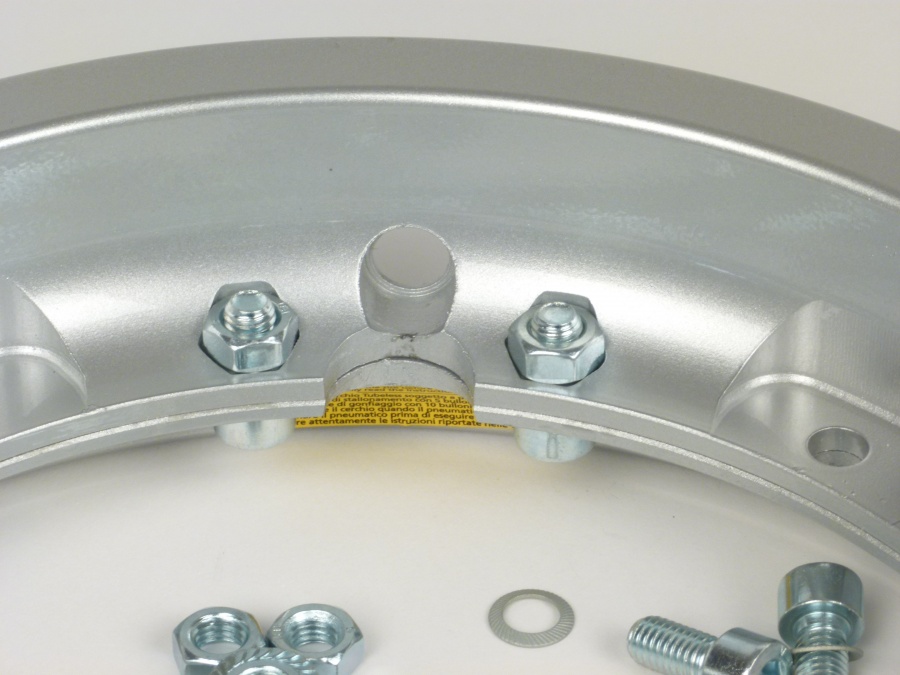
Fastened by 10 screws, you can now inflate the tyre to a maximum of 1.8bar. You used mounting paste, but the tyre won’t lie nicely in the rim base? If the entire wheel is fastened to the brake drum you may fit the tyre by inflating to a maximum of 3bar. Without the five additional fixation points of the brake drum, it might happen that the two halves of the rim spread, causing pressure to escape. After fastening to the brake drum, this won’t happen and pressure is kept reliably.
Pinasco recommends nuts with flansh to fasten the rim to the brake drum. When using snap rings for steel rims, the rim was being damaged when unfastening the screws. This won’t happen here.
Trace offset
Due to their design, there is trace offset with some one-piece tubeless rims. Due to the two-piece design of the rim, Pinasco managed to stick to the original rim offset.
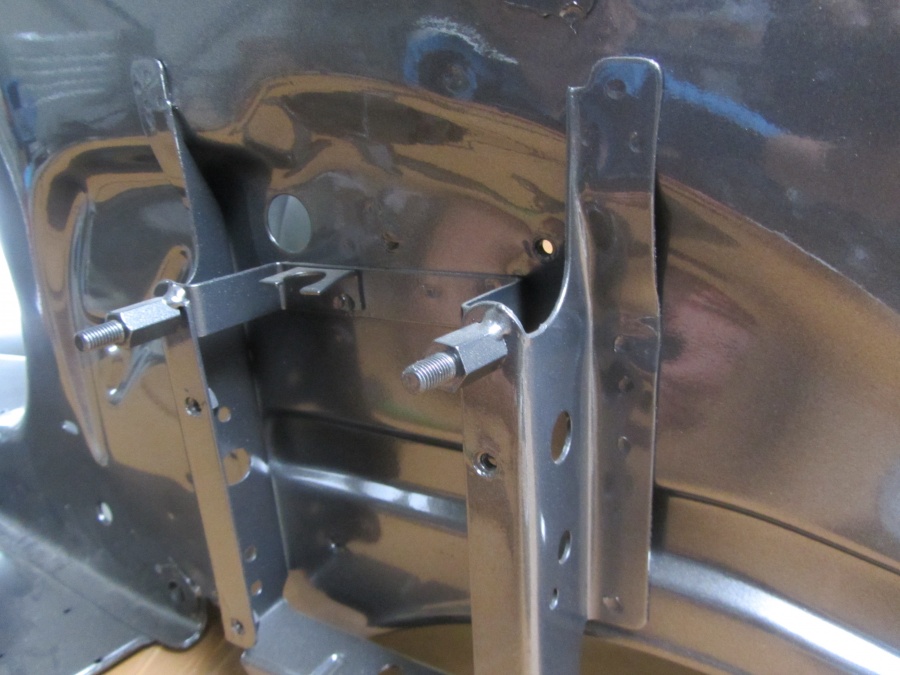
Spare wheel
Due to its design and with a small trick you may fasten the Pinasco rim as spare wheel to your PX. You adapt the bracket for the spare wheel with spacer nuts in a way, that you fasten the wheel “upside down” – valve facing side panel.
This is an example of a LML frame. Having adapted the bracket also makes it easier to get to the valve of a standard wheel.
Which wheels fit?
As mentioned before, all common wheels of the sizes 90/90-10, 3.00-10 and 3.50-10 fit the Pinasco rim.
In case of one-piece rims it usually used to be luck to find a wheel that wouldn’t be damaged during assembly.
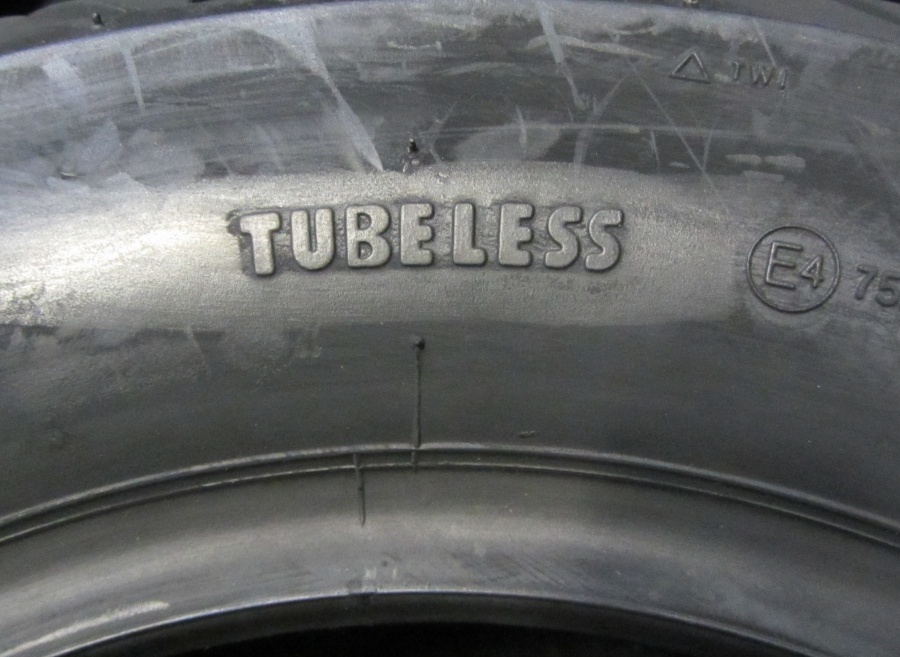
You should still pay attention to one small but crucial detail when buying wheels. Your new tyre should have the important “TL” or “tubeless” label.
A tyre labelled “TT”, meaning tube type, is not necessarily gas-proof.
So please only use “TL” labelled tyres with your tubeless rim.
You will find further information on your new tyres in our online manual and on Vespa-Reifen.de
Disc brake
The Pinasco rim also fits vehicles with disc brake. However, you should check clearance. We installed a PM brake caliper for test reasons. But sadly it didn’t fit the Pinasco rim. Standard brake calipers by Grimeca, LML und HengTong (Piaggio) fit the radius of the Pinasco rim without problems.
In case of damage to your tyres, you should have the following with you
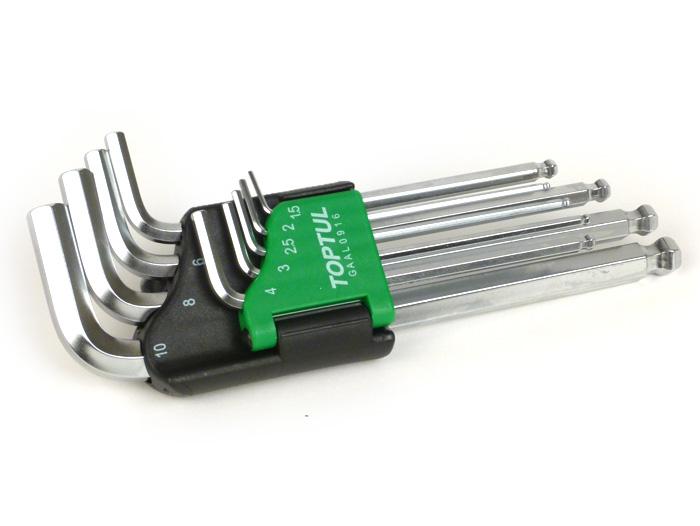
Your Pinasco rim is fastened by allen screws. Should you get embarrassed on the way and need to unfasten your rim, you should have a fitting allen key on board. The key set by Toptul includes all common sizes from 1.5mm – 10mm and the handy box makes it easy to transport the allen keys in the glove compartment without causing noise.
We recommend a repair set for tubeless tyres, so that you are able to continue your journey even without a spare wheel.
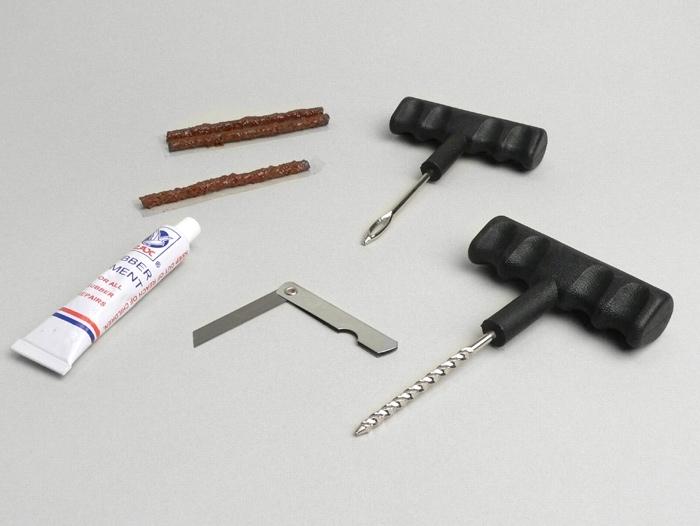
After removing the air valve you could even install a tube to the Pinasco rim.
- Split rim
- O-ring to seal the two halves of the rim
- Set of screws to link the two halves of the rim
- Air valve
- Nuts with flansh to fasten the rim to the brake drum
- How to install
- Laboratory report by TüV


Leave a Reply
Want to join the discussion?Feel free to contribute!