Posts

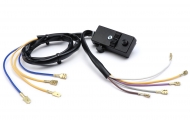
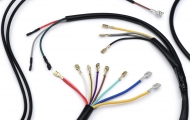
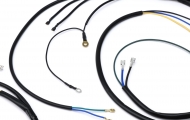
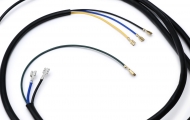
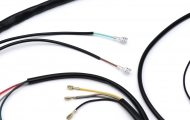
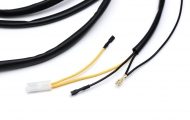
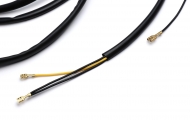
Kabelbaum BGM ORIGINAL passend für alle Vespa PX Modelle bis Baujahr 1982

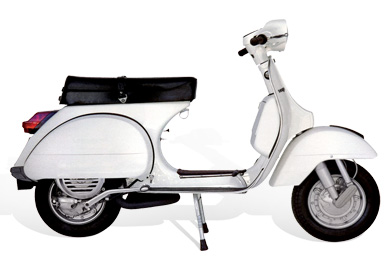
Convert your old Vespa PX with battery now easily

A modern electrical system without battery on your scooter does not destroy the appearance, it is an invisible and economical increase in safety and comfort, because

  • Without a battery, there is no need to purchase / replace and maintain the battery
  • Your electrical system and all consumers function independently of the battery’s condition or charge level
  • You efficiently prevent corrosion damage to your Vespa PX caused by an overcooked battery/battery acid
  • Significantly more safety due to increased light output = increased visibility = better being seen & and better seeing

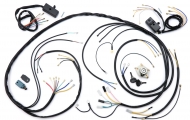
Conversion wiring harness for all Vespa PX models until 1982

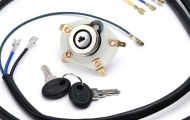
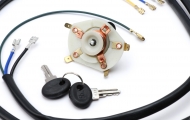
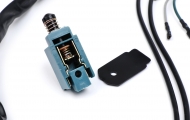
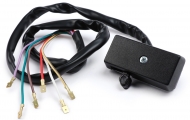
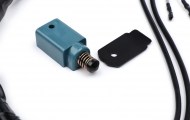
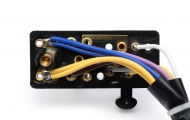
This wiring harness is perfect to convert your Vespa PX, which has a battery ex Piaggio factory, to a modern and maintenance-free on-board electrical system without battery. For this purpose, we offer an inexpensive and practical set with all the necessary new switches and ignition lock(BGM6685KT). Wiring harness in set with switches

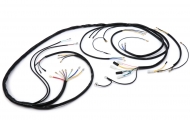
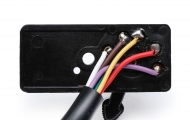
Additionally, for a replacement / restoration, this is the PX wiring harness in the Italian version for models without battery. On this model, the turn signals, the horn (so-called “snare”) and all other consumers are supplied with power directly via the on-board AC system. The ignition base plate used on these vehicles has only 3 cables (contact ignition models) or 5 cables (vehicles with electronic ignition). Wiring harness single without switch

Vehicle models:

Vespa PX battery-free : Conversion without battery

For the conversion of your scooter to the modern electrical system, you need the following parts and save the battery, the wintering and the care/maintenance of the vehicle battery in the future

  • VOLTAGE REGULATOR In general, the simple 3-pole voltage regulator (G|G|M) is used with this wiring harness (e.g. 9100001). The 5-pole voltage regulator (A|A|B+|G|M) originally used on vehicles delivered from the factory with battery can still be used. Only the connections B+ and G remain unassigned (formerly charging current for the battery). A better alternative is the compact and powerful BGM Pro voltage regulator(BGM6690). This can, for example, also supply a USB socket with 12V DC voltage for charging the mobile phone/navi, etc.
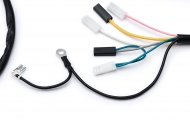
  • IGNITION / IGNITION BASE PLATE /LIMA The type with 5-cables is used as ignition base plate (also recognisable by the blue and black cable for the single voltage supply). The original 7-cable Lima of the models with battery can no longer be used. However, due to their age, these often show damage to the cable insulation anyway. Conversion to the more powerful ignition base plate of the later Lusso models (e.g. BGM8025N or BGM8032N) is therefore highly recommended. This increases the total light output of the AC network considerably, as no more current is diverted for battery charging. Thus, even old PX models can be equipped with a 35/35W lamp. Most alternators with 5-cables have a round plug. The wiring harness offered here has (as in the original Italian) 6.3mm flat plugs. Here, either the wiring harness can be converted to a round plug or the ignition base plate can be converted to a flat plug. The necessary parts can be found in the accessories.
  • BLINKING RELAY The models with battery use a DC (direct current) flasher relay. After conversion, an AC (alternating current) flasher relay is required (e.g. 1195703).
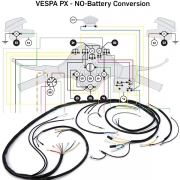
  • INSTRUCTIONS / WIRING DIAGRAM The following instructions / wiring diagramwill help you to connect the cables .

Checklist: Spare parts / parts that are connected to the wiring harness

To make sure everything works, you should go through this list and check if your old parts are still OK. If not, you can order them directly from our Vespa Shop via the link:

*9512115 ? 9520072 + 9520074 / **9512027 ? 7675200 + 7675201

CONCLUSION: Absolutely sensible conversion to modern, more powerful and maintenance-free electrics

Tutorial Installation Wiring Harness Video Instructions

This is a PX-Lusso wiring harness, it has different connections, so don’t get confused. However, the basic principle of the wiring harness is the same and this video tutorial may help you to install and connect the wiring harness in the body of your Vespa.

Tutorial SC - Vespa PX Lusso Kabelbaum Anleitung Montage Einbau Vespa Kabelbaum

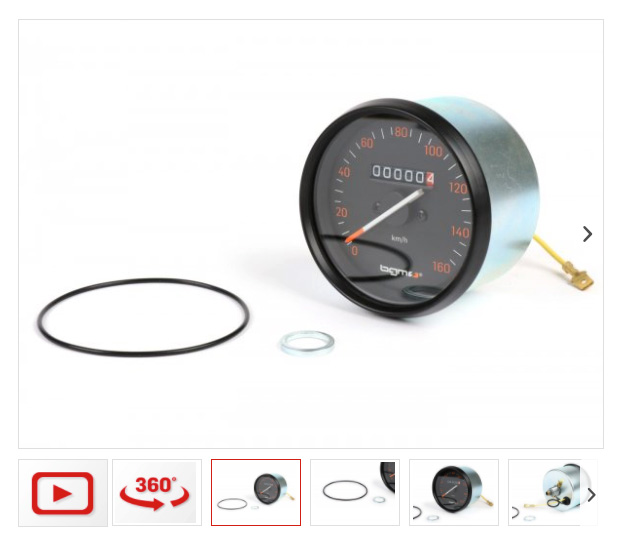
Vespa PX alt Tacho bis 160km/h von bgm PRO

Vespa PX alt Tacho bis 160km/h von bgm PRO

Vespa PX old Speedo bgm PRO 160km/h for Vespa PX up to ’84

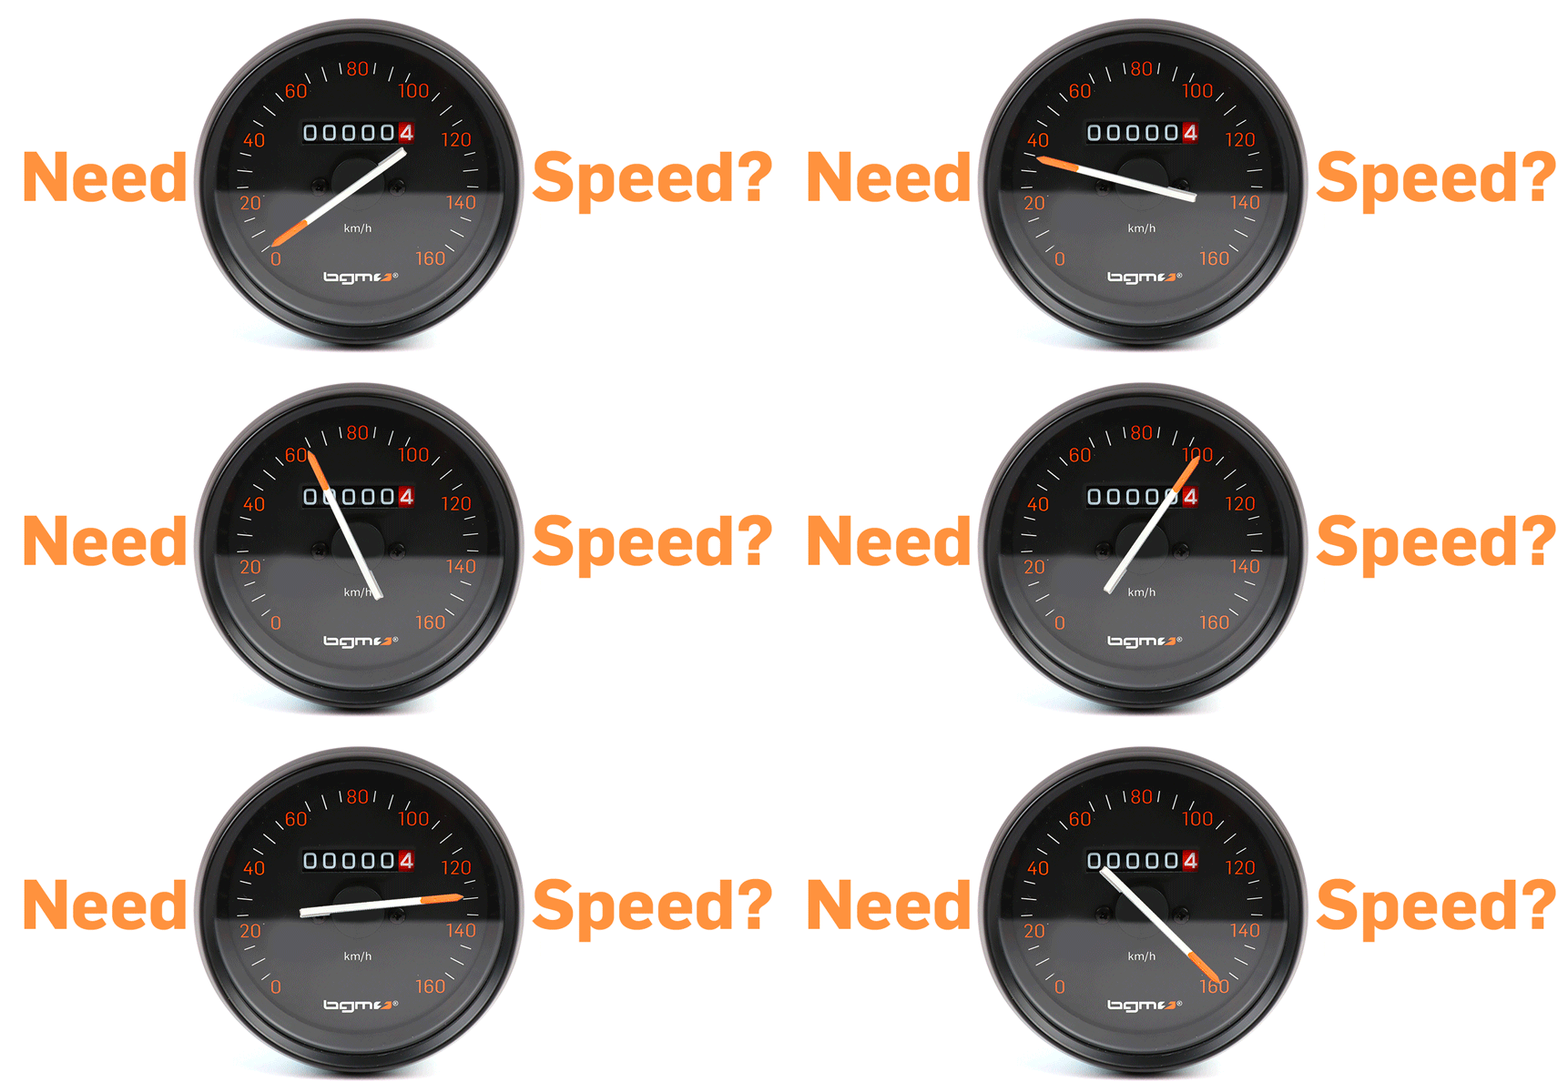
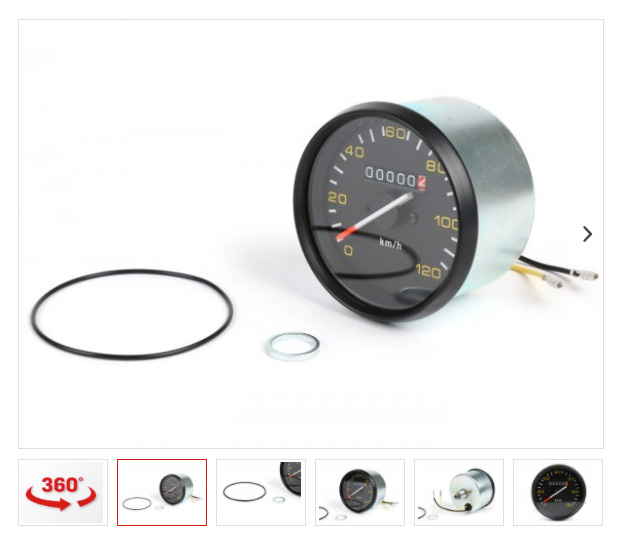
This is the bgm PRO speedometer up to 160km/h for the old Vespa PX with the small speedometer without fuel gauge. A precise eddy current measuring unit with a display range up to 160km/h makes it so special! The standard speedometer has only 120km/h to offer here

This high-quality precision speedometer for your Vespa replaces 1:1, the speedometer installed ex works by Piaggio.

Vespa PX Tacho 160km/h bgm PRO - Tacho für alte Vespa PX bis 160 km/h

Why does a Vespa PX need a speedometer up to 160?

With us in our shop (https://www.scooter-center.com) you also get engine tuning and transmission technology that will push your production speedometer to its limit already in second or third gear – we feel responsible to provide you with an appropriate speedometer.

Your Vespa doesn’t go 160?

So what? As a child, did you always press your nose against the windscreen to check the speedometer to see how fast the car could go? With the 160 bgm speedometer – does your scooter already go 160 when it is standing still. Too much of a good thing for you? Of course we also have speedometers up to 120km/h, which are also perfect for a clean original restoration.

Now drive here with one click 160


Original optics

Tip: The classic appearance is preserved, the existing speedo cable and the original speedo sprocket can simply be used further.

Therefore you can find this speedometer as spare part in our exploded drawings:

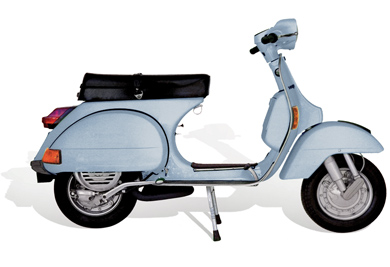
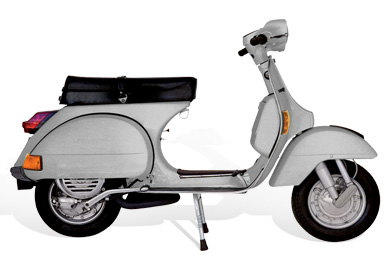
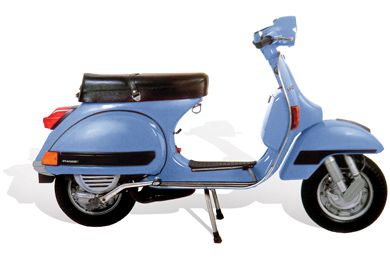
Suitable for example for the following Vespa and Motovespa models:

Vespa PX LED-Scheinwerfer Animation

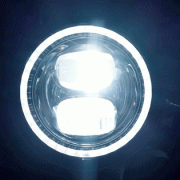
Vespa PX LED Headlight

In this Vespa tutorial video we show you how to install our Vespa PX LED headlight for the Vespa PX. The MOTO NOSTRA HighPower LED headlight itself can also be installed in other cars (Lambretta, Vespa GTS, Sprint, Rally). With the included car specific frame, the installation of the Vespa PX LED headlight as e.g. Vespa PX LED headlight is very easy

CONTENT

  1. Mounting Vespa PX headlights 00:08
  2. Electrical part / connection Vespa LED headlights 01:42
Vespa PX LED Scheinwerfer Tutorial MOTO NOSTRA LED Scheinwerfer Vespa PX

DOWNLOAD PDF Assembly instructions for printing as PDF

WHY AN LED HEADLIGHT ON THE VESPA?

The limit with conventional Bilux bulbs is on most scooters a headlight bulb with 45/45 W. The 80 W to max. 120 W ignition does not give more. The luminosity measured in lumens is less than 400 and the LED headlight has a luminosity three times as high (1300 lumens). The power consumption is only 20 W. This corresponds to the luminous efficiency of a conventional 100 Watt spotlight. This means that with a given alternator/power supply a considerably better illumination can be achieved. In addition, more capacity remains for other consumers

PARTS LIST / SHOP

Parts used in this video

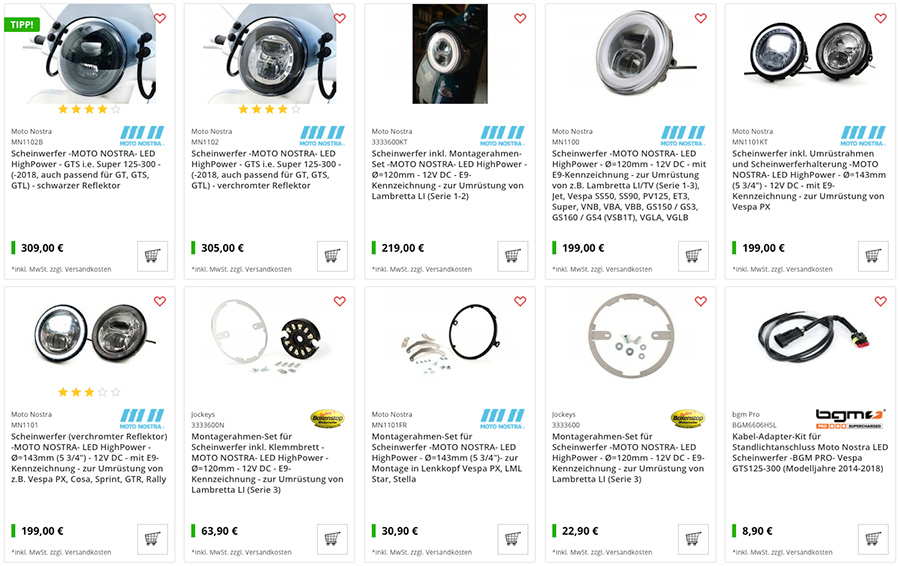
  • LED headlights incl. conversion frame Vespa PX and headlight bracket -MOTO NOSTRA- LED HighPower
    Article number: mn1101kt
  • Ignition switch -VESPA 4-cable- Vespa PX Lusso (from year 1984 up)
    Item number: 9520133
  • Light switch -GRABOR- Vespa PK125 XL/ETS, Vespa PX Elestart (1984-1998) – 10 cables (DC, models with battery, normally open)
    Item number: 9520145
  • Rubber flasher relay Vespa PX
    Item number: 3330940

MOTO NOSTA LED HEADLIGHT!

LED headlamp with E9 marking (road approval) and high-intensity main/dipped beam. Additional feature is a separately switchable position light. With a diameter of 143mm it also fits perfectly in the steering head of the PX and Cosa models as well as in the lamp bezel of e.g. Vespa Sprint, GTR and Rally.


Vespa Moto Nostra LED High Power LED Scheinwerfer

TECHNICAL DATA

Luminosity 1300 lumen Voltage: 12 Volt DC (direct current) Power consumption: 1.8A/1.3A Power consumption: 21.5W/15W/1.9W Diameter: Ø143mm Overall depth body: 54mm (measured from headlight ring without glass bulge) Overall depth overall: 79mm (measured from headlight ring without glass bulge with cable entry)

NOTE

The LED headlight works exclusively with direct current, therefore it needs a battery or another equivalent power source with 12V DC. Operation with an AC power source will result in immediate failure

Who, What, How PLATÓNIKA?

We know that our Platónika project is taking a little longer than we thought.

But we continue to work hard behind the scenes. And we used the project to make some SC tutorials for you.

Due to various inquiries about who Maryzabel is and how she came to us, Alex asked Lanz for an interview on the couch at the Scooter Center.

Just like every Vespa has its history, every female Vespa rider and of course the male counterparts have their history too. And one thing is always interesting, how did you get to the Vespa. And why of all things to ride a scooter. And just then it becomes clear that maybe it is the Vespa that brings us together. And that this is more important and stronger than the things that could separate us.

Although those who follow us here in the blog or on other channels already know something about me, we have fulfilled the wish to tell a little bit more about me and the Vespa and also Colombia. A country that many people surely only know from the media and the Platónika project. But that is also a country that beats in 2-stroke.

Interview

Auf der Couch beim Scooter Center | Interview - Alex & Maryzabel Vespa Platónika

Vespertine

Let me introduce you to Vespertine. My first love, the first scooter I bought and will keep for all my life. After her came “la pelada” another PX from 1994, but I am not a collector, so my ambition is to have no more. Although here in Germany it is very good for me to have something to drive. So now we will build up a platonic love and with time we will see what comes..


Vespa Tutorial Video

Instructions and tutorial videos for your Vespa PX

Next week we will start with our Vespa Tutorial Videos, a series from the Vespa Platónika bgm177 project of the Scooter Center.

  • How do I install a Vespa cylinder?
  • How do I measure the squeeze gap cylinder / piston / cylinder head?
  • How to assemble a carburettor?
  • Tips for cylinder studs on a Vespa!
  • How to install a Vespa clutch?
  • How do I install a new transmission in my Vespa PX?


New Vespa PX tutorials by Scooter Center inspired by the Platónika's project

Vespa Platonika (Platónika)

Platónika is the name of the scooter. A Vespa PX, which we completely rebuild with new parts from the Scooter Center stock. Of course we use our best BGM parts. Benefit from our know-how, get lots of tips and take a look behind the scenes.
Follow the project here on the Scooter Center blog:

https://blog.scooter-center.com/category/sc-shop-demonstrator/platonika/

Hello I’m Maryzabel and I do part of the Scooter Center team. In the SC Newsblog I will show you my adventures here and give you a look behind the Scenes.

My final trainee step brought me to the technical department. So I had to put away the notebook and put on the work gloves. Additionally to the technical work, I will also do some video footage on the work that we do.
One idea of me was to restore a Vespa Smallframe so that I get back on a Vespa gain instead of using the public transport. With everyone very passionate about scooters, they instantly liked the idea. After some head scratching about the state of my Smallframe, the technicians came up with another idea. Why not build a scooter from scratch. ALL YOU NEED for that is here and the plan was to use one of the LML frame sets and combine it with an engine with the full bgm treatment. The imagination started and everybody was hooked by the idea.
So we are now not only going to build the Vespa of my dreams, we will also do un-boxing videos, reviews and tutorials.

And for sure we will show you the build of the Vespa step by step. She will be a platonic love.
Here we have the teaser of the things to come.

TEASER - Vespa Project Platónika - Building a Vespa PX bgm 177