This is the correct way to mount a stud
Brake drums, cylinders, engine casings – studs are everywhere. Mounting usually includes the locknut method. And we have even seen the use of pliers… But this can be prevented:
Gentle and easy assembly
Exchanging studs is easy when using a tool with tight grip.

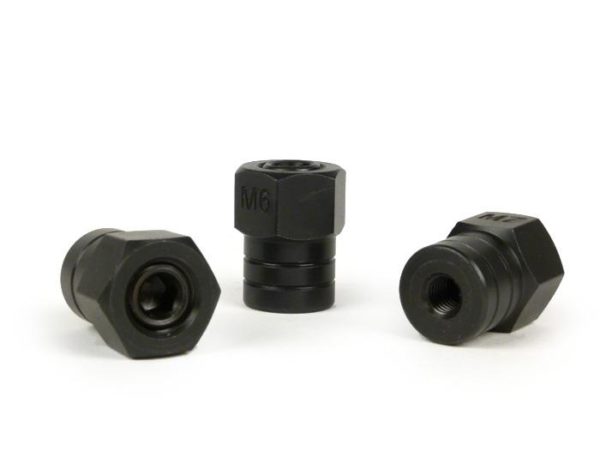
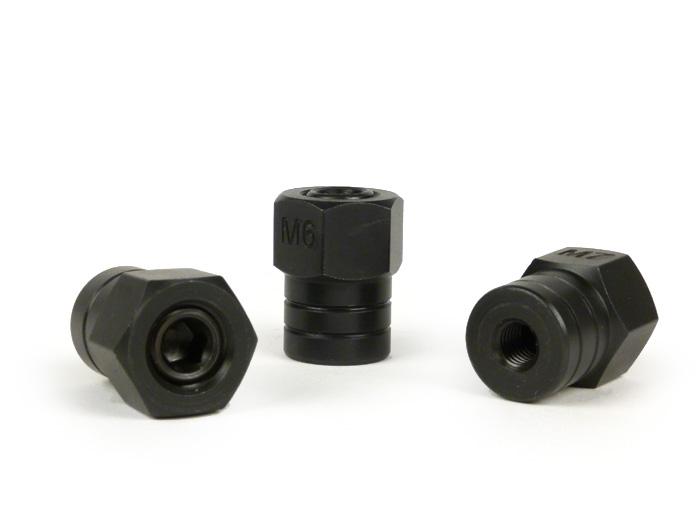
Our stud installer has been designed to meet the demands of classic scooters.
No size has troubles with a short thread and can be used in small spaces without worries.
Please note: The mounting tool doesn’t need a long thread. You should therefore make sure that the minimum engagement depth is met.

Special tool for Vespa, Lambretta and Co.
Studs in the engine casing or the cylinder outlet are one example for special cases. These are tight spaces and the studs are very short. A standard roller type stud extractor would definitely lead to damages of the thread or will be limited in use, due to a lack of space. 
Our BGM tool doesn’t strain the thread of the stud. The actual grip comes from the integrated ball, which grips the head of the bolt.

These helpers are small and therefore easy to store in the luggage box on any tour. 
These stud installers are available as set or individually in M6, M7 and M8. 
Smart tool by BGM for damage free mounting and dismounting of studs.
Screw the BGM PRO tool to the stud and lock it with the integrated hex socket screw. Thus gripping the thread of the stud. Now turn the outer sides of the key. The stud is fixed and will either be loosened or tightened. Watch for a sufficient lock for a tight grip of the tool.
Perfect for short bolts (as for Lambretta gear box covers). Minimum length of free thread of stud: M6 / /M7 = 6,5mm M8 = 9mm.
Available individually or as set.
Rare thread size M7 also available!
Necessary additional tool: Ring / open end wrench: WS19, hex wrench: 6mm


