Tightening torques for bolts and nuts on the scooter
How tight should I tighten a bolt or nut on the scooter?
Here we have compiled a list of the recommended tightening torques of the manufacturers. *
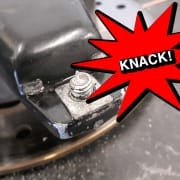
Too tight!
It has probably happened to everyone at least once, KNOCK and the screw / bolt is off or the thread is broken.
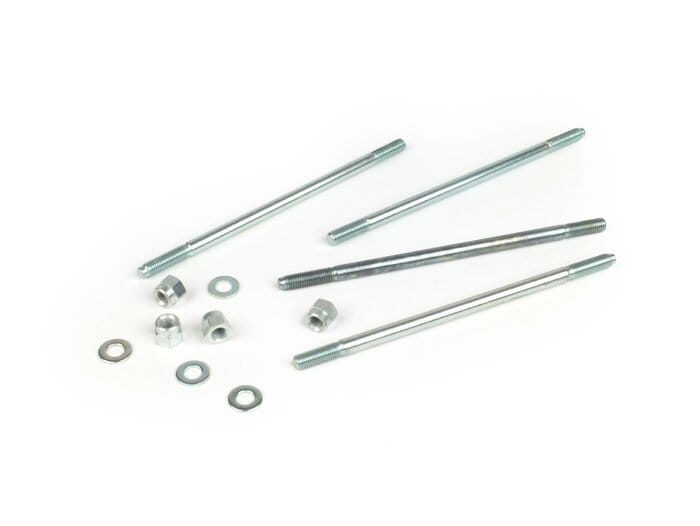
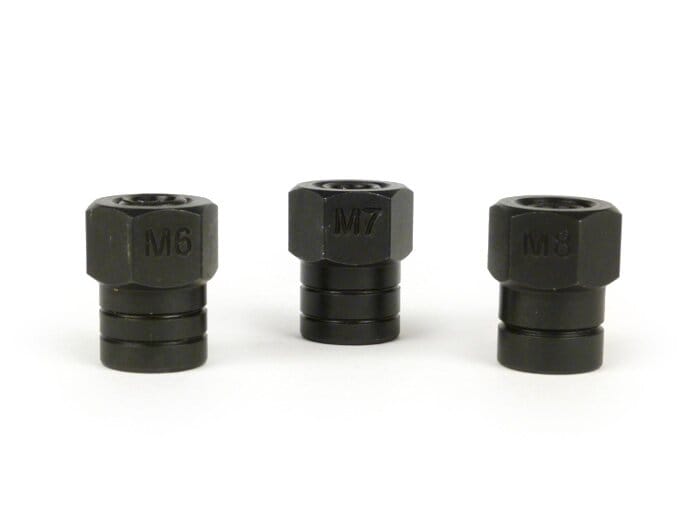
No problem, if you have only destroyed a nut or a stud bolt, it can usually be easily replaced. It already starts to get annoying when you don't have a replacement available.
thread repair: It gets really annoying if you have destroyed a thread in the engine housing! This often becomes complex and usually expensive, especially if it cannot be repaired with a thread insert. Before the housing has to be replaced or welded, a thread repair with Weicon adhesive is often possible.
Too loose!
Apart from being too firm, there is of course also not firm enough! Nuts or screws that are too loose can be dangerous. You don't even want to think about what can happen if wheel nuts or brake discs come loose. Loose carburettors, intake manifolds or cylinders quickly cause engine damage. Depending on the area of application, self-locking nuts or screw locking are the best choice!
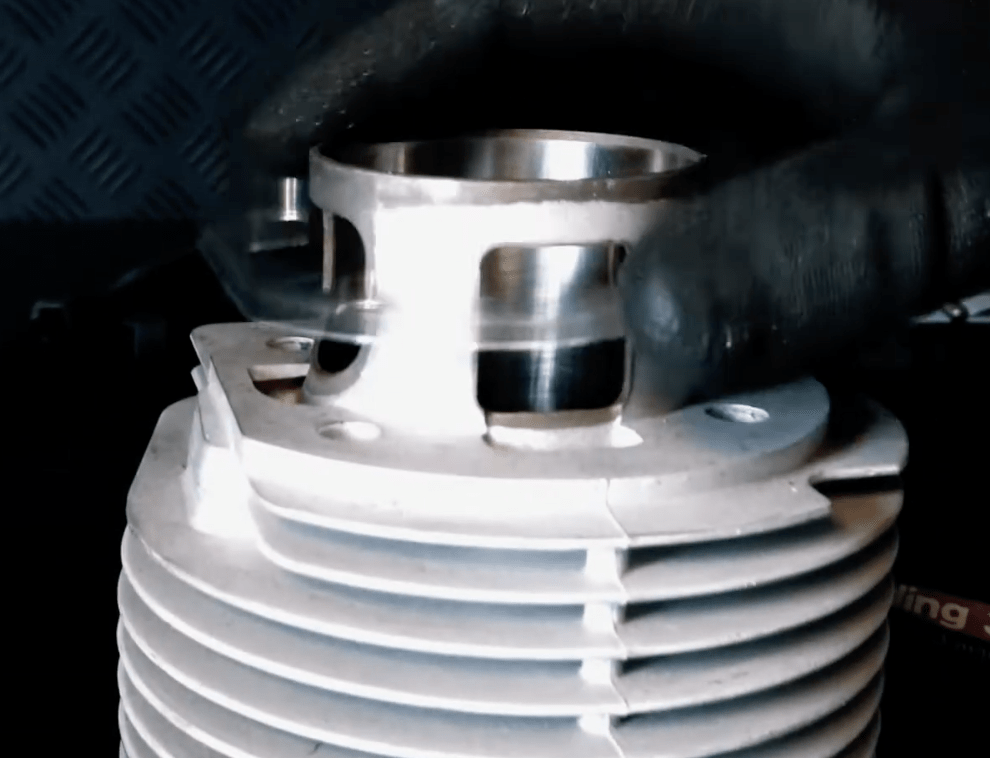
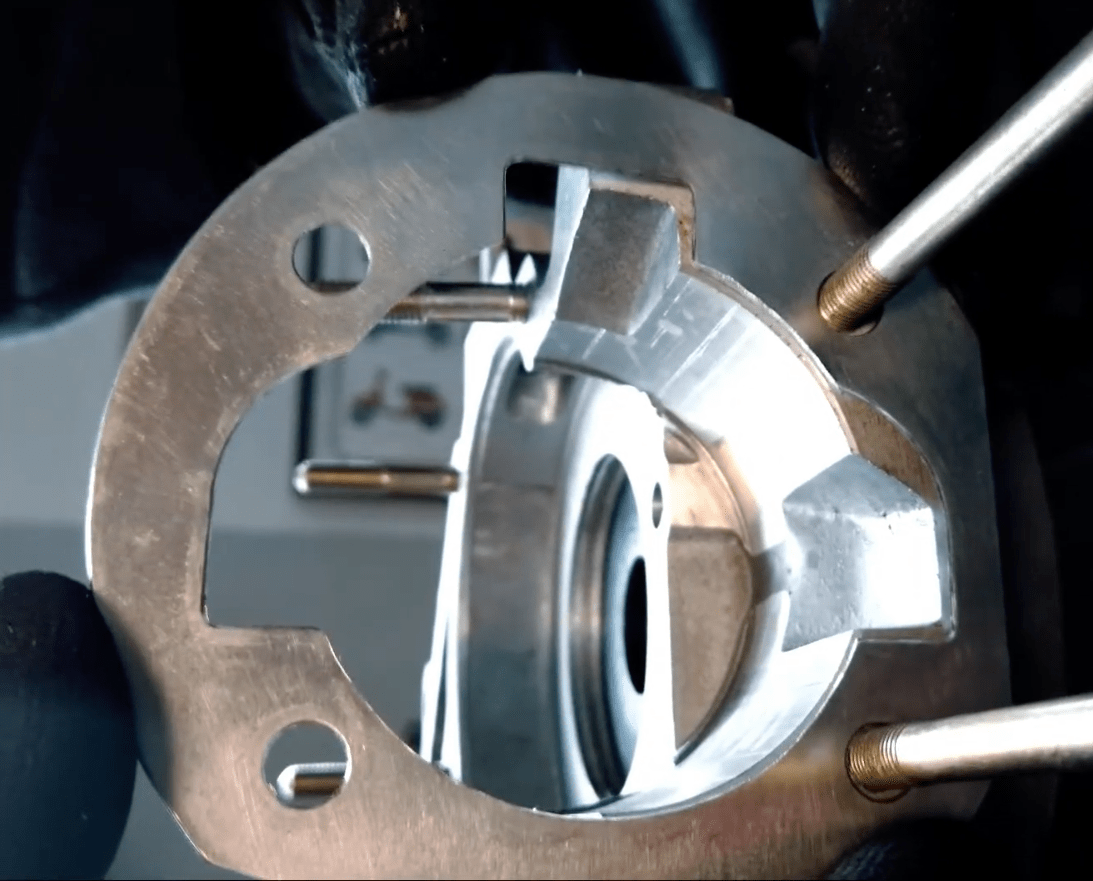
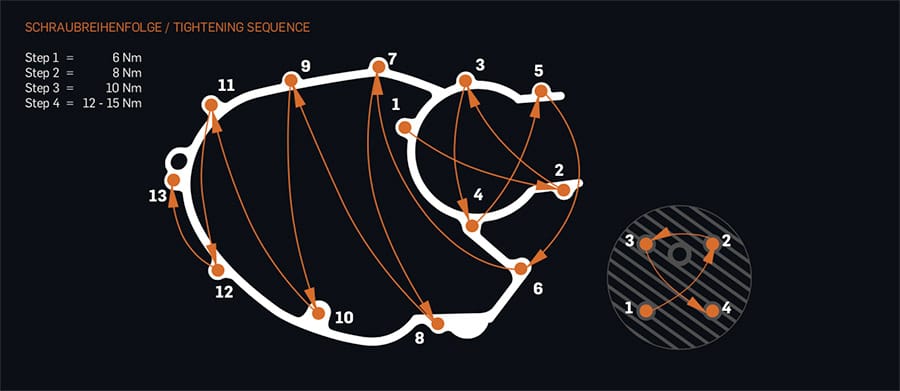
In the right order!
In addition, the even tightening of screws and nuts must also be taken into account. Everyone knows this from changing tires, here they are tightened by eg crosses to guarantee an even fit. Also with engine housings and cylinder heads eg tensions caused by unevenly tightened studs should be avoided. There are even components for which a certain order of fastening must be considered. Please follow the manufacturer's instructions here.
Wrong way!
Right hand thread? Left hand thread? Normally nuts and screws are tightened clockwise (right-handed) and loosened counter-clockwise (left-handed) = normal right-hand thread. But there are also exceptions, such as the polar wheel nut Lambretta and left-hand mirrors: often with left-hand thread.
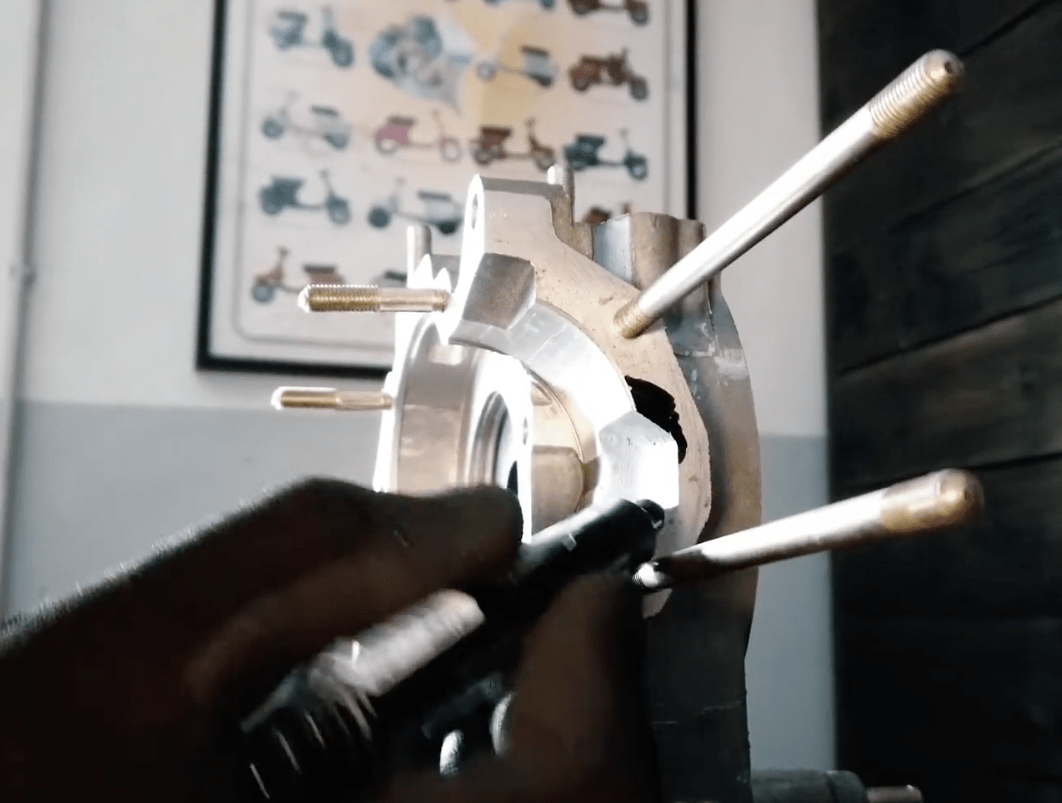
Solid!
For many applications there are special tools, pullers and especially holders, without which parts usually cannot be detached at all. You will find the tool for your scooter model after selecting the vehicle in the vehicle list:

In case of tight connections, penetrating oil such as WD40 often helps!
Torque wrench
We recommend working consistently with a torque wrench and adhering to the recommended tightening torques. We offer various torque wrenches for small and large tasks:
[print friendly]
LAMBRETT
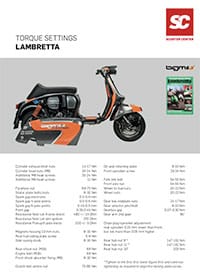 Torque Lambretta
|
original |
MB Developments |
| Nut flywheel / fan wheel |
68 Nm |
75 Nm |
| Cylinder outlet / inlet nuts |
4.7-5.2 Nm |
9.8-11.8 Nm |
| Cylinder head nuts |
19-22 Nm |
20-24 Nm |
| Screws ignition base plate |
4.7-5.2 Nm |
|
| Screw shift claw (9mm) |
4.7-5.2 Nm |
|
| Nuts gearbox cover plate |
9.8-11.8 Nm |
14-17 Nm |
| Screw front sprocket |
29-34 Nm |
|
| Nuts chain cover (10 mm) |
4.7-5.2 Nm |
|
| Rear brake shoe pivot pin (gear ratio contr.) |
4.7-5.2 Nm |
|
| Nut cover plate rear wheel bearing |
4.7-5.2 Nm |
|
| Brake drum nut (8 ° + 11 ° cone) |
161 Nm |
|
| Brake drum nut (20 ° cone) |
203 Nm |
|
| Fuse brake drum nut |
14-14.7 Nm |
|
| Fork links |
54-55 Nm |
|
| Nut front axle |
54-55 Nm |
|
| Rim fixing nuts |
19.6-22.5 Nm |
|
| Oil seal retaining plate (transmission ratio contr.) |
4.7-5.2 Nm |
|
| Chain guide (gear ratio control) |
4.7-5.2 Nm |
|
| Gearbox distance (gear ratio control) |
0.07-0.30 Nm |
|
VESPA Largeframe -1977 (125-150cc
) VNA-VBB, GL, GT, GTR, TS, Sprint, Super
 Torques_VespaLargeframe-to-1977
|
Nm |
| Nuts housing halves |
12-15 Nm |
| Stator plate screw |
3-5 Nm |
| Groove coupling |
40-45 Nm (depending on the clutch up to 65) |
| Nut auxiliary shaft axis |
30-35 Nm |
| Switching cross (left hand thread, screw lock) |
15-18 Nm |
| Groove rotor (pole wheel) |
60-65 Nm |
| Carburettor fixing screw |
16-20 Nm |
| Screw clutch cover |
6-8 Nm |
| Outlet connection (P200) |
75-80 Nm |
| Nut exhaust on cylinder |
16-26 Nm |
| Aluminum cylinder (observe manufacturer's instructions) |
14-16 Nm |
| Nut cylinder head (P 125 X, P 150 X, M7) |
16-18 Nm |
| Nut cylinder head (P 200 E, M8) |
20-22 Nm |
| Spark plug (observe manufacturer's instructions) |
20-24 Nm |
| Crosshead screw motor swing arm |
60-75 Nm |
| Nut lower shock absorber mounting |
M9 = 14-22Nm, M10 = 16-24Nm |
| Nut Rim mounting Brake drum (v / h) |
20-22 Nm |
VESPA PX 80-200
Torques_Vespa-PX
|
Nm |
| Nuts housing halves |
12-15 Nm |
| Stator plate screw |
3-5 Nm |
| Groove coupling |
40-45 Nm (depending on the clutch up to 65) |
| Nut auxiliary shaft axis |
30-35 Nm |
| Switching cross (left hand thread, screw lock) |
15-18 Nm |
| Nut rotor (pole wheel) |
60-65 Nm |
| Carburettor fixing screw |
16-20 Nm |
| Screw clutch cover |
6-8 Nm |
| Outlet connection (P200) |
75-80 Nm |
| Nut exhaust on cylinder |
16-26 Nm |
| Nut starter motor (M8) |
10-15 Nm |
| Starter motor screw (M6) |
6-8 Nm |
| Aluminum cylinder |
14-16 Nm (see manufacturer specifications) |
| Nut cylinder head PX 125-150 (M7) |
16-18 Nm |
| Nut cylinder head PX 200, (M8) |
20-22 Nm |
| Spark plug (observe manufacturer's specifications) |
20-24 Nm |
| Crosshead screw motor swing arm |
60-75 Nm |
| Nut lower shock absorber mounting |
M9 = 14-22Nm, M10 = 16-24Nm |
| Nut rim fixing v / h brake drum |
20-22 Nm |
VESPA Smallframe
V50, PV, ET3, PK 50-125
Torques_VespaSmallframe
|
V50, PV, ET3 |
PK |
| Nuts housing halves |
13-15 Nm |
13-15 Nm |
| Screw anchor plate |
3-5 Nm |
3-5 Nm |
| Screw kick starter |
23-26 Nm |
23-26 Nm |
| Nut primary gear |
50-55 Nm |
50-55 Nm |
| Groove coupling |
40-45 Nm (depending on clutch up to 65 /) |
40-45 Nm (depending on the clutch up to 65) |
| Screw for shift fork |
17-22 Nm |
|
| Nut pole wheel / fan wheel |
M10 = 45-50Nm, M12 = 60-65Nm |
|
| Nut suction port |
6-8 Nm |
8-10 Nm |
| Exhaust manifold on cylinder (M6 / M8) |
8-10 Nm |
8-10 Nm |
| Clutch cover screw |
8-10 Nm |
PK 50: 8-10 Nm PK 80-125: 9-10 Nm |
| Nut brake anchor plate |
17-22 Nm |
17-22 Nm |
| Crosshead screw motor swing arm |
38-50 Nm |
|
| Nut brake drum |
M14 = 60-100Nm, M16 = 90-110Nm |
|
| Oil filler and drain plug |
3-5 Nm |
|
| Screw for manual transmission fork |
17-22 Nm |
|
| Bolt exhaust to swing arm |
18-20 Nm |
18-20 Nm |
| Screw pick-up |
2-2.5 Nm |
2-2.5 Nm |
| Screw for fan mounting (Dynastarter) |
8-10 Nm |
|
| Mother Group Dynastarters (?) |
60-65 Nm |
|
| Aluminum cylinder |
13-18 Nm (see manufacturer's specifications) |
12-18 Nm |
| Nut cylinder head |
V50: 14-18 Nm |
PK 50: 13-18 Nm |
| Nut cylinder head |
PV, ET3: 14-18Nm |
PK 80-125: 13-18 Nm |
| Cylinder base nut |
V50: 12-16 Nm |
PK 50: 12-16 Nm (not HP) |
| Spark plug (observe manufacturer's instructions) |
14-18 Nm |
18-24 Nm |
| Nut Hub spigot (under swing arm cover) |
50-55 Nm |
50-55 Nm |
| Locking nut front wheel axle (V50 with or without speedo drive pinion) |
45-50 Nm |
45-50 Nm |
| Ring nut of the speedometer drive |
PV / ET3: 45-50 Nm |
|
| Nut upper shock absorber mounting |
20-27 Nm |
PK 50: 20-30 Nm PK 80-125: 30-40 Nm |
| Nut lower shock absorber mounting |
20-27 Nm |
PK 50: 20-30 Nm PK 80-125: 20-27 Nm |
| Nut of the engine swing arm on the frame |
38-52 Nm |
38-52 Nm |
| Upper race of the upper headset bearing (or hand-tight until contact with bearing balls) |
6-7 Nm (check) |
50-60 Nm (check) |
| Upper ring nut to lock the upper steering head bearing (after the tightening torque is reached, turn back the wrench by approx. 1? 4 turn (80-90 °)) |
50-60 Nm (check) |
|
| Handlebar bolt |
30-44 Nm |
30-44 Nm |
| Upper head race groove |
|
30-40 Nm |
| Nut rear wheel axle |
90-110 Nm |
90-110 Nm |
| Nuts rims v / h on brake drum |
23-27 Nm |
20-27 Nm |
| Central groove front wheel |
75-90 Nm |
PK 50: 50-80 Nm PK 80-125:? |
[print friendly]
* We have worked here to the best of our conscience, but all information is nevertheless without guarantee.