A Vespa Be Giorni?
The Vespa Sei Giorni is among the most sought-after collectors items. A. Vespa Six Days, but what's it all about?
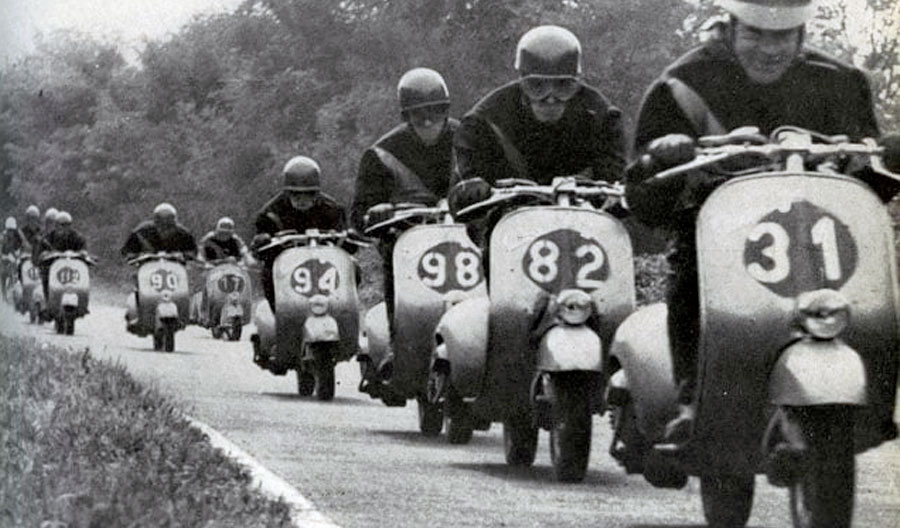
In 1951 the Vespa company's racing team “Piaggio Squadra Corse” gained massive attention during a race. The “Sei Giorni Internationale” took place from the 18th to the 23rd Septemper 1951 in Varese, in the hinterland of Lake Maggiore in Italy. It was one of the hardest and most important competitions of that time: 220 participants riding over several kilometers in an off-road environment.
Let Giorni = six days
Still today this six days reliability trial is known as “International Six Days Enduro”. The first race took place in England in 1913, a test of the limits of both daring racers and machines. And in 1951 the Vespa was just 5 years old!
For this race Piaggio modified a small part of three hundred 125cc Vespa models. The racing team “Piaggio Squadra Corse” participated with these ten scooters. But how could the small Vespas, specially built for this race, compete against motocross motorbikes?
Surprisingly the Piaggio company's racing team (racers: Biasci, Cau, Crabs, Mazzoncini, Merlo, Nesti, Opesso, Riva, Romano, Vivaldi) won the competition with their Vespas, outdoing the offroad motorbikes: 9 out of 10 racers got a gold medal . In 1951, for this top performance the Vespa 125 “Sei Giorni” also won the prize of the Italian motorcycling federation and with their Italian Vespa models the three racers Giuseppe Cau, Miro Riva and Bruno Romano stole the limelight from all other racers.
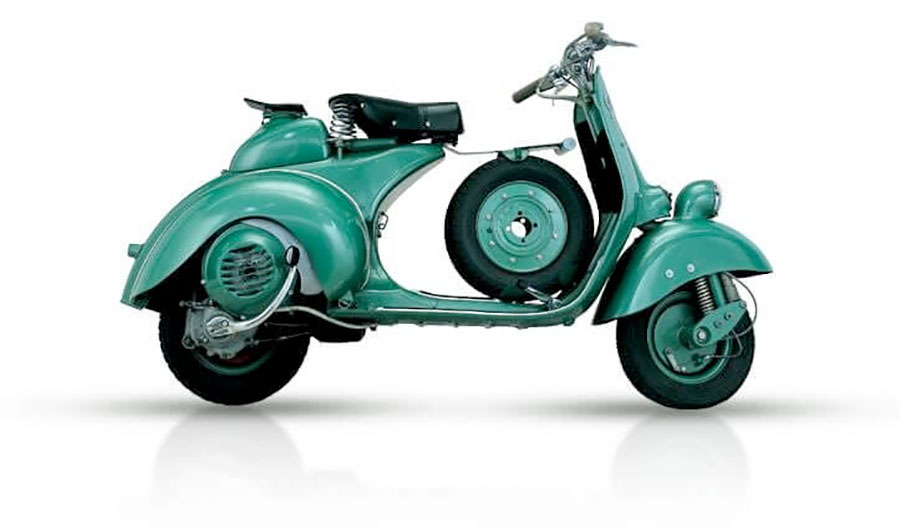
Near series racing scooters
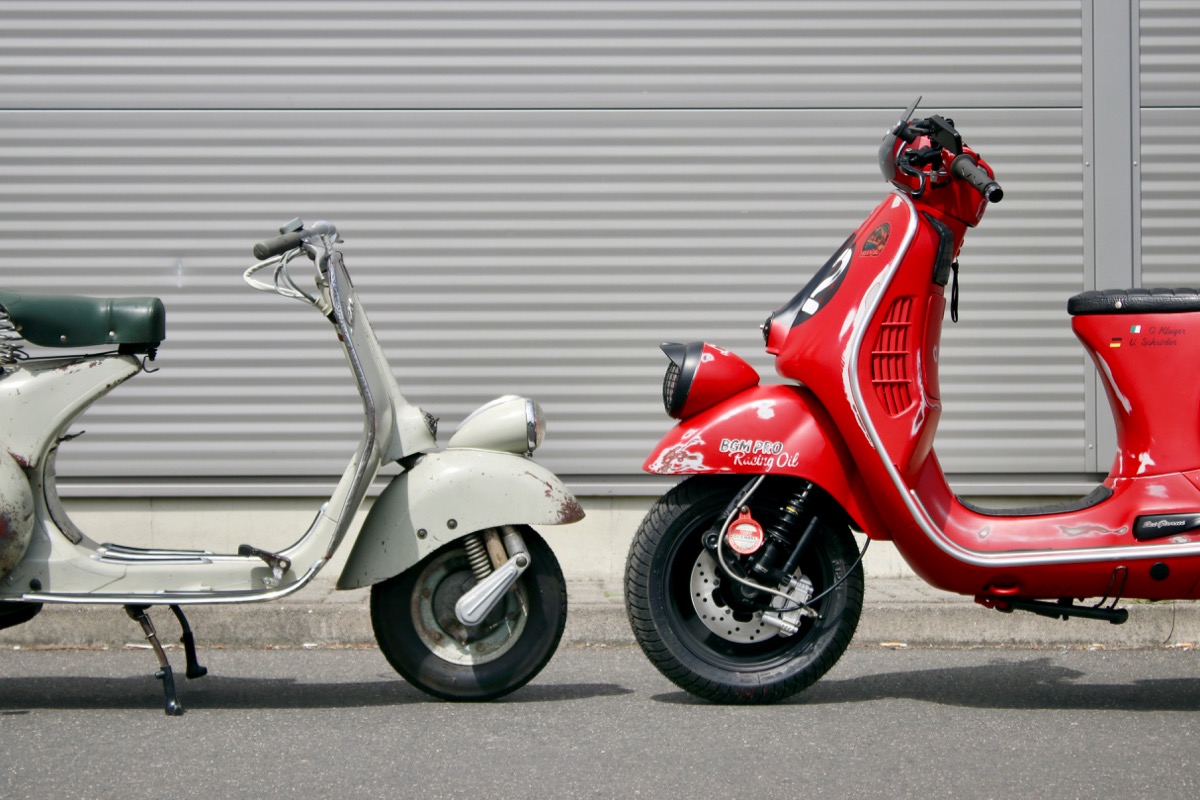
The Vespa "Sei Giorni" was optically very similar to the series model. The main differences which were visible for instance more tank volume, improved aerodynamics of the leg shield and a bigger engine cover.
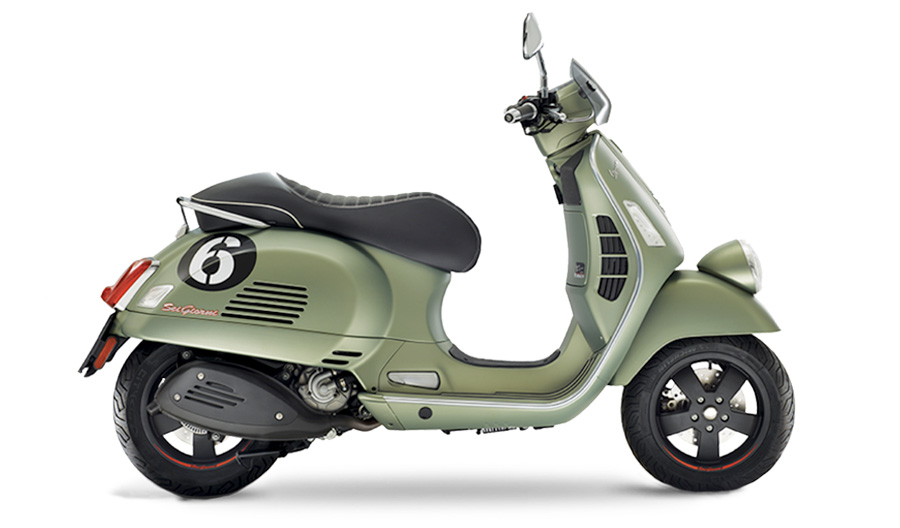
Vespa Six Days 2017
As we reported from the motorcycle show Eicma in 2016, in memory of this legendary success, Piaggio released a special edition: the Vespa Sei Giorni 300.
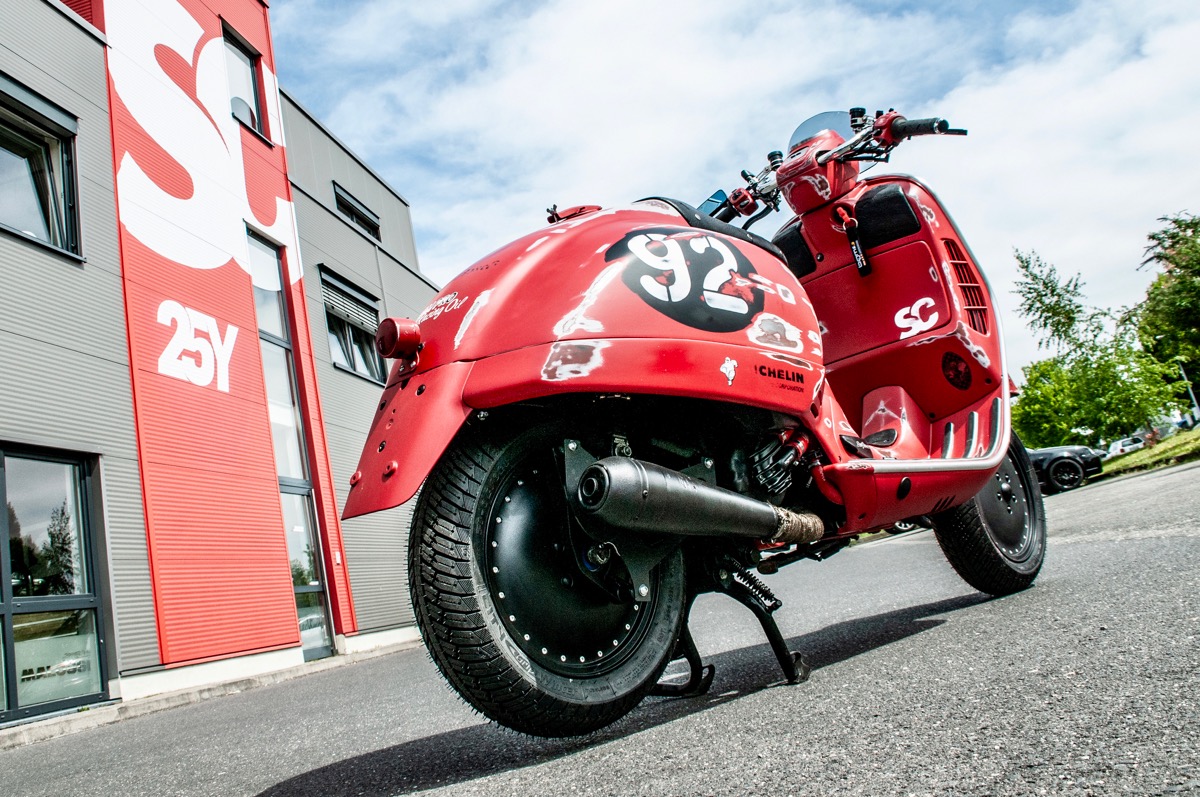
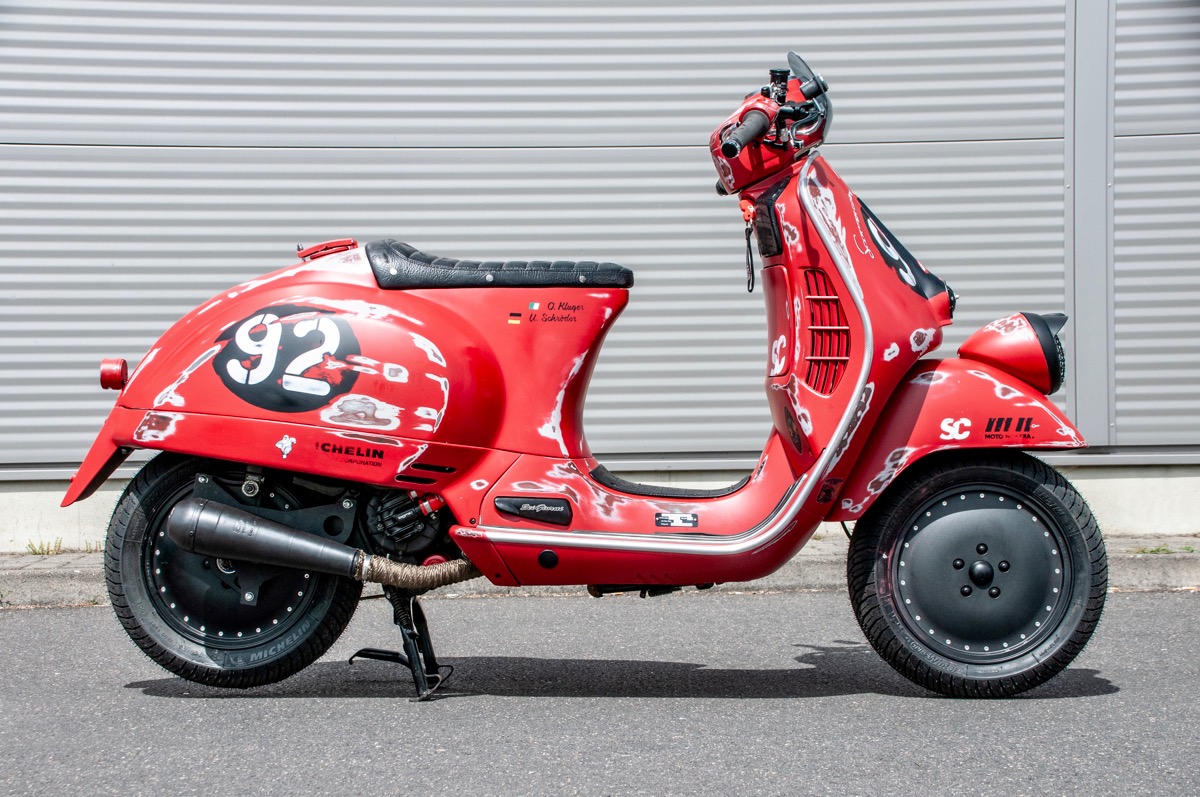
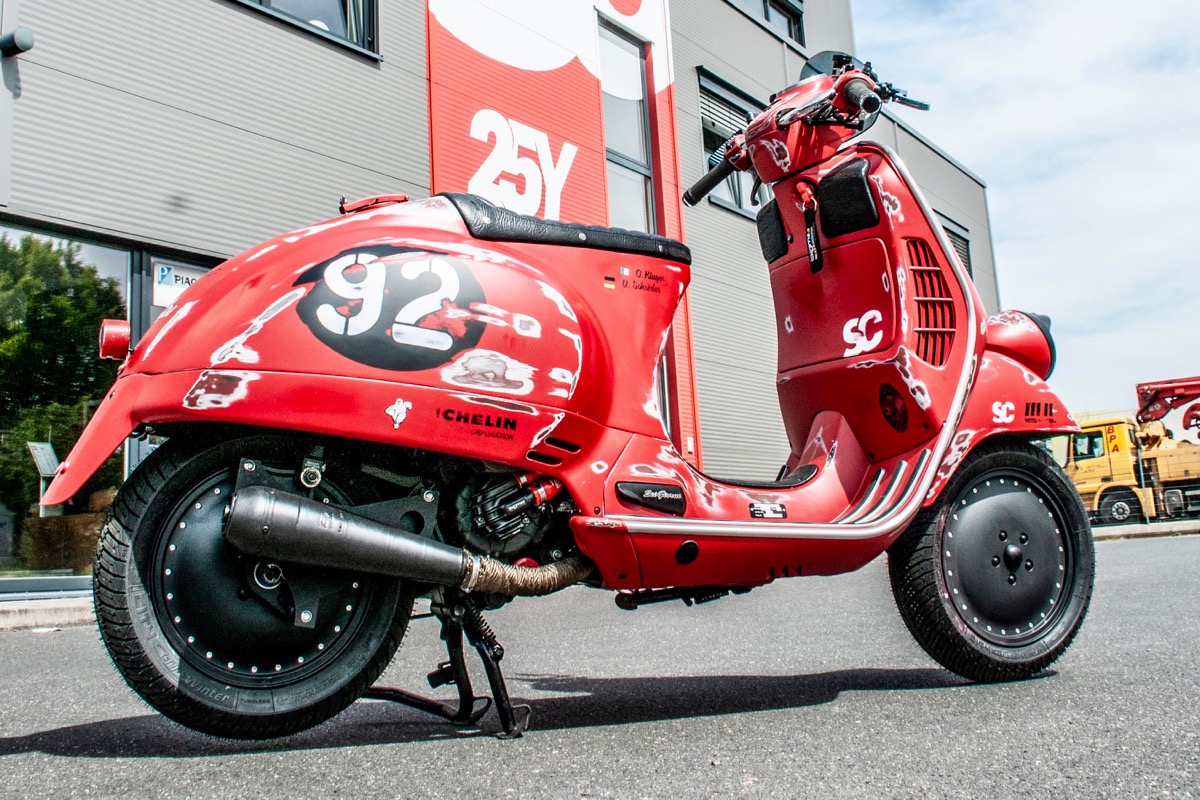
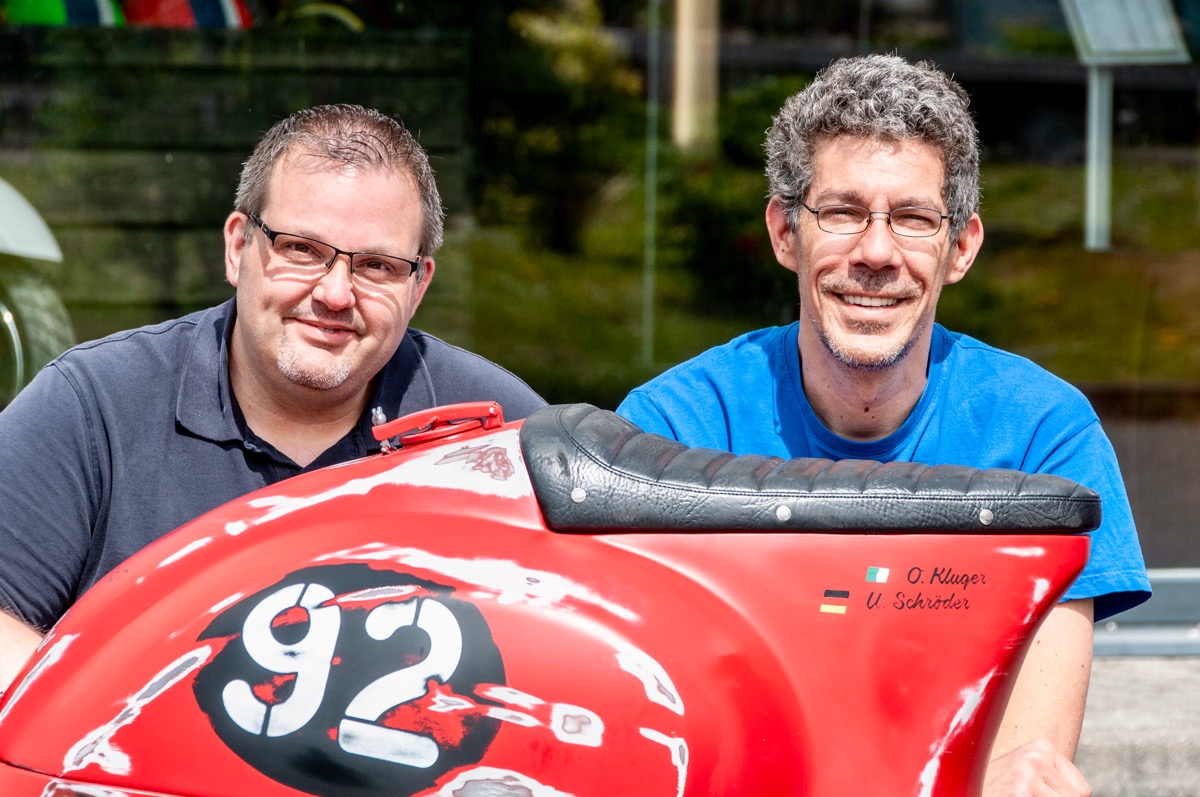
Scooter Center's Vespa Sei Giorni
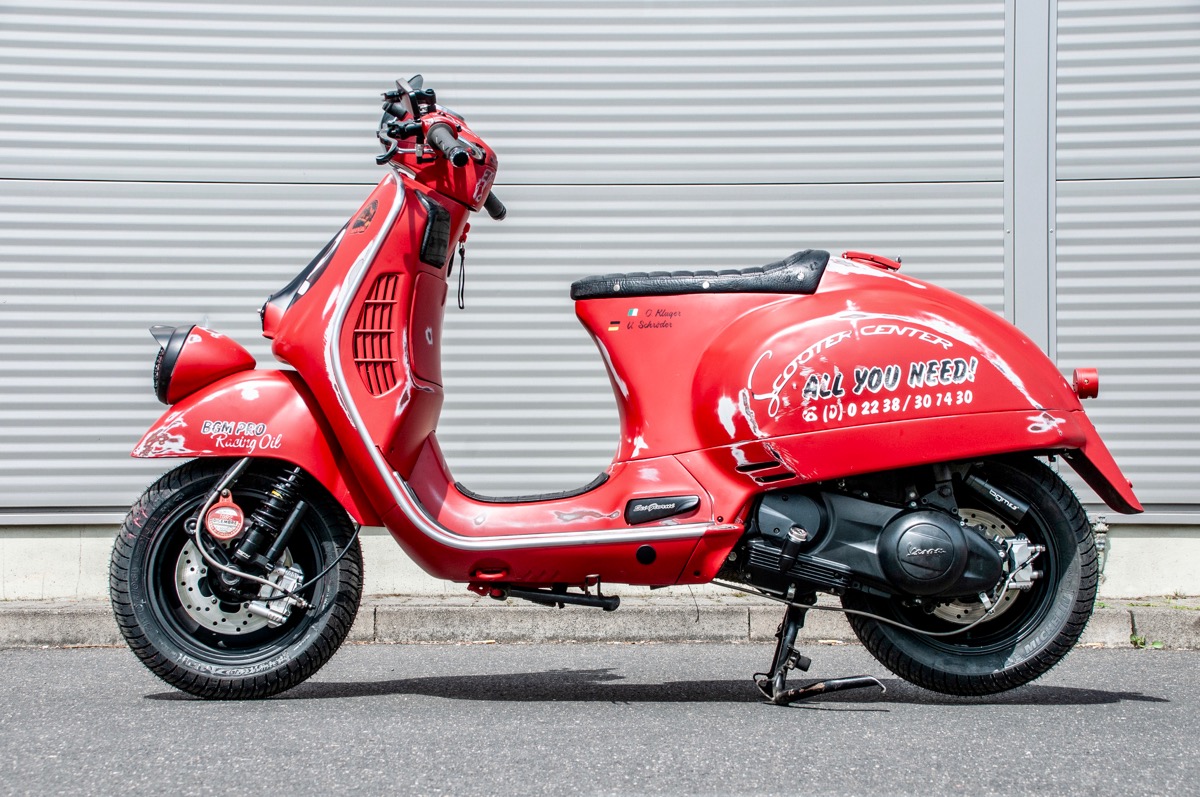
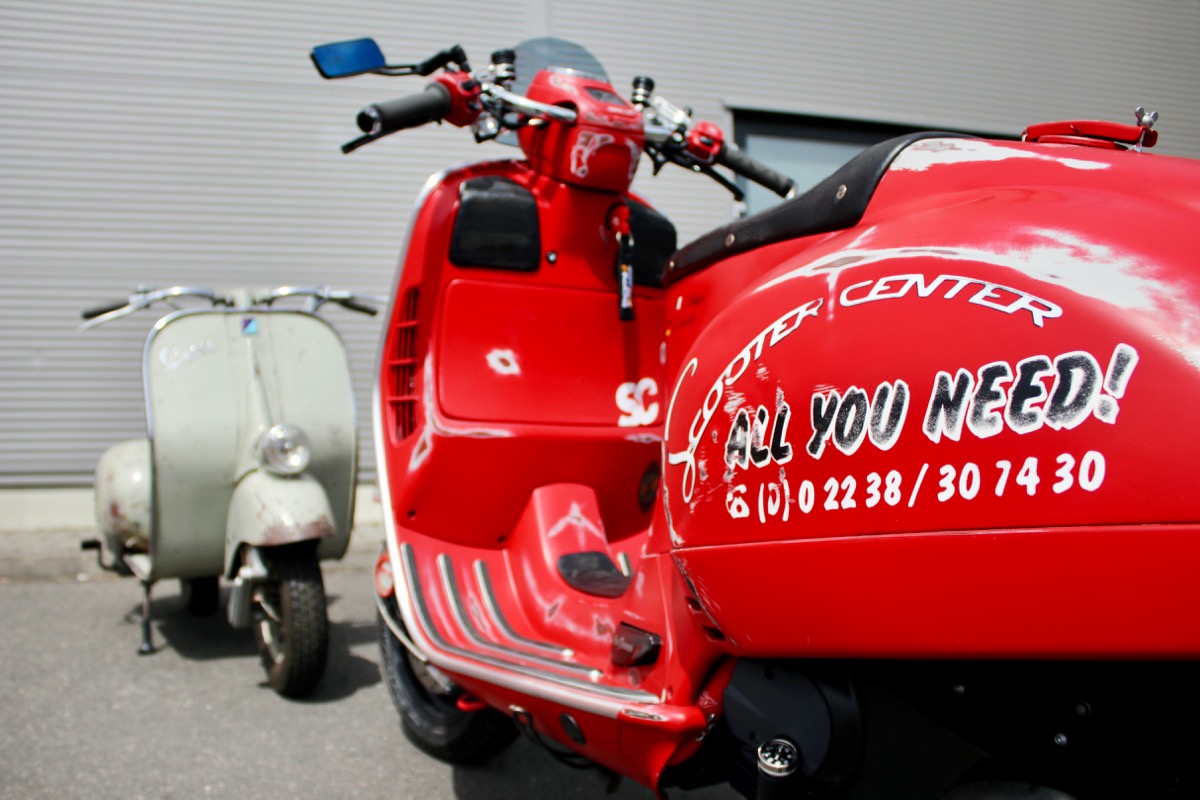
After the Eicma morotcycle show 2016, we got the idea of creating a new Scooter Center demonstrator which represents a fusion of the automatic Vespa and the classic Vespa. Just like us Vespa shop where you can just find everything you need for your modern or vintage Vespa.
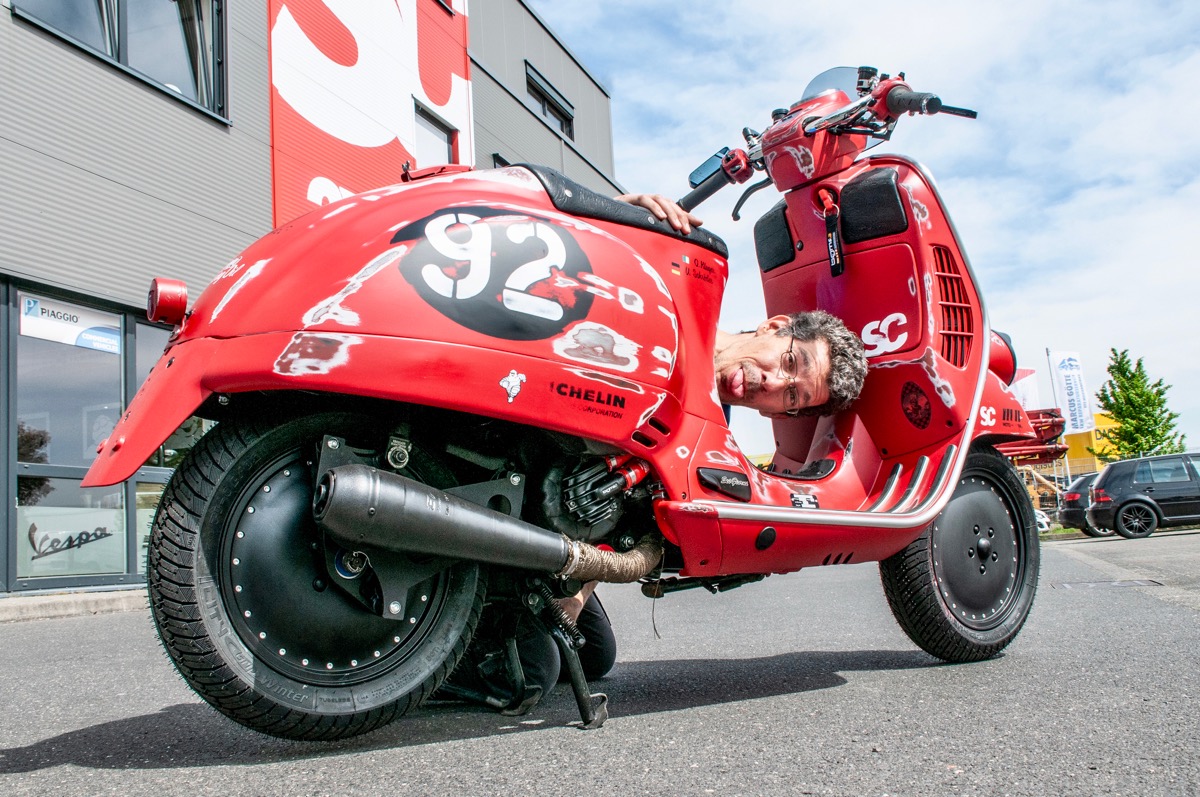
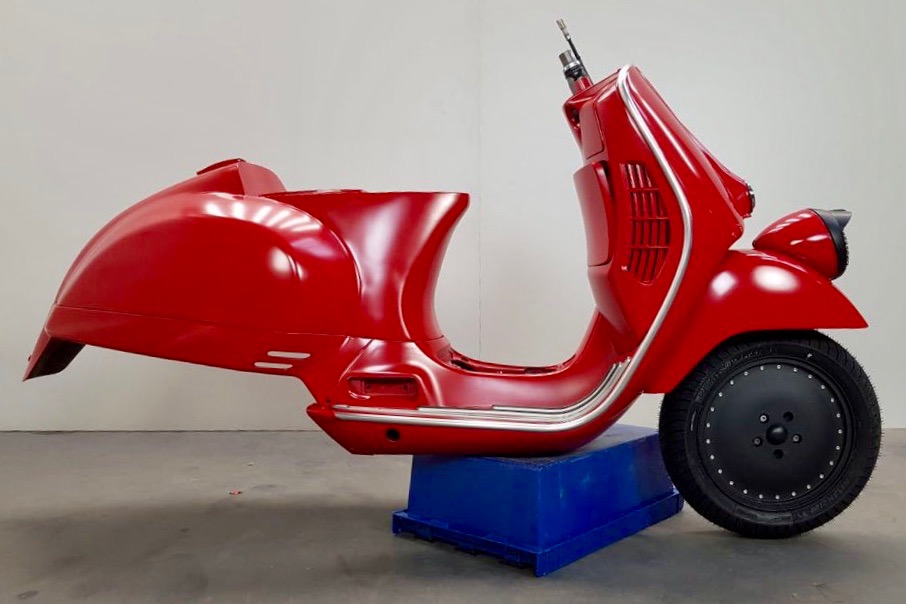
We were inspired by this new model and wanted to release our own “modern” Vespa Sei Giorni. Alex Stroh (right) and Frank Winkel (left) worked on the project of our new Scooter Center Vespa Six Days.
The genesis of the SC Sei Giorni
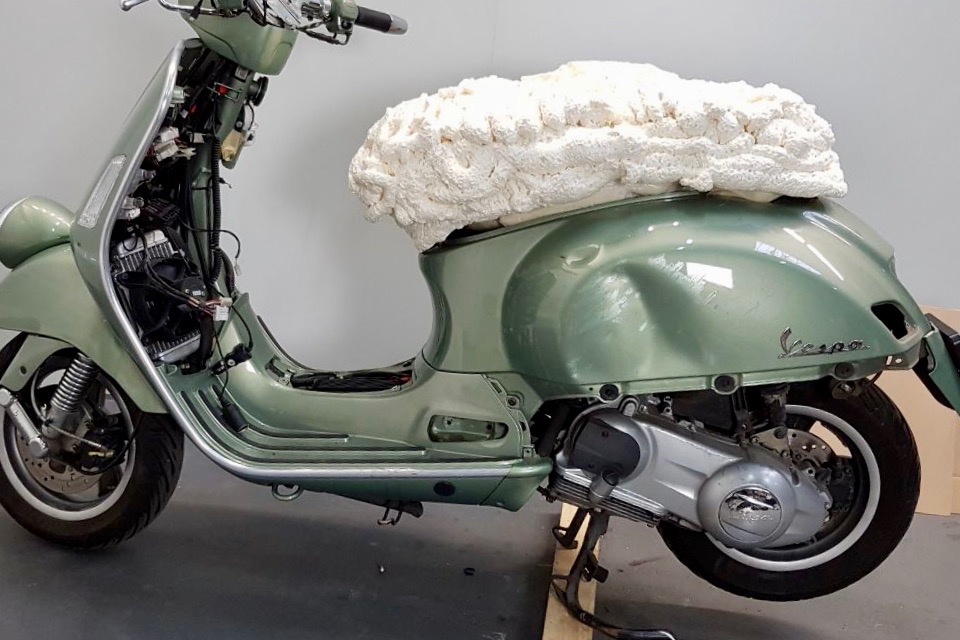
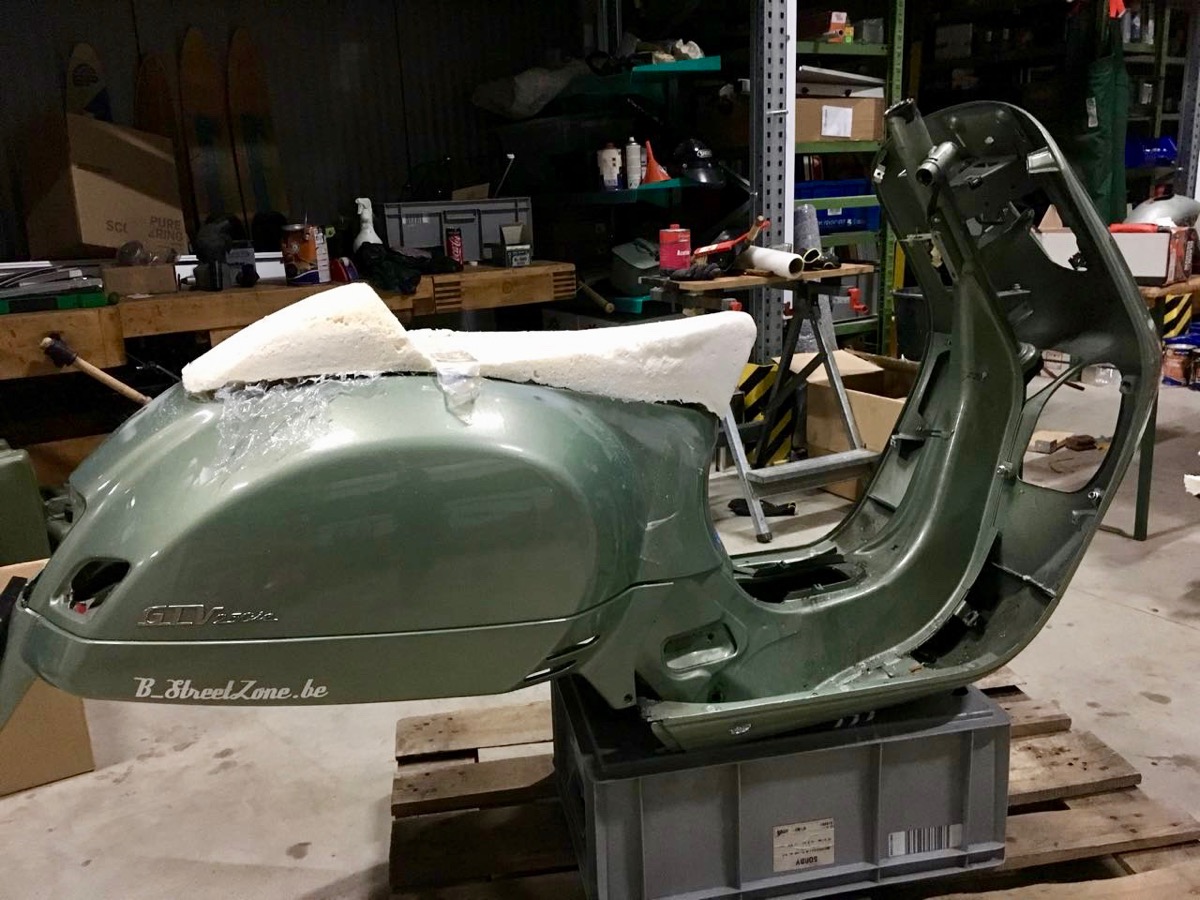
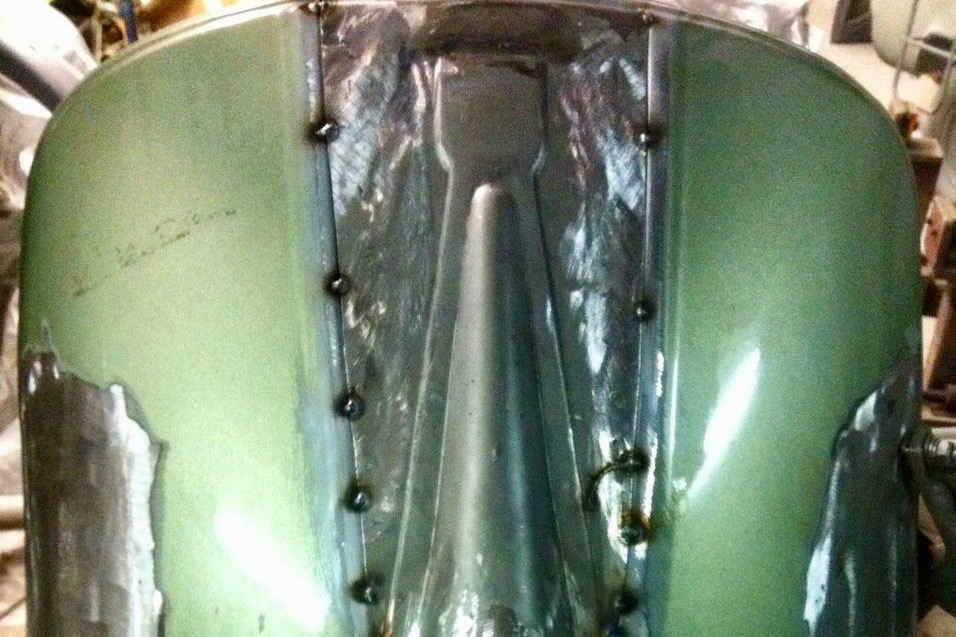
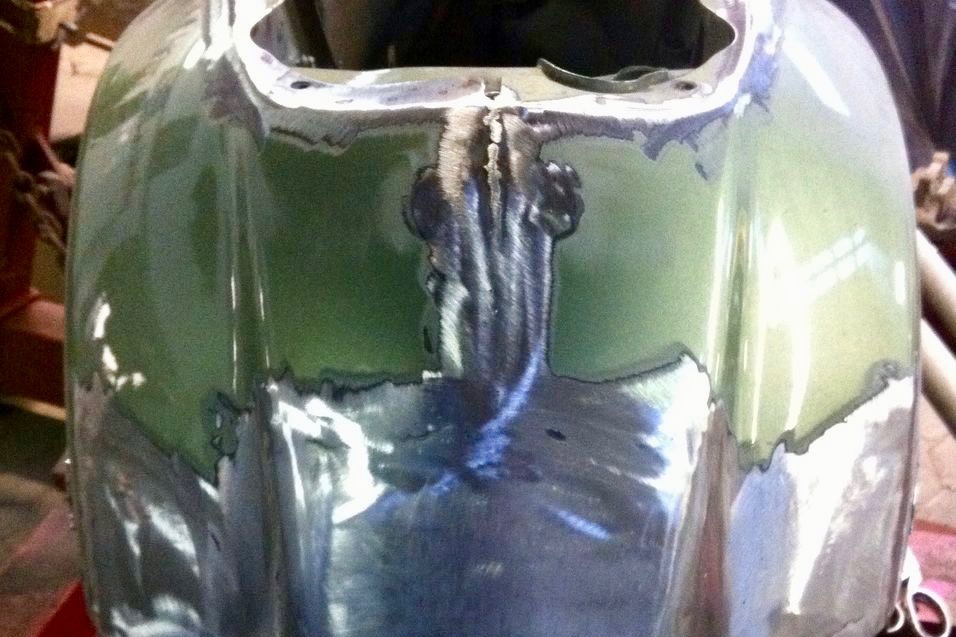
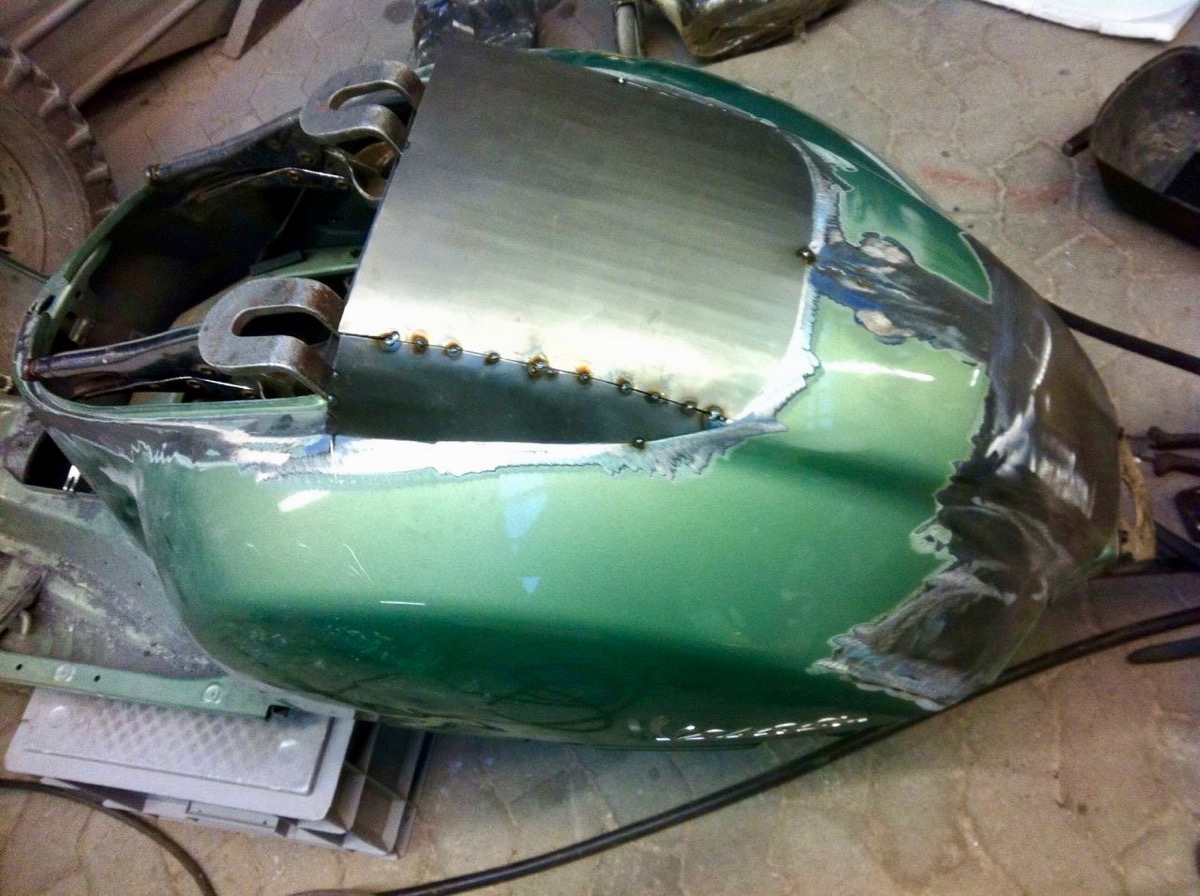
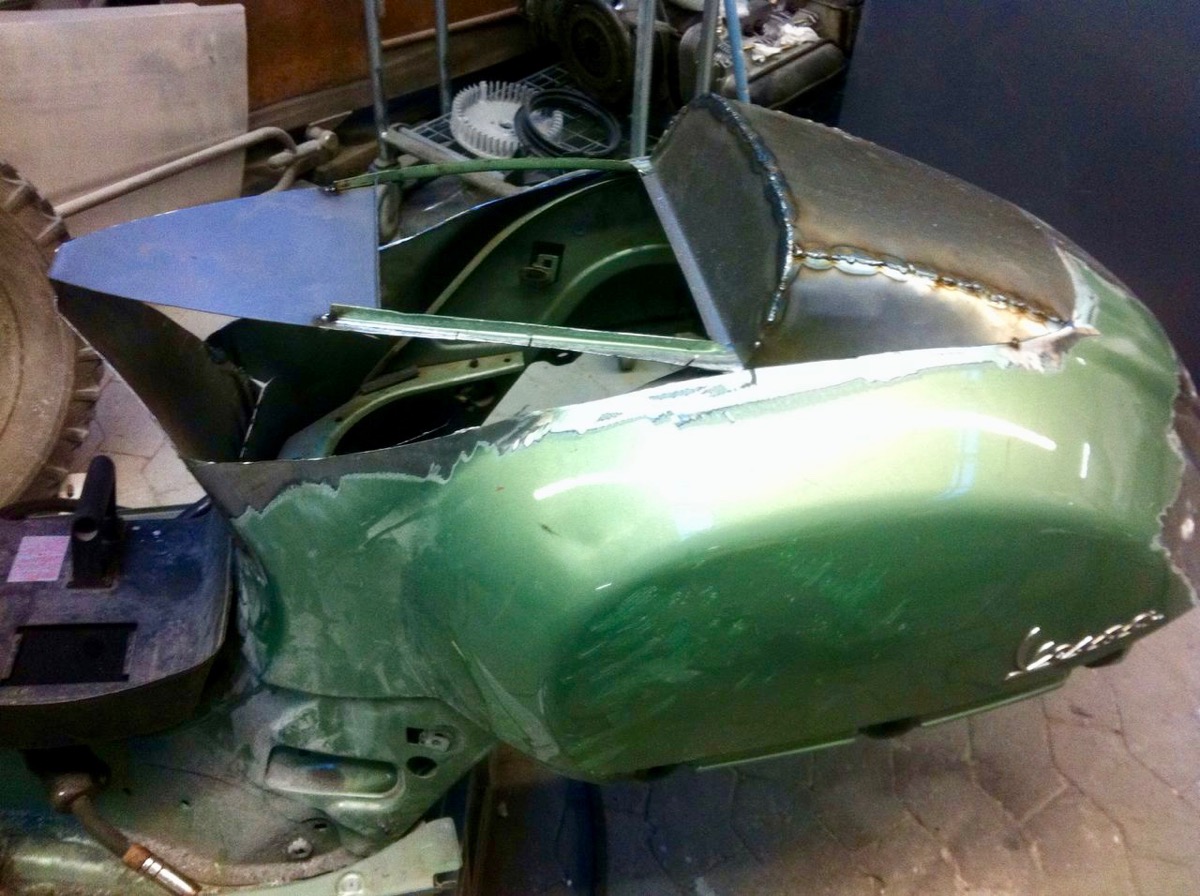
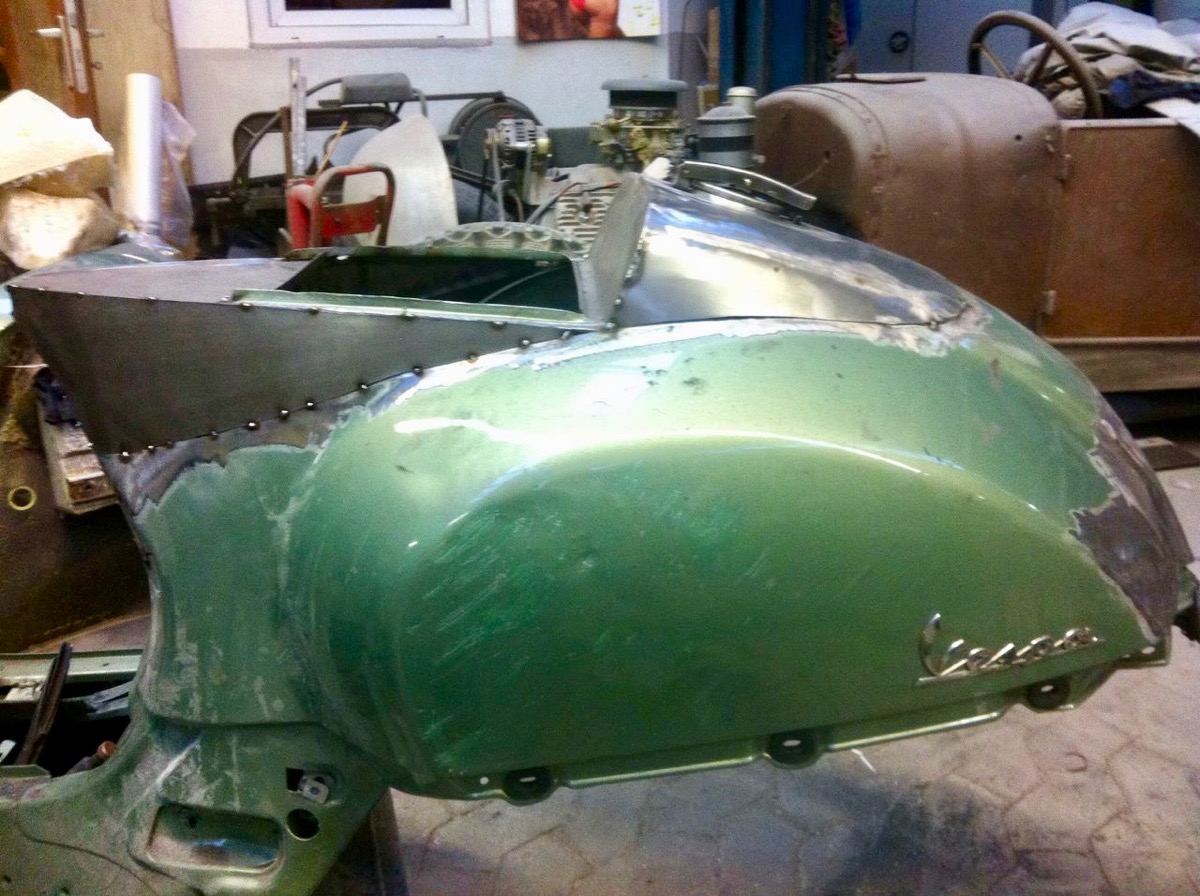
Our new Vespa demonstrator was a normal, slightly accident-damaged Vespa GTV…
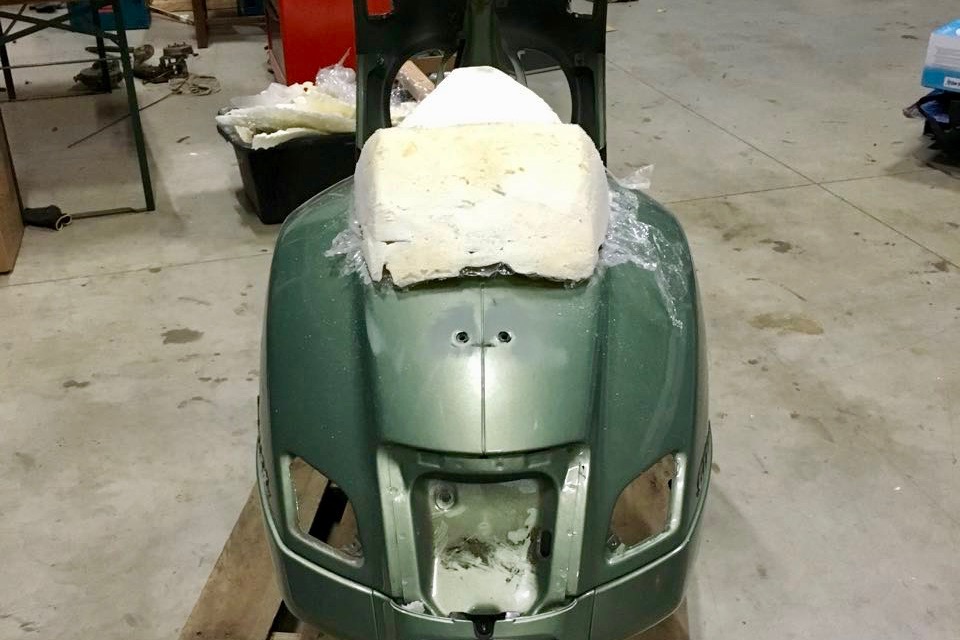
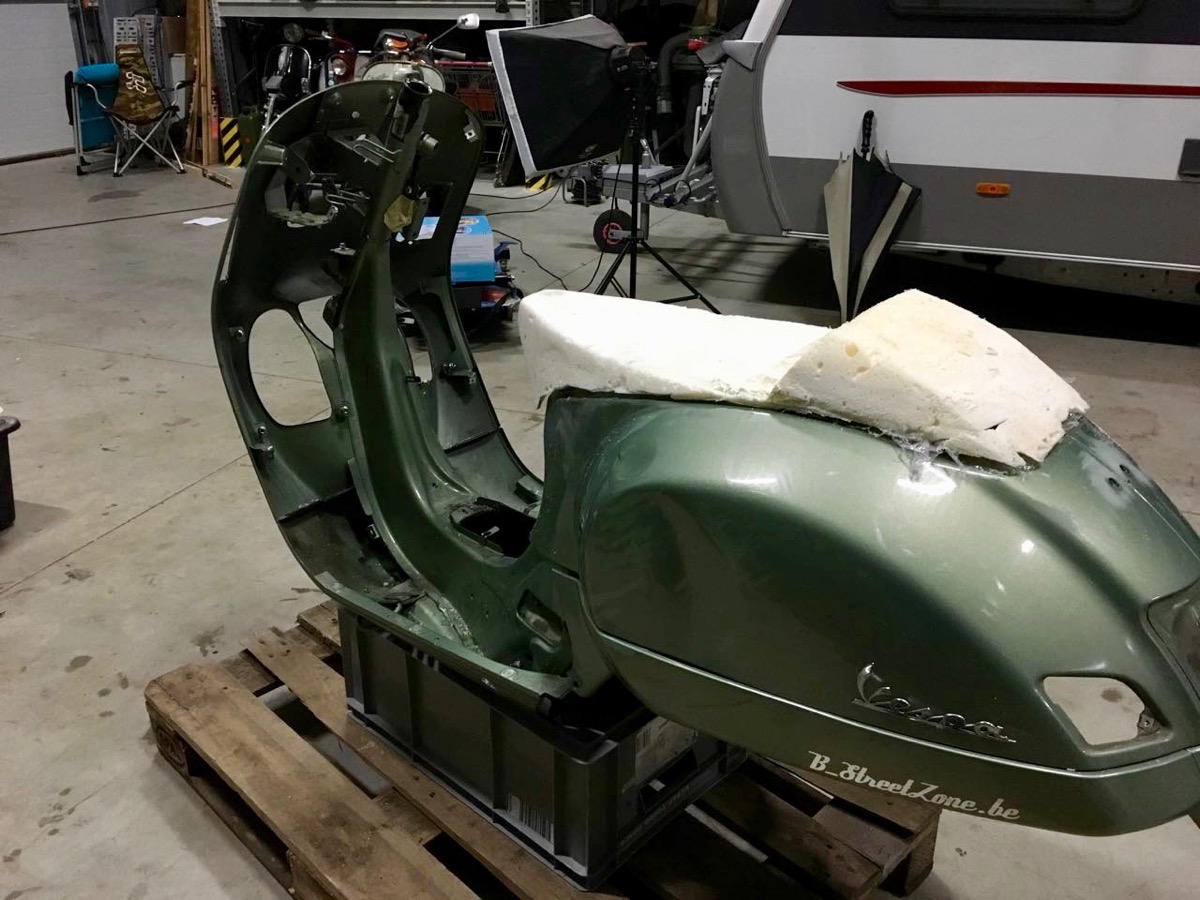
Filled building foam?
The filled building foam was just a model for Mathias Laubsch from Blechwerk in Neuss, http://www.blechwerk.com/, who brilliantly transformed it into metal sheet.
Huge sheet metal and painting work!
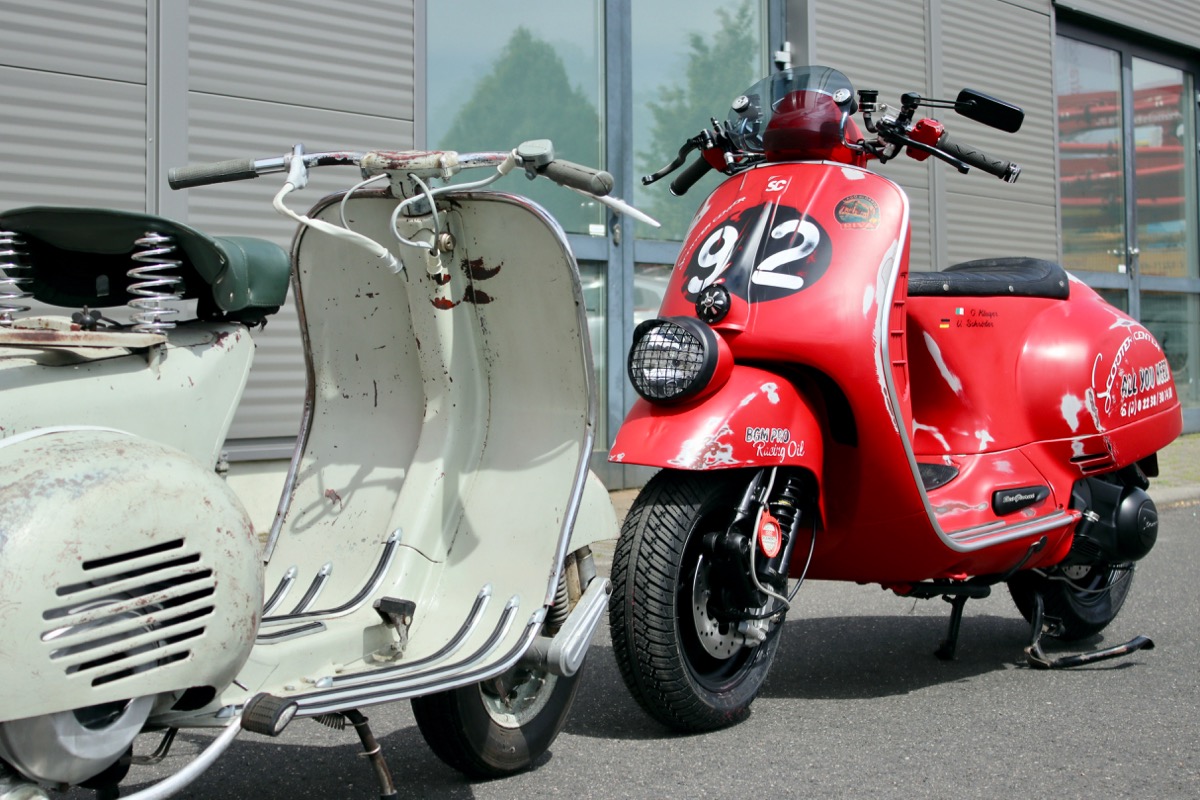
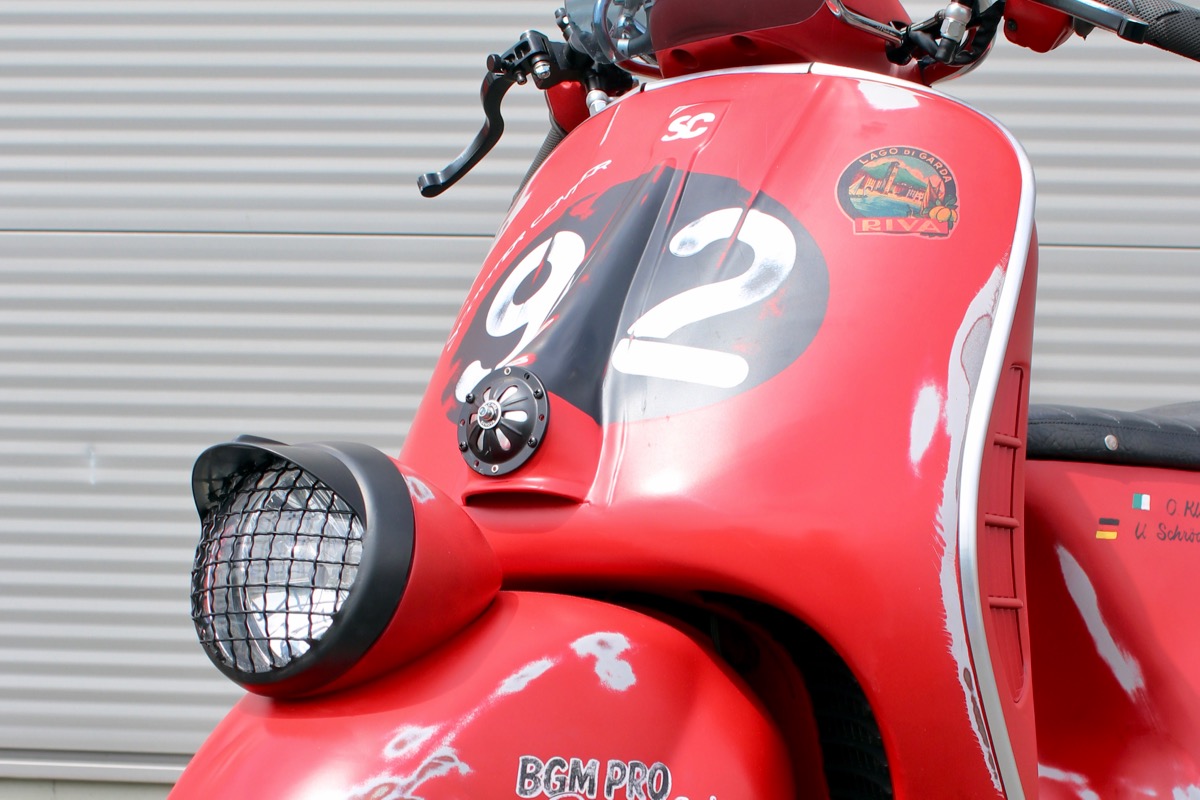
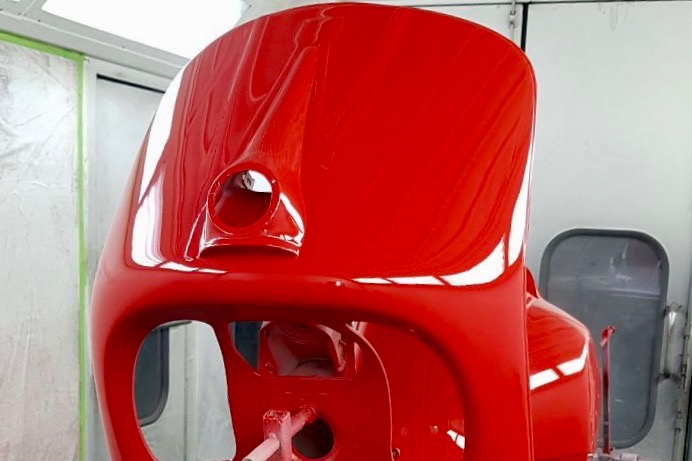
For the typical “nose” we mounted a horn cover which is normally used on a Vespa VNA-VNB. We “just” welded the indicators and the hole under the tail light and Vespa Sei Giorni was brought to the painter ...
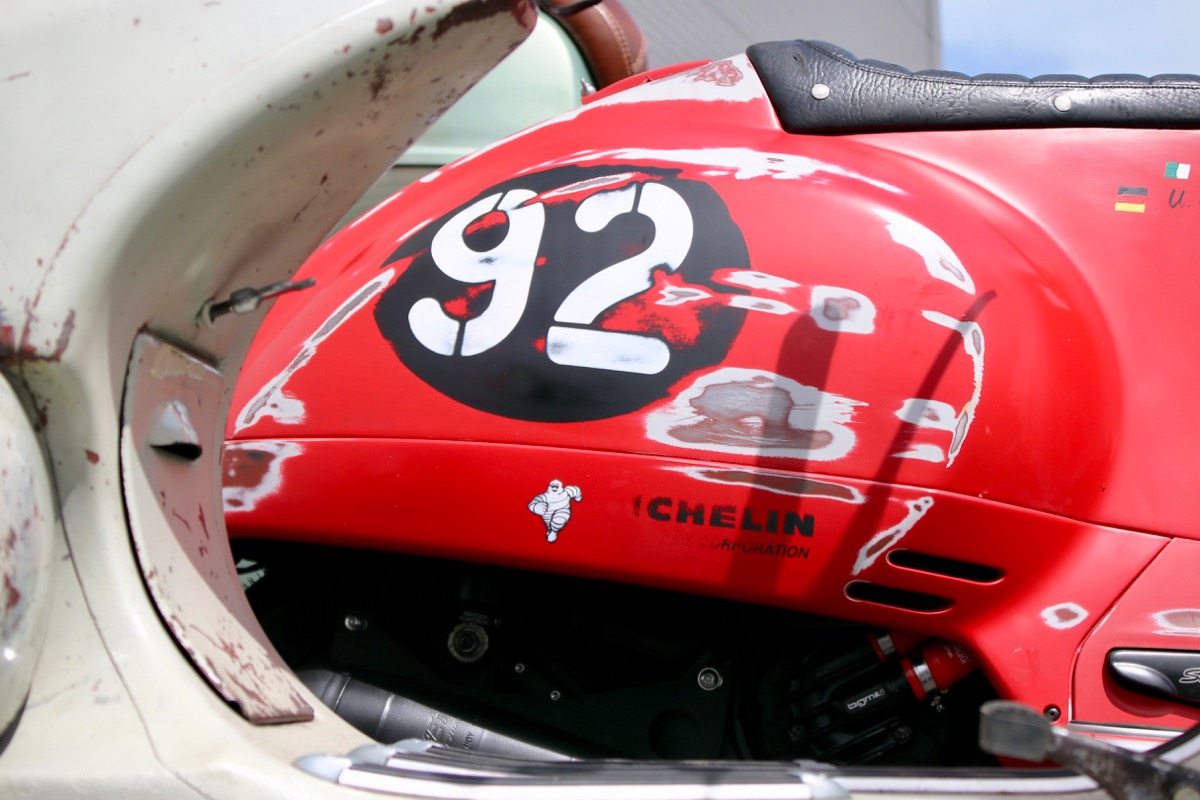
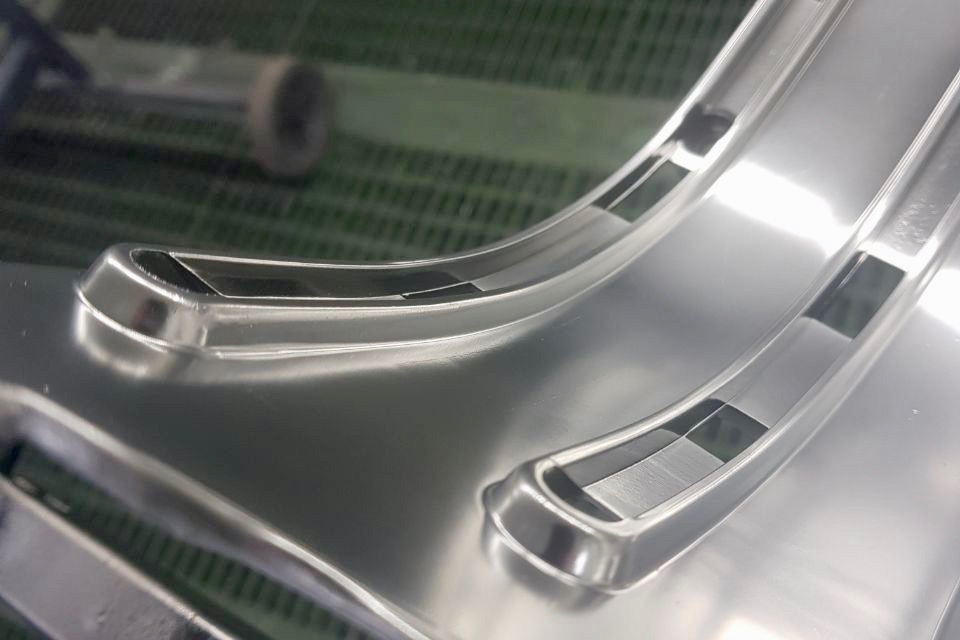
All plastic parts got a silver coating so that patinated could be made on “metal sheet” and not on bare plastic.
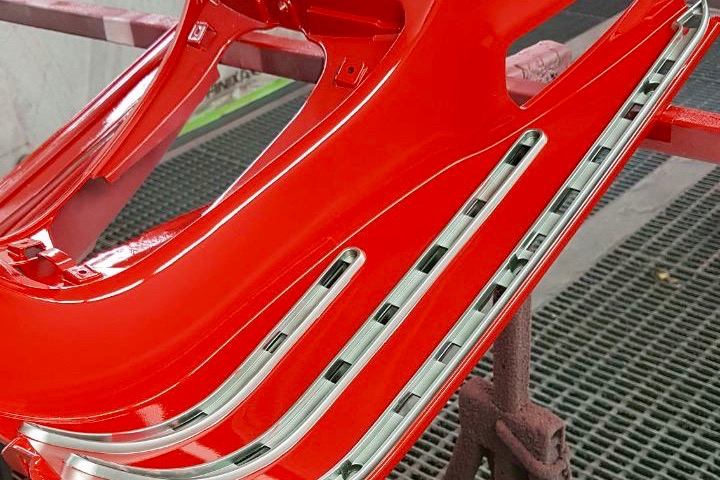
Then, all metal and plastic parts were painted with a deep red coating which was used in the 50s and then again with a second coating in gray before being painted eventually with the red varnish which recalls the typical coating of the first Piaggio race models.
Custom made Vespa seat
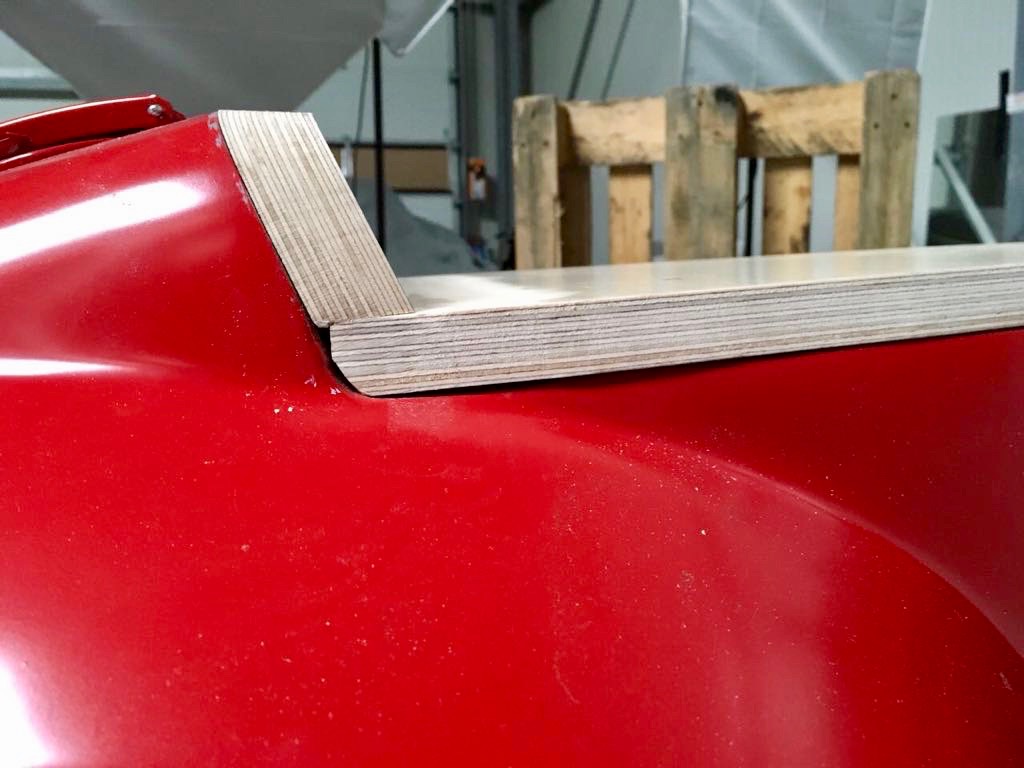
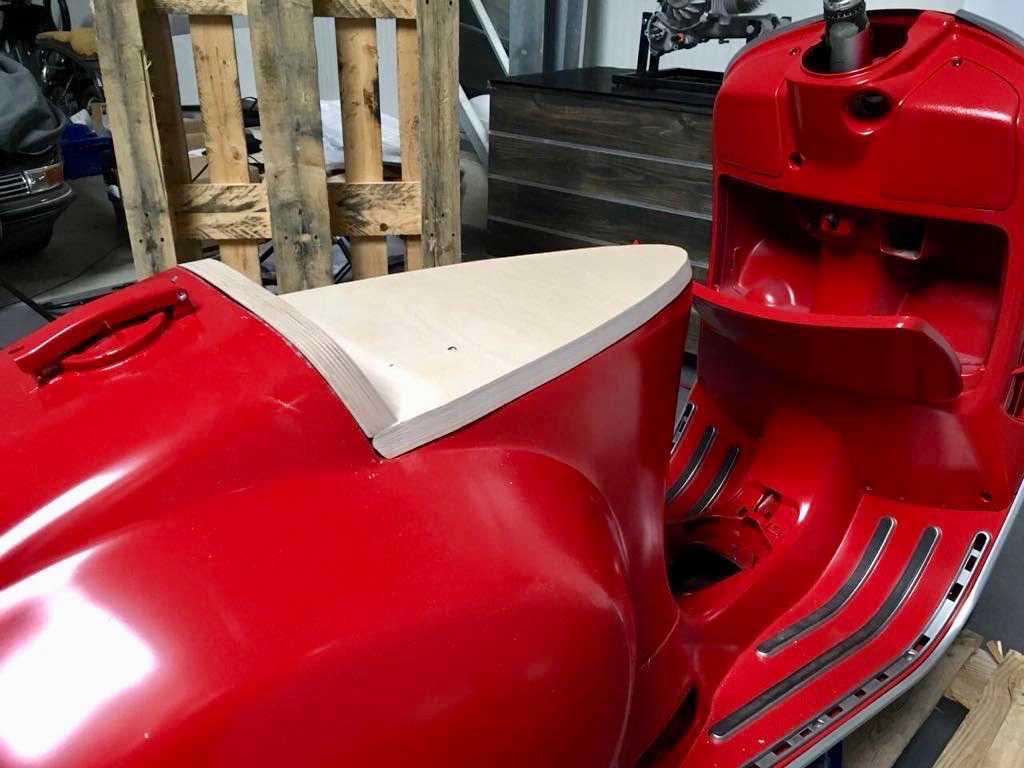
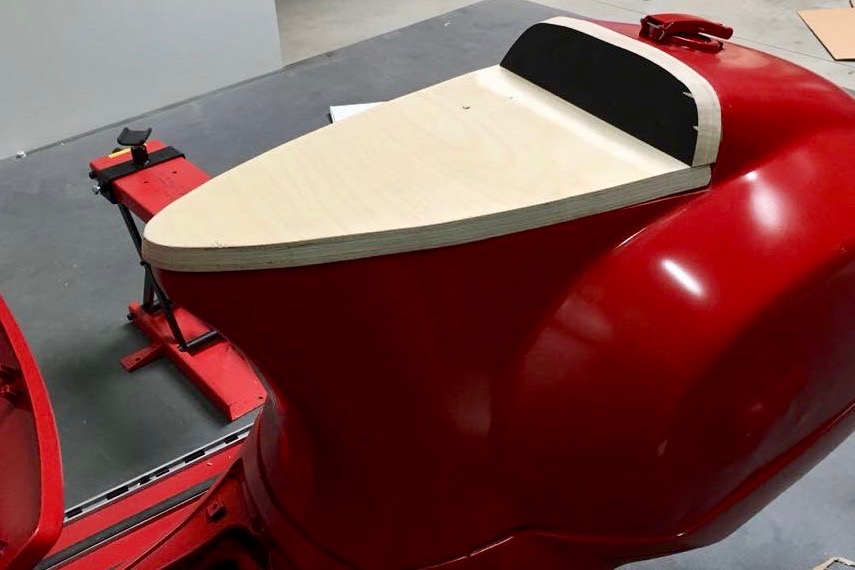
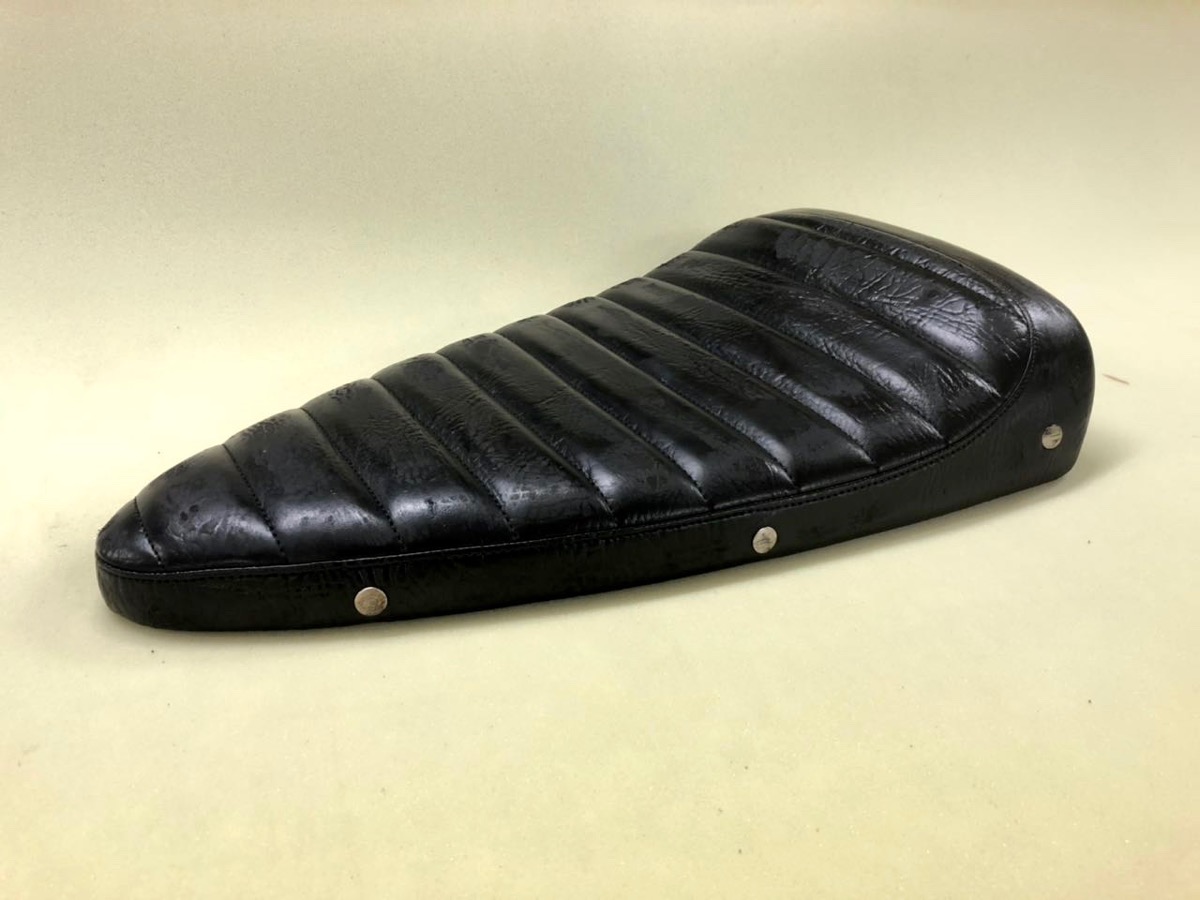
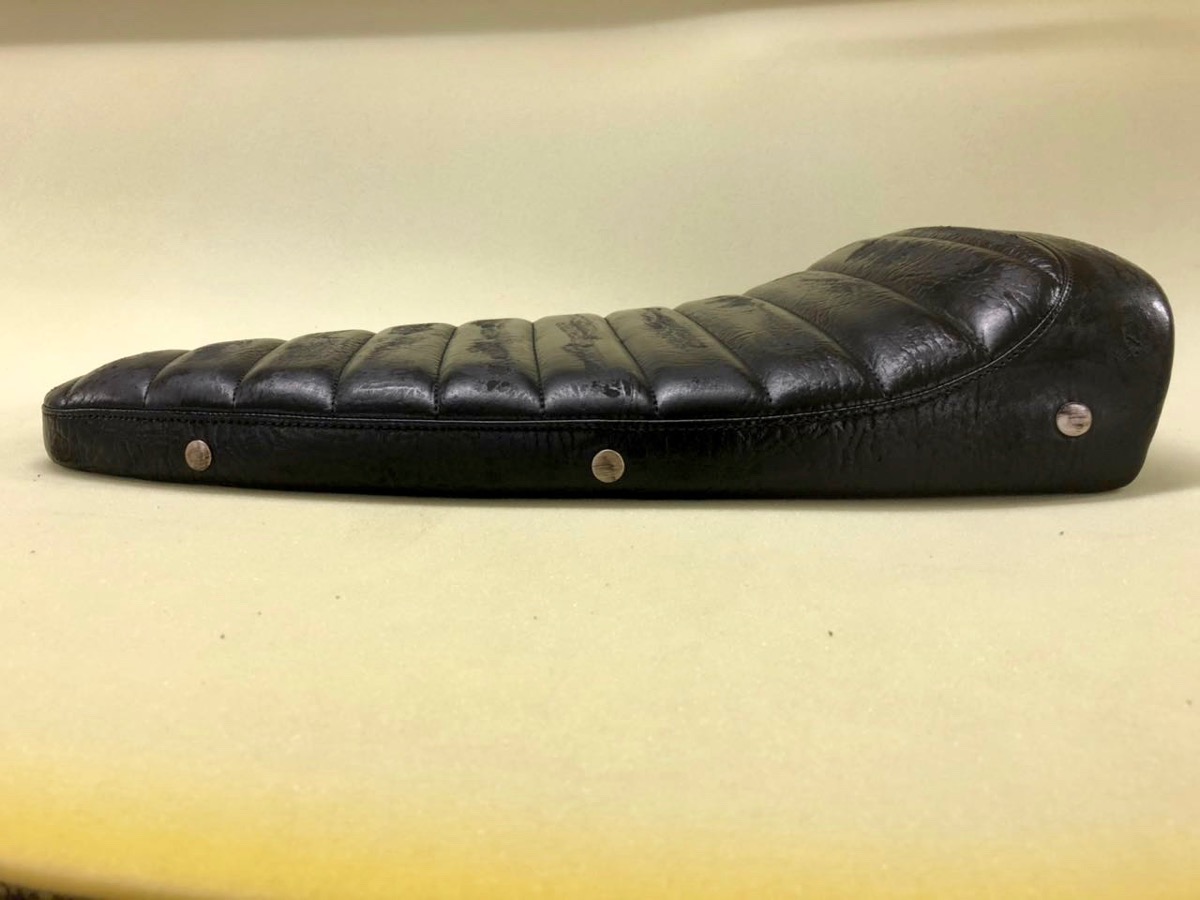
The seat frame was made in our workshop and given to the seat specialist Holger http://www.sitzbankdoktor.de/ who sacrificed his old leather jacket and made the perfect seat for the Sei Giorni.
Racing handleable!
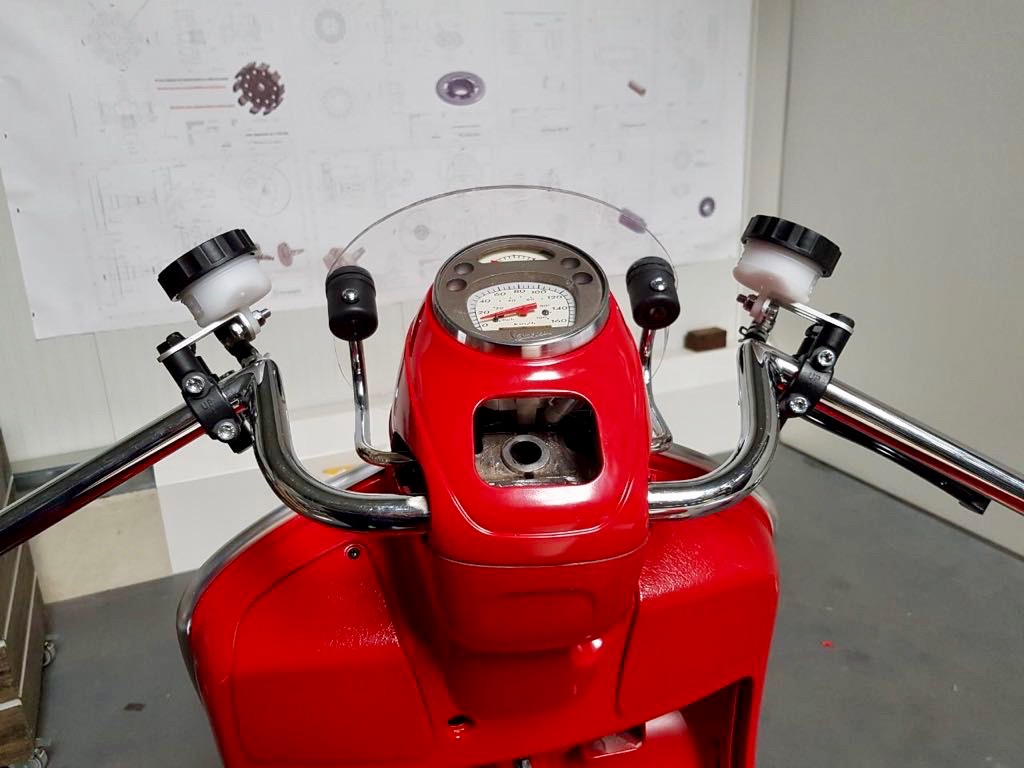
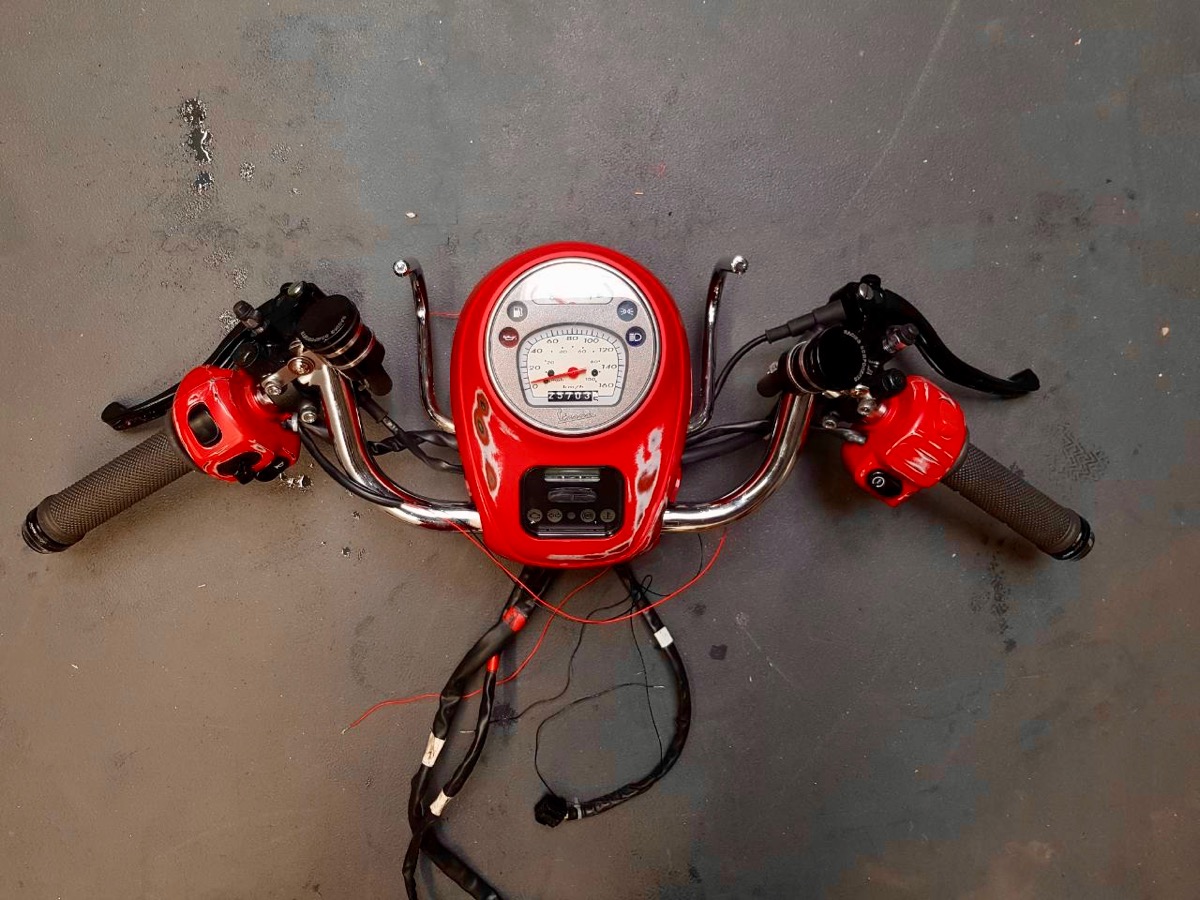
The handle bar was replaced with an M-shaped handle bar by Fehling.
Vespa with race patina
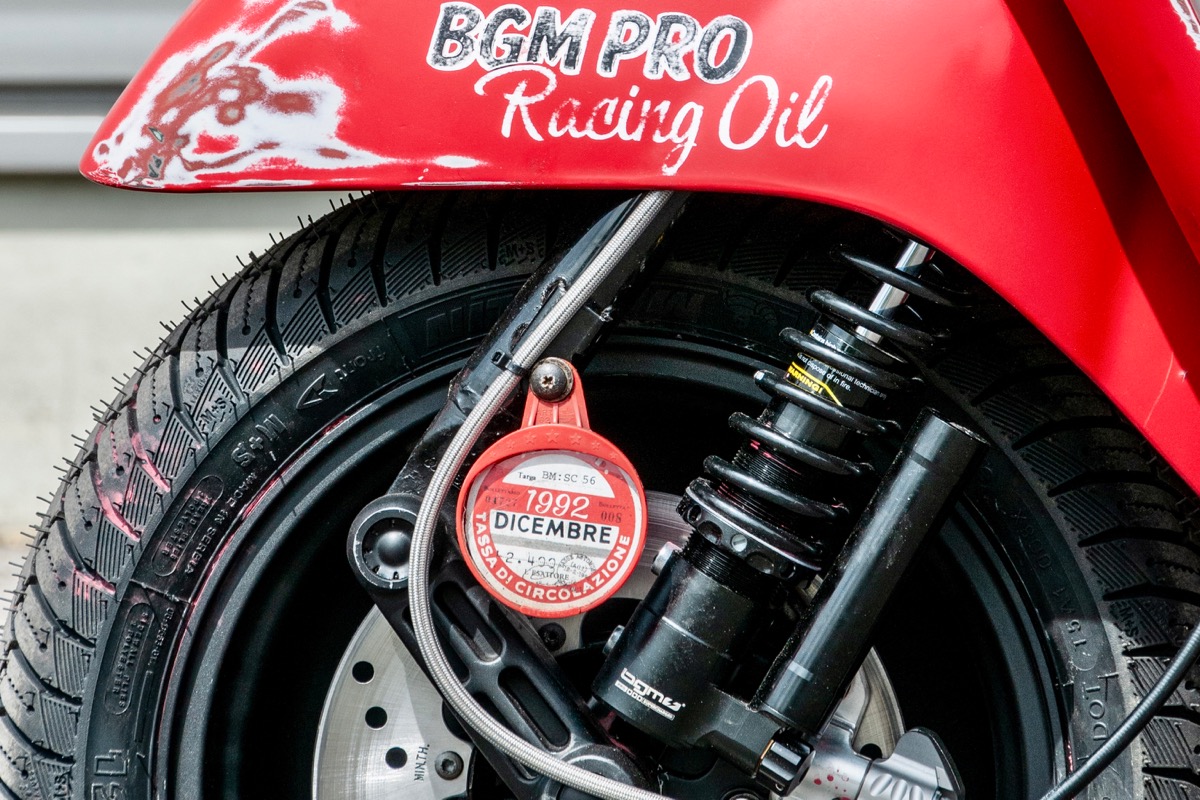
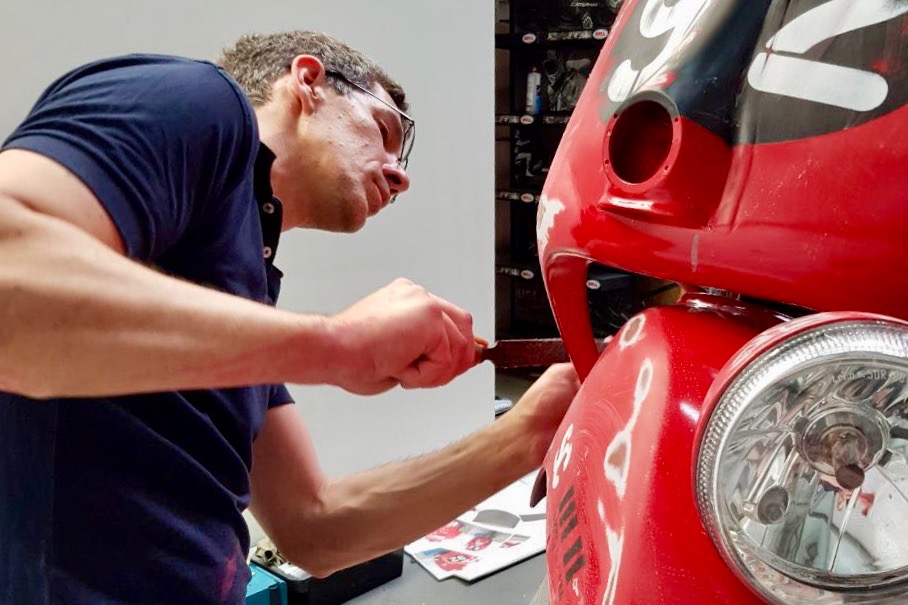
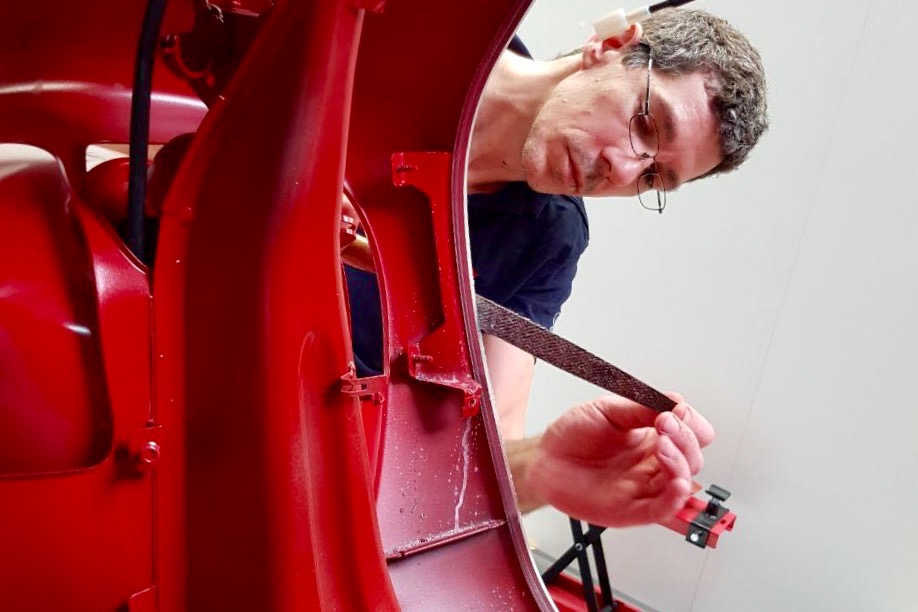
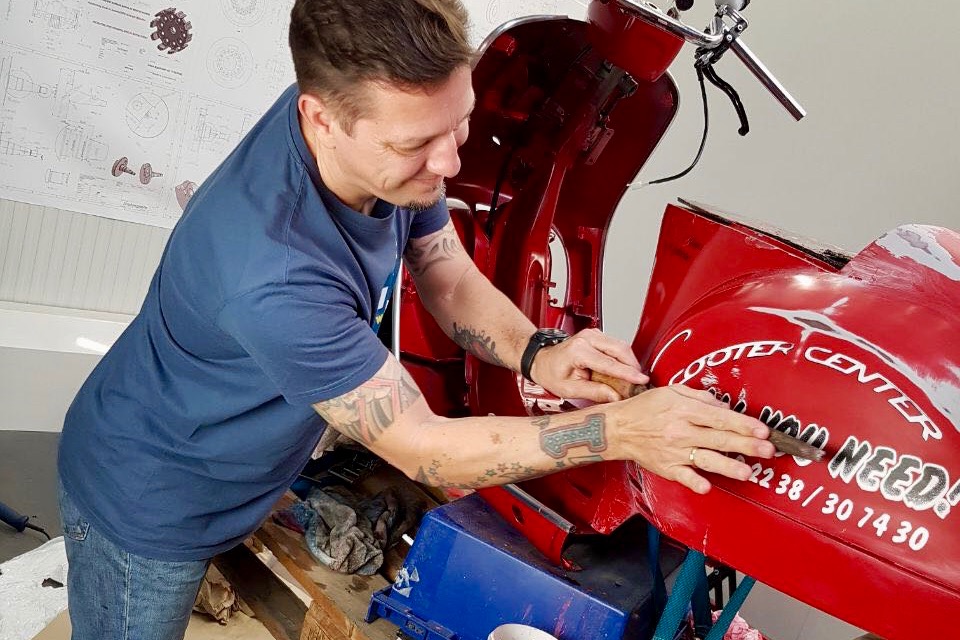
In order to get the patina effect we used files and sandpaper!
Vespa Be Giorni live!
Want to admire our customized Vespa Sei Giorni live? Then cume and visit us in our store in Kurt-Schumacher-Str. 1 in 50129 Bergheim-Glessen, Germany.
