
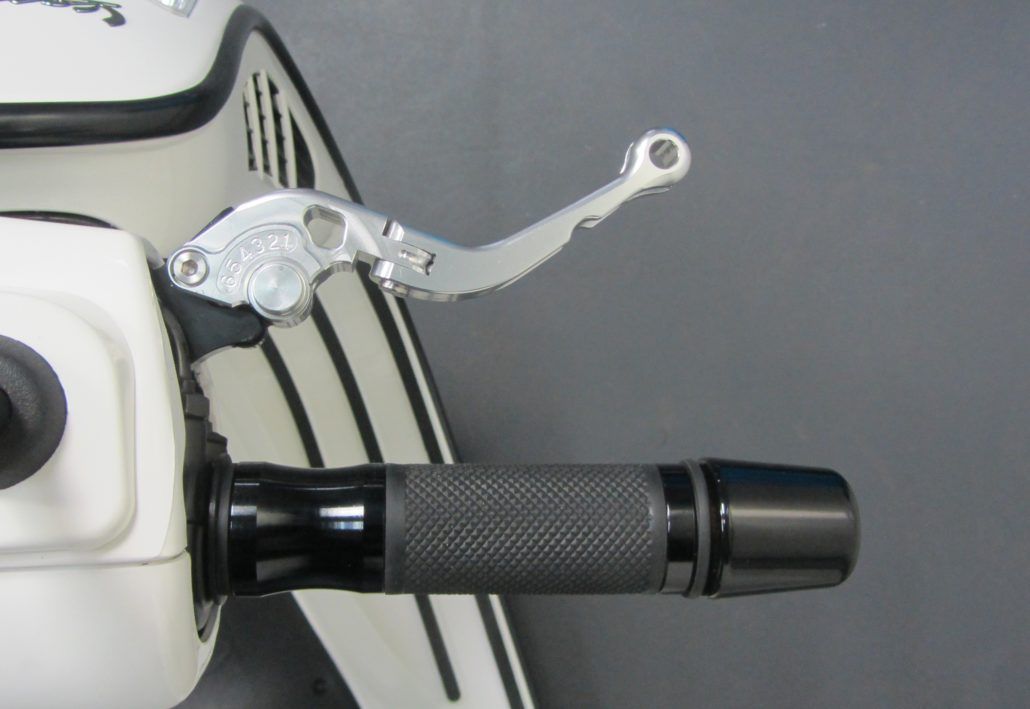
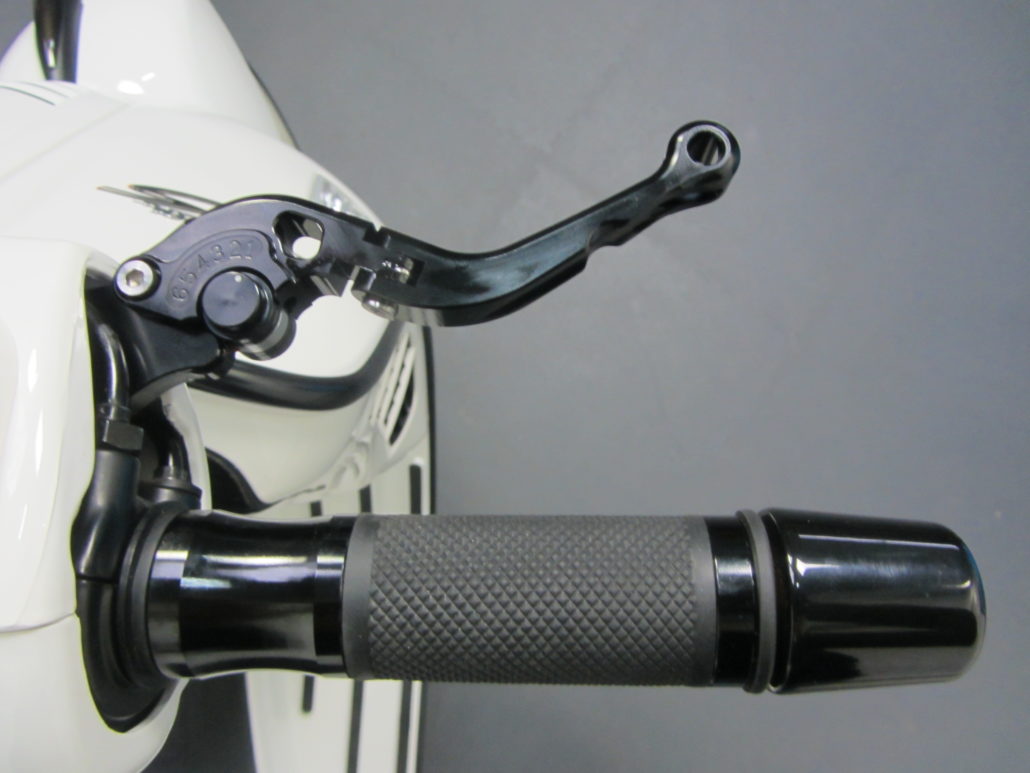
Brake lever set -BGM PRO Sport, adjustable and foldable - Vespa GTS
New brake levers for Vespa - Installation guide Vespa GT / GTS
New for Vespa GT / GTS: BGM brake levers for all Vespa GT, GTL, GTS models with a HengTong brake system. This CNC machined lever in high-strength aluminum is adjustable in 6 positions.
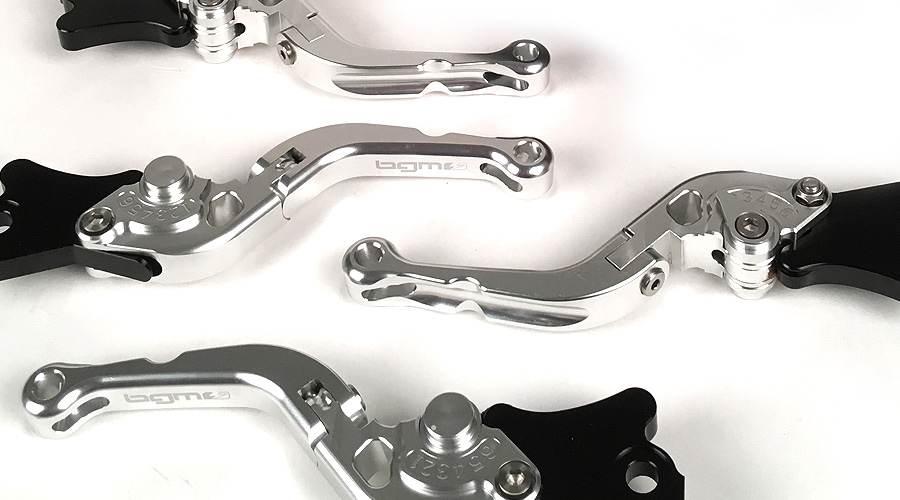
The lever is provided with a span adjuster on the lower side which enables you to tailor the lever length in order to achieve the most comfortable position and a perfect grip.
The lever is made up of two parts and it folds up in the event of a fall therefore reducing the risk of breaking.
The foldable design of this lever is ideal if, for example, you park your scooter in a small garage.
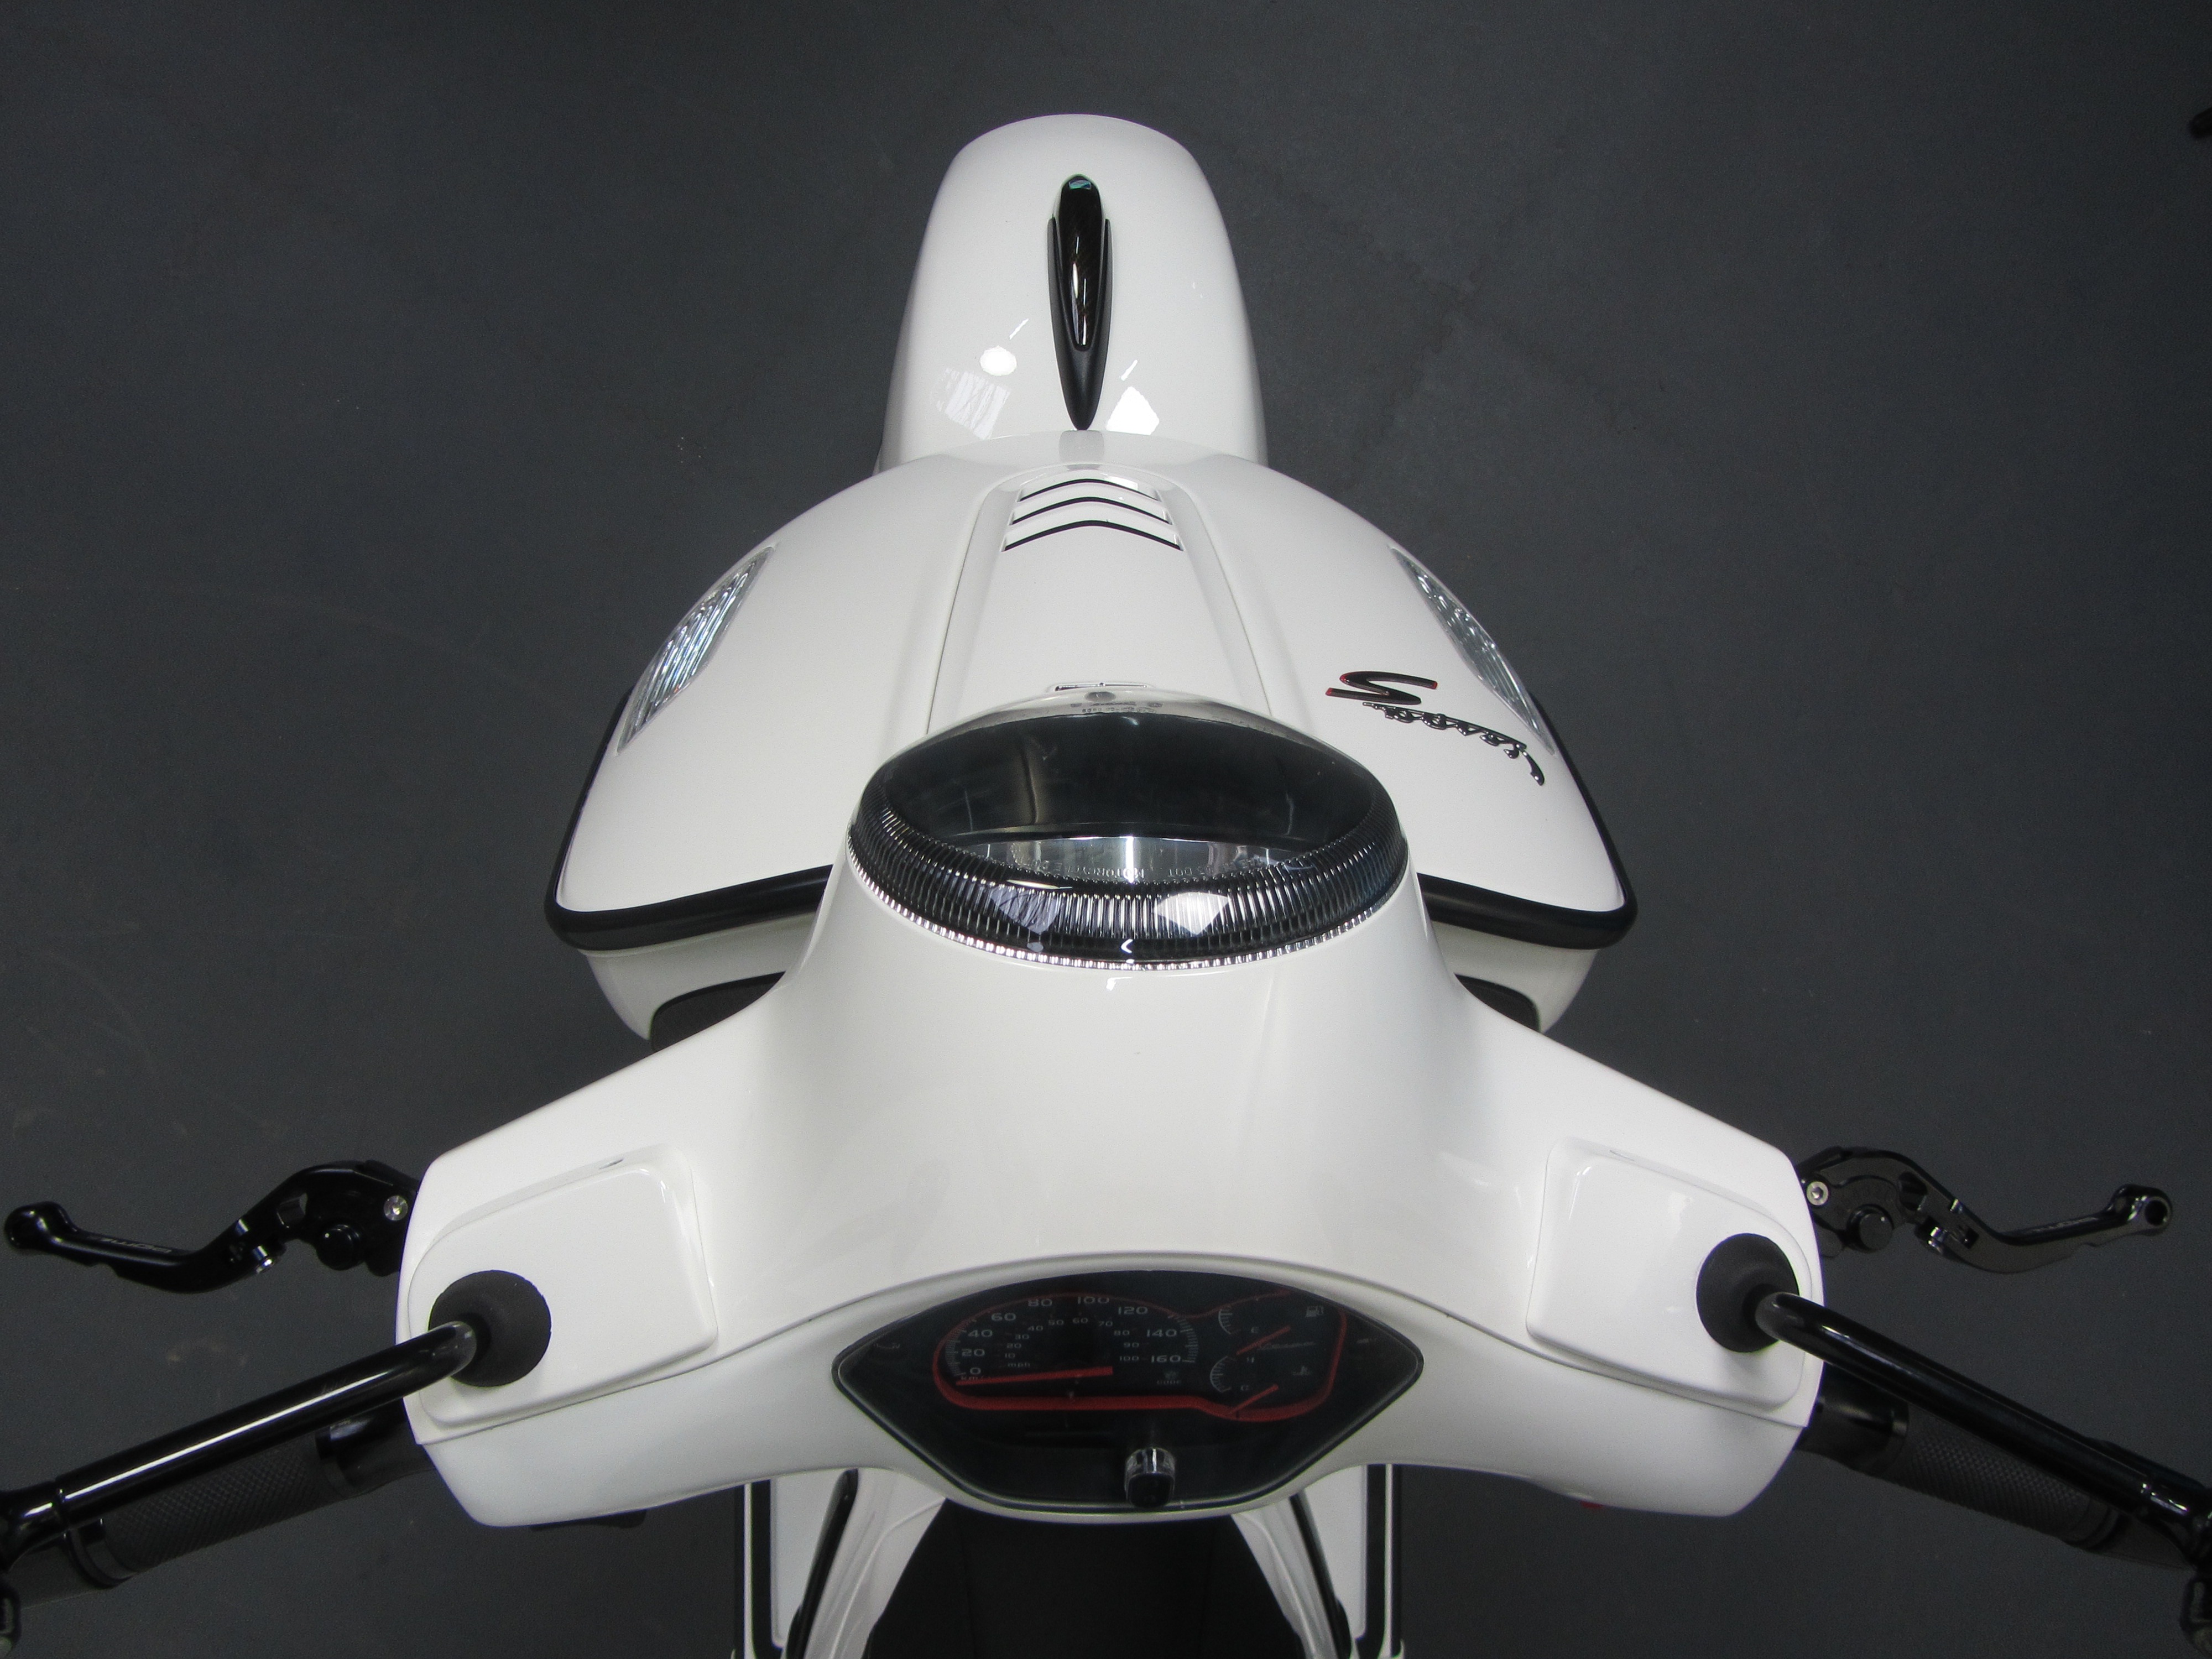
How to mount Vespa brake levers
Tools for mounting brake levers:
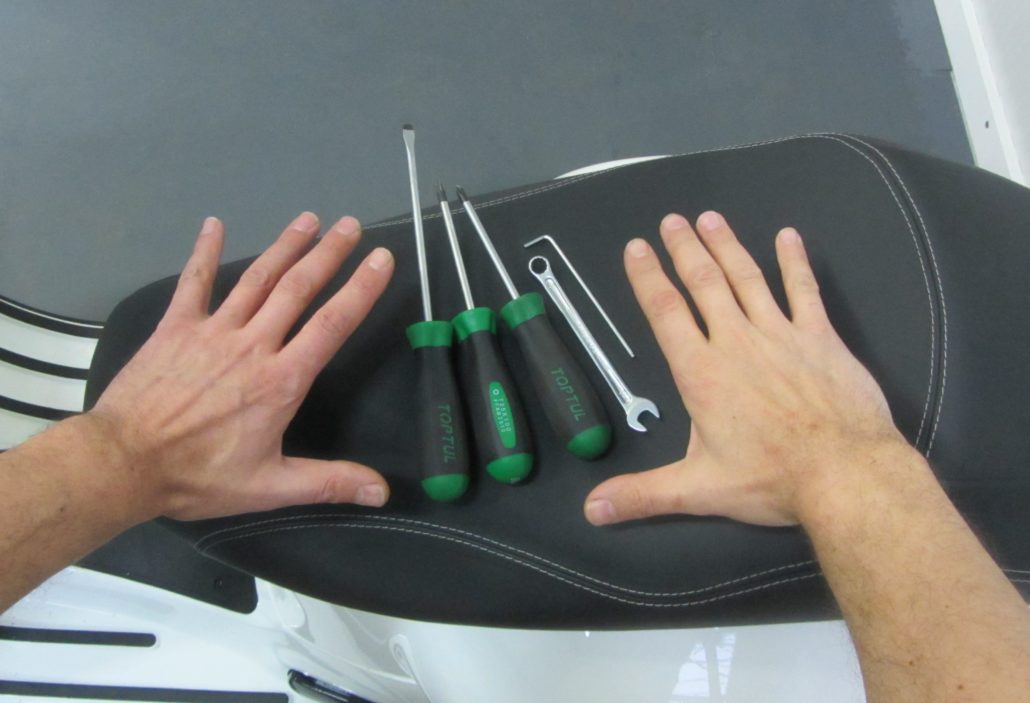
- Allen key 2,5mm
- Combination wrench or box spanner SW10
- slot screw driver, size 2-3
- Slot screw driver, size 5
- Torx key TX25
- two hands, right and left, ideally with only one thumb on each hand!
- open-end wrench SW17 (may vary depending on the model of the mirror)
Preparation
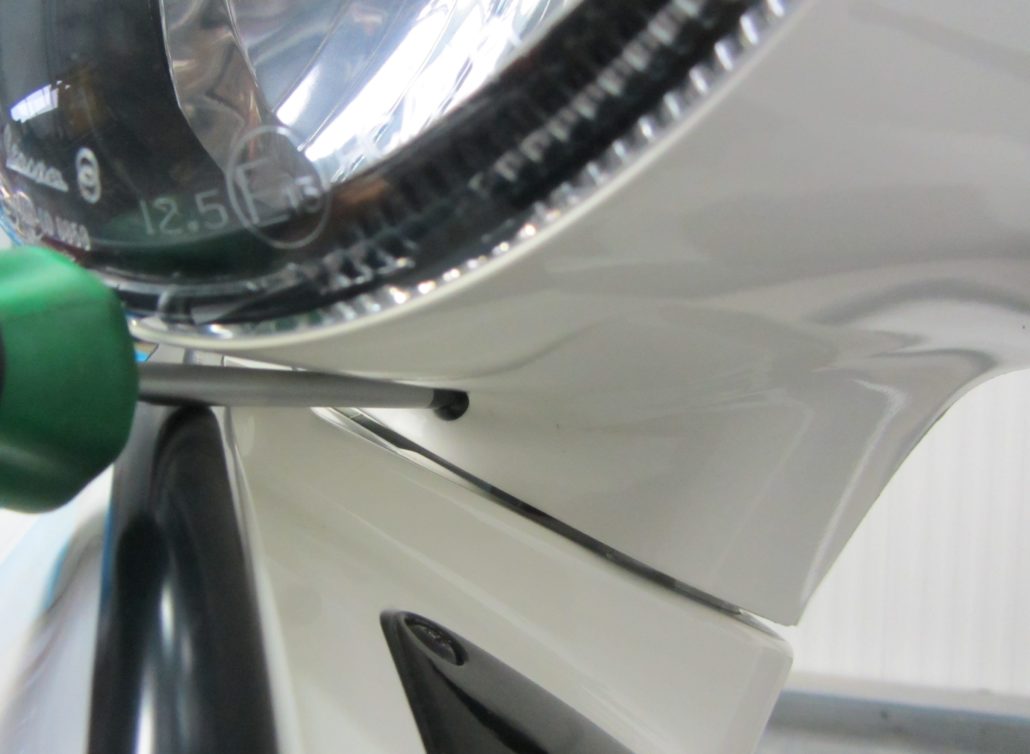
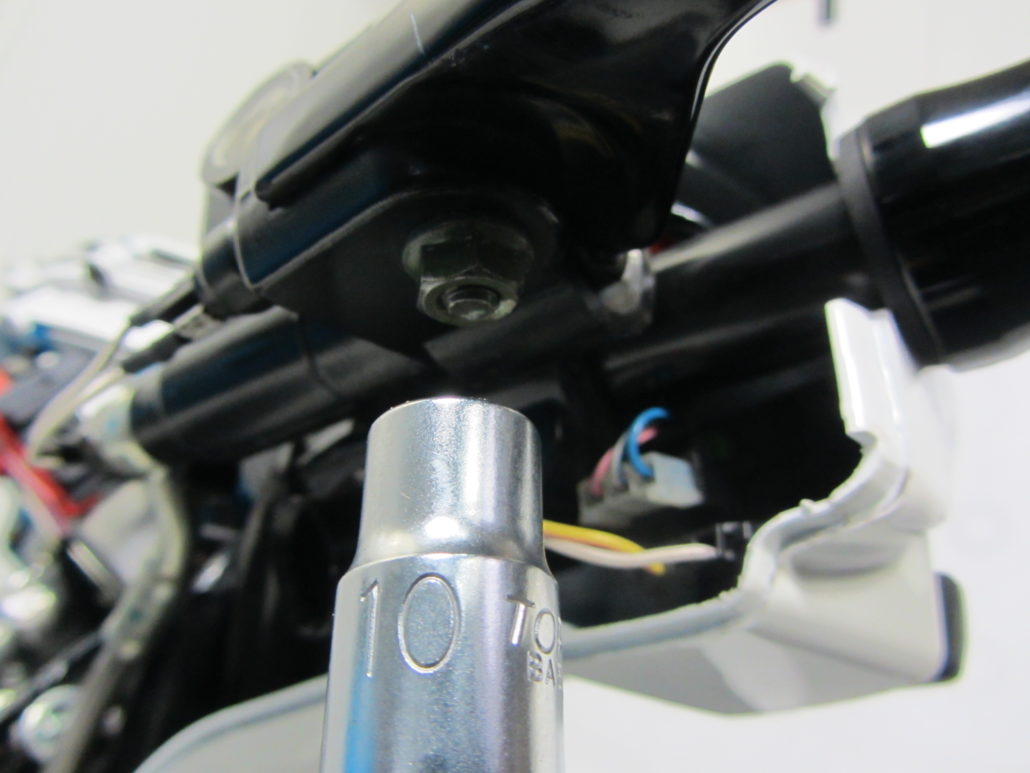
In order to have easier access to the brake master cylinder, it's necessary to take off the front headset cover. If you also have a windscreen remove this first. Under the rubber grommet and the master cylinder cover you'll find the counternuts for the tightening of the mirrors.
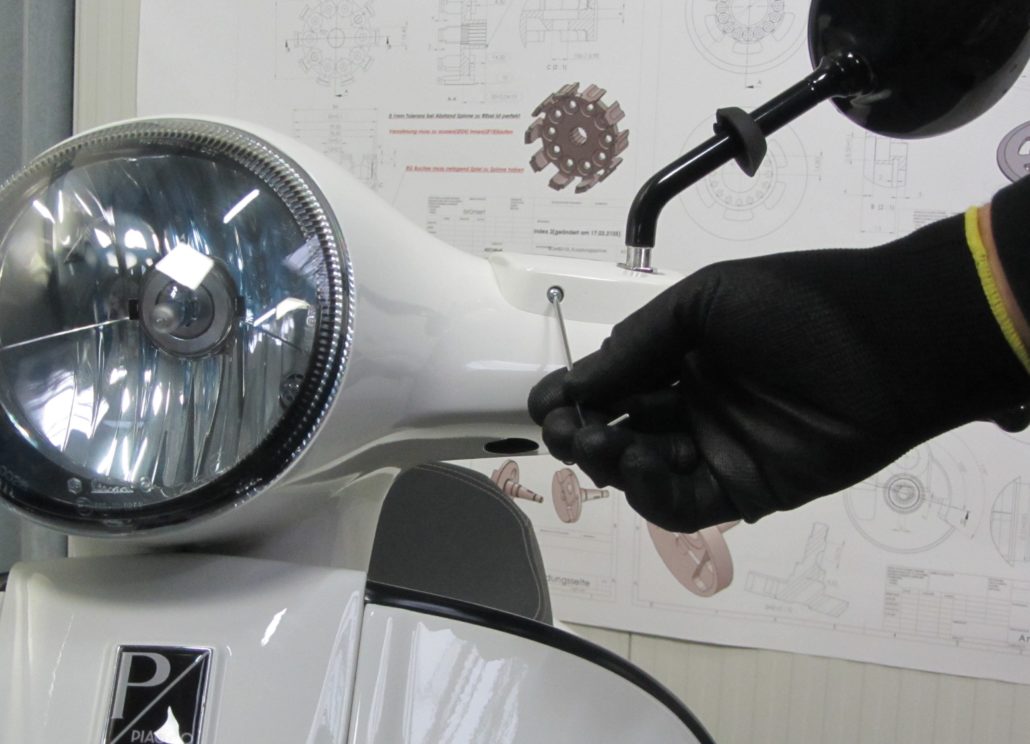
The screw of the master cylinder cover can be removed with an Allen key 2,5 mm from the front side. After wiggling the cover loose forwards and upwards, the counternut of the mirror is easily accessible and can be taken off with an open-end wrench SW 17.
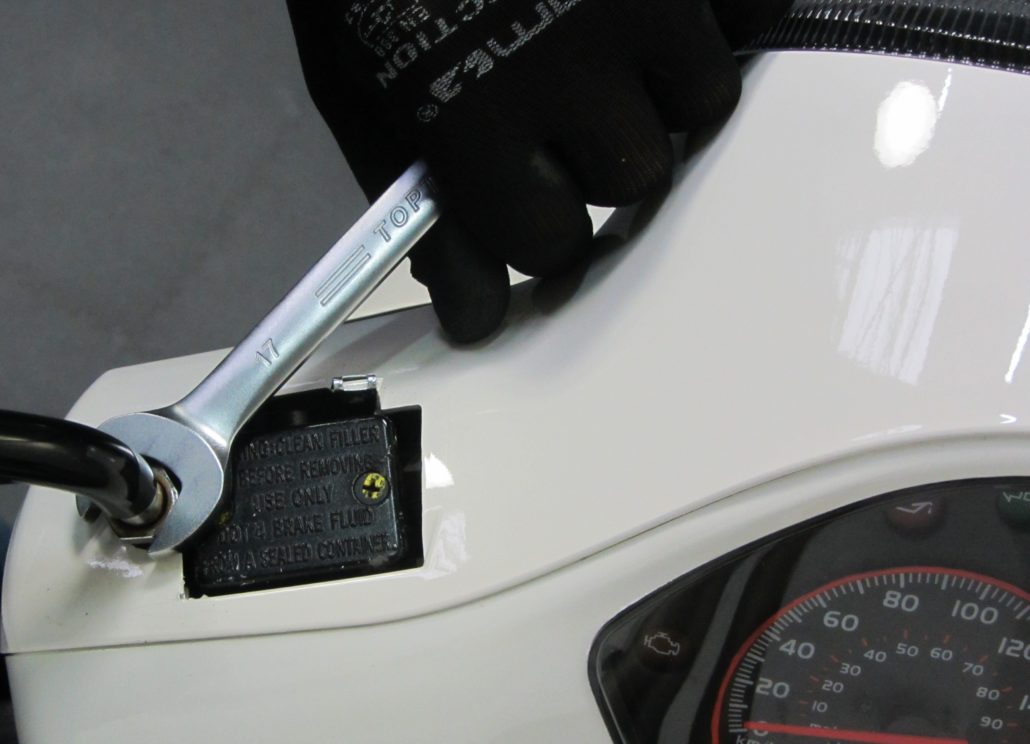
Then you can turn the mirror arm anticlockwise.
Both mirror arms have a right-hand thread. To tighten the mirror arm turn it clockwise, to loosen the arm turn it anticlockwise. In the lower part of the headset cover there are three screws: on the right and left side the screws are accessible from the rear side,
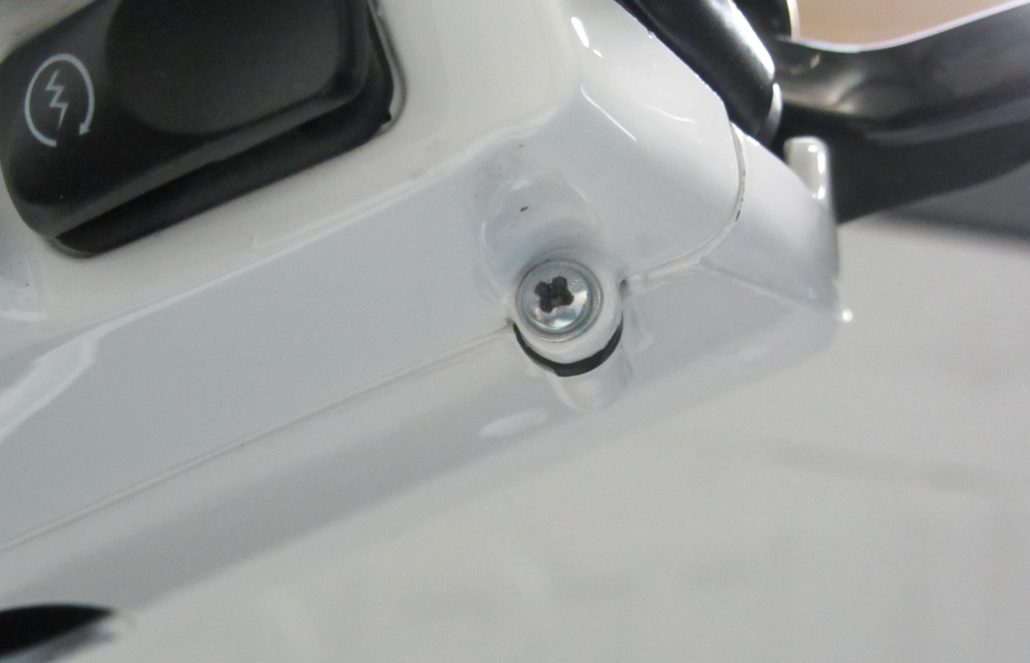
while the third screw is accessible from the front side, under the headlight.
First unscrew all the three screws with a cross slot screwdriver PH2 and then release the retaining clips. These plastic clips are not visible from outside, but accessible from the inspection ports one the left and on the right side. Remove carefully the clip with a slot screw driver.
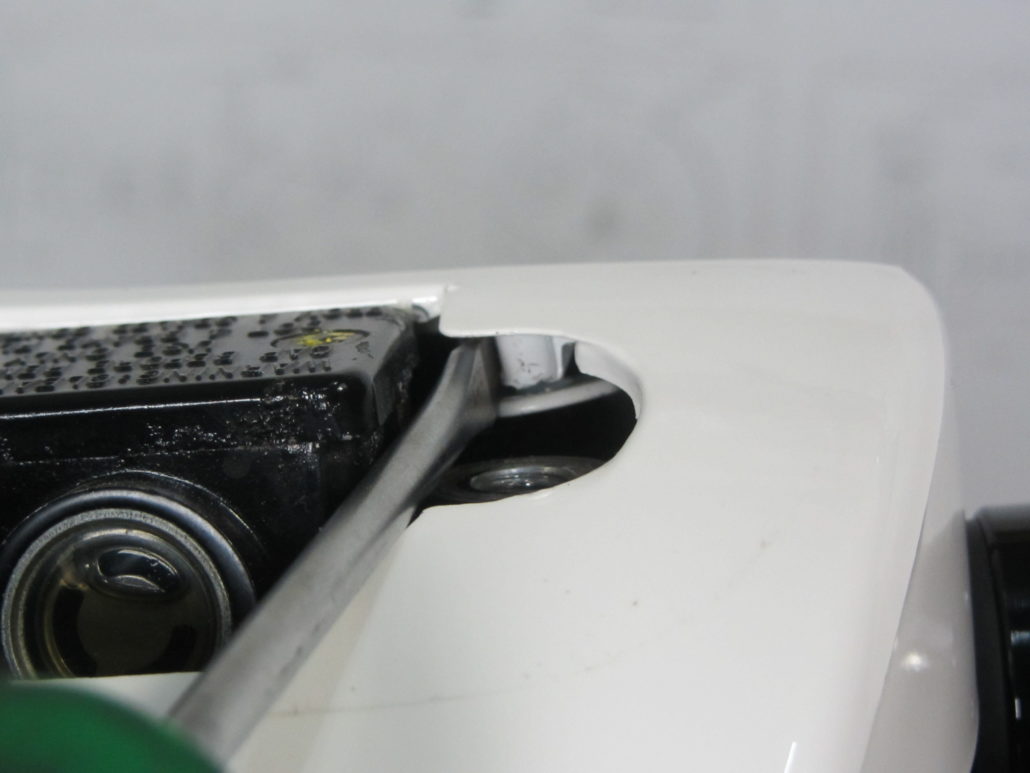
Another plastic clip is placed under the headset cover, in the middle. You can loose it carefully with a thin slot screw driver.
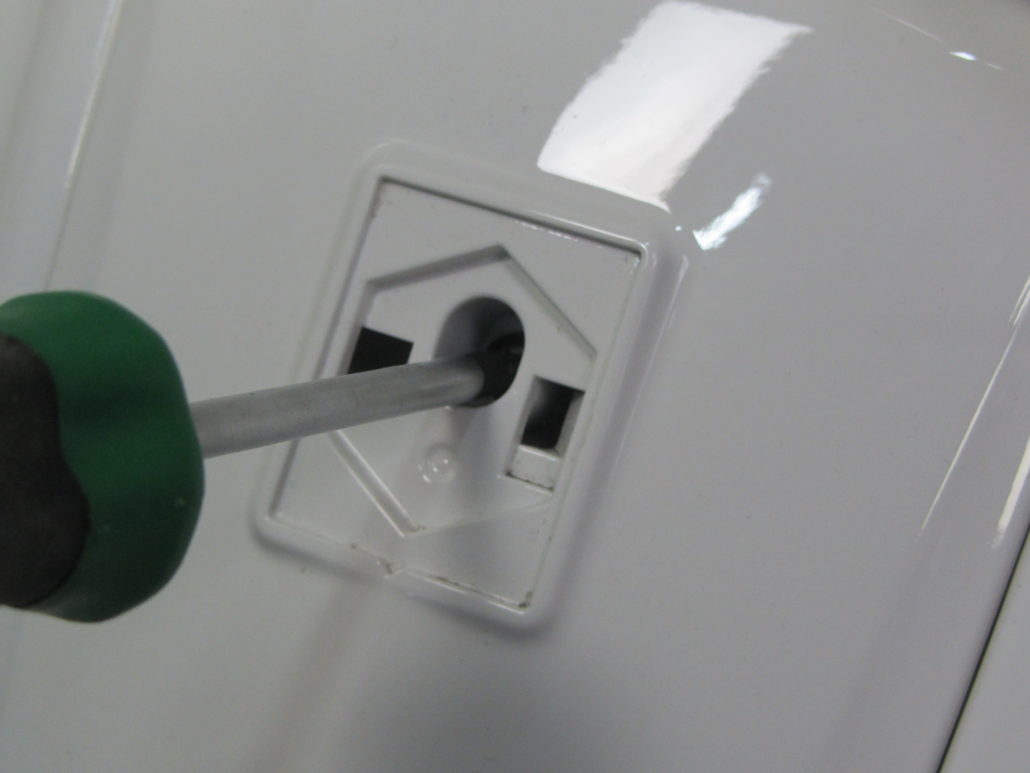
The front headset cover can be removed easily if the front cover has already been taken off. The front cover is fixed with a torx screw (TX) hidden behind the Piaggio logo. On the right side of the logo there's a small gap, pull out the logo from that side by using a thin slot screw driver.
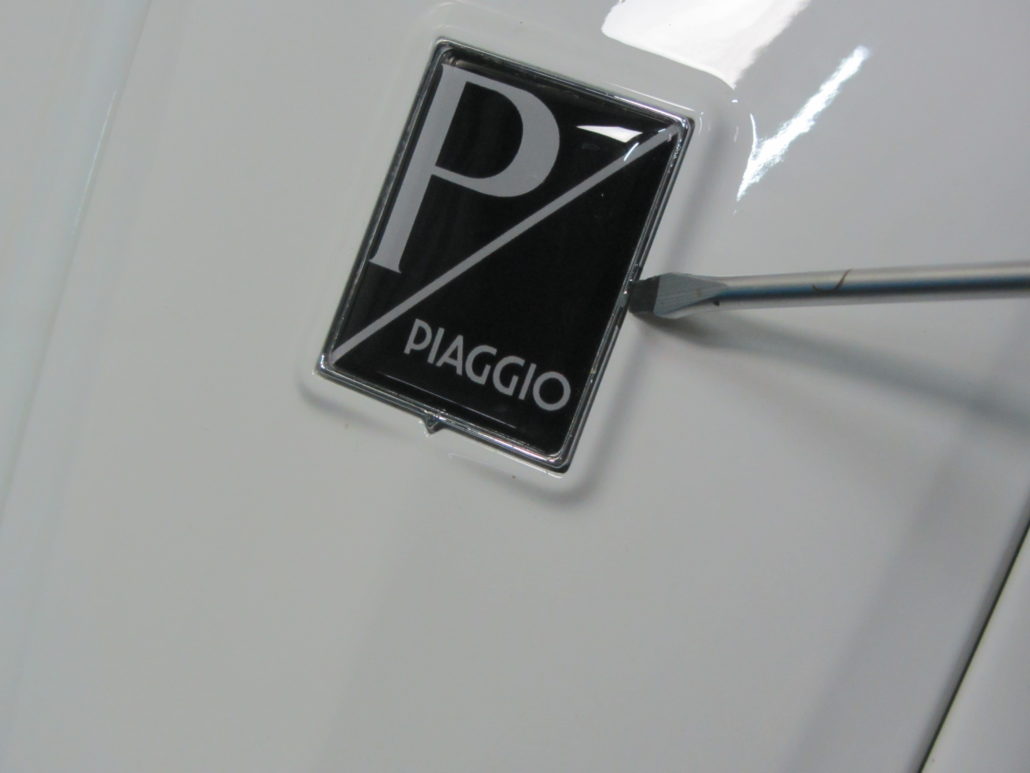
Under the logo you'll find the only screw of the front cover which can be loosed and removed with a TX25 torx key.
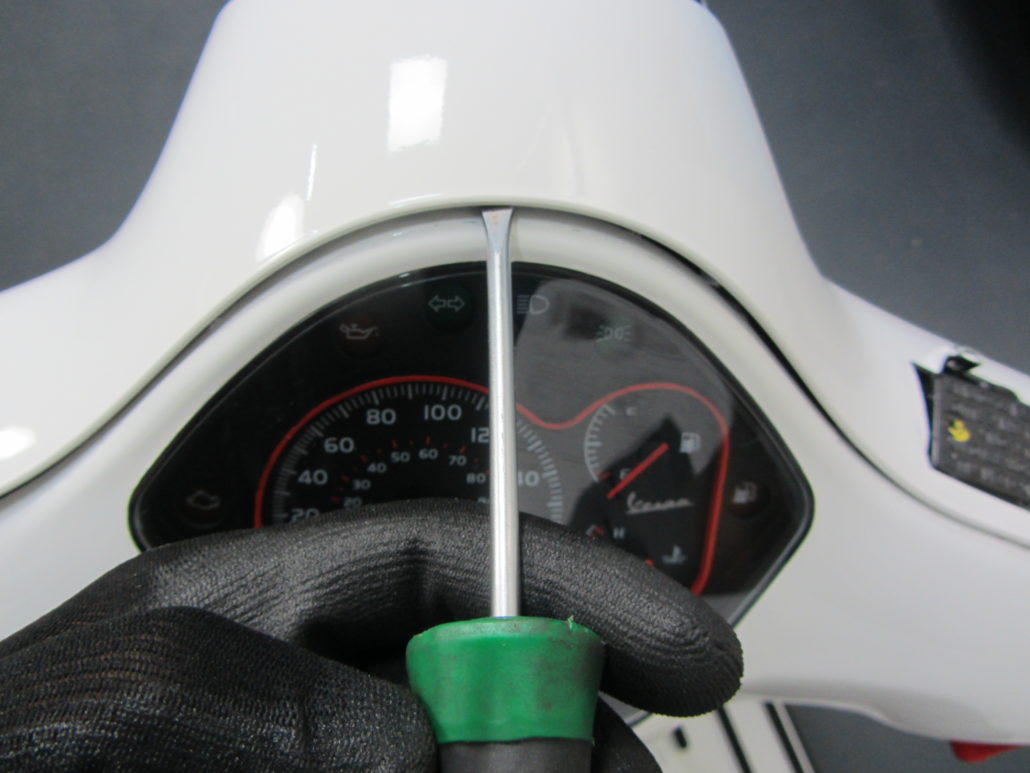
The front cover can be removed by wiggling it loose forwards and upwards. This way you can push the front headset cover upwards in order to loosen the retaining clips of the front cover. When the front cover has been removed, you can wiggle the front headset cover forwards and upwards and finally take it off.
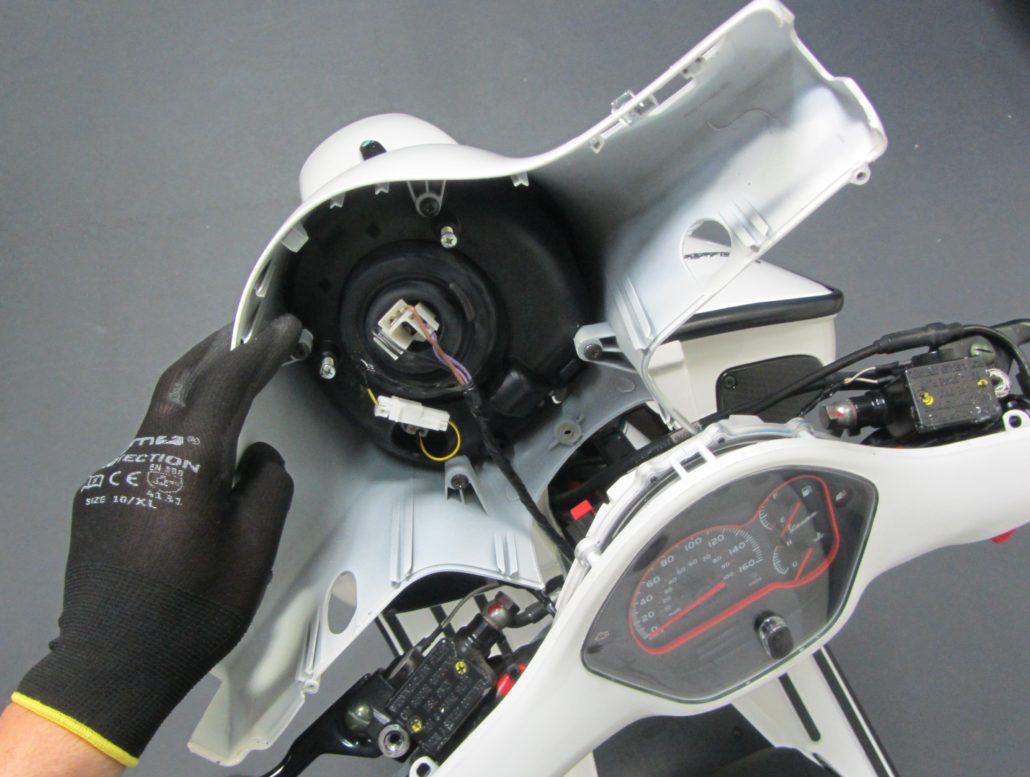
Unplug the electrical connections and the cover can be removed completely
How to replace Vespa brake levers
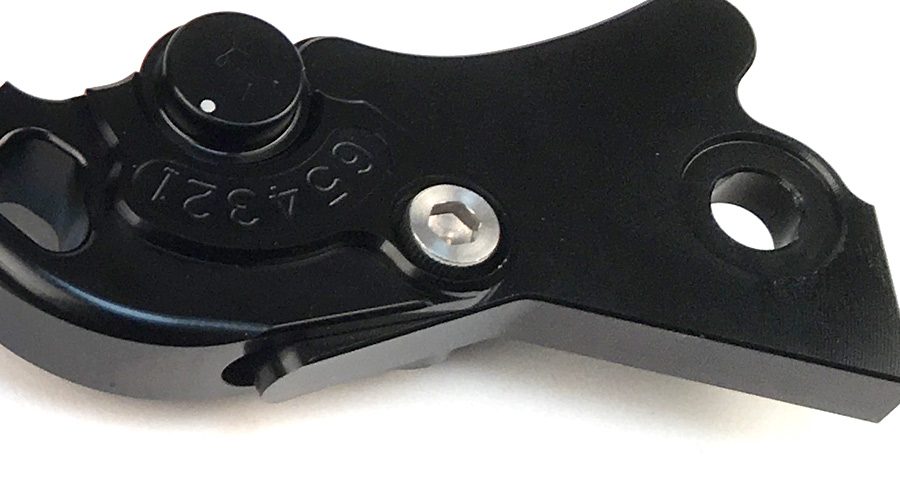
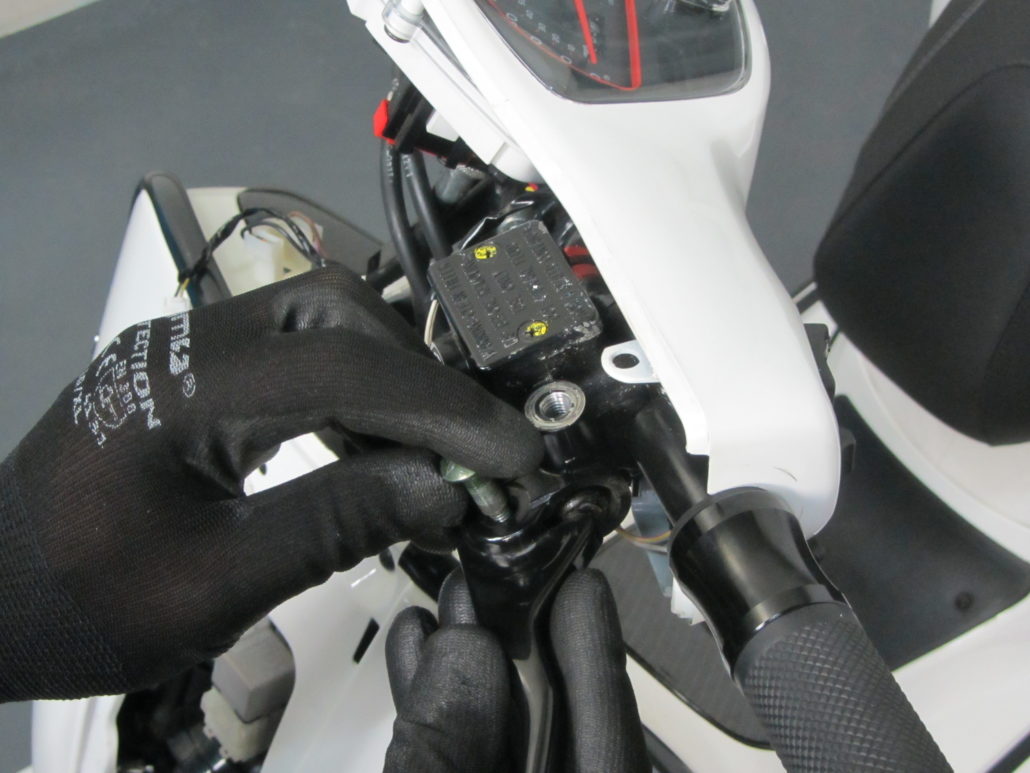
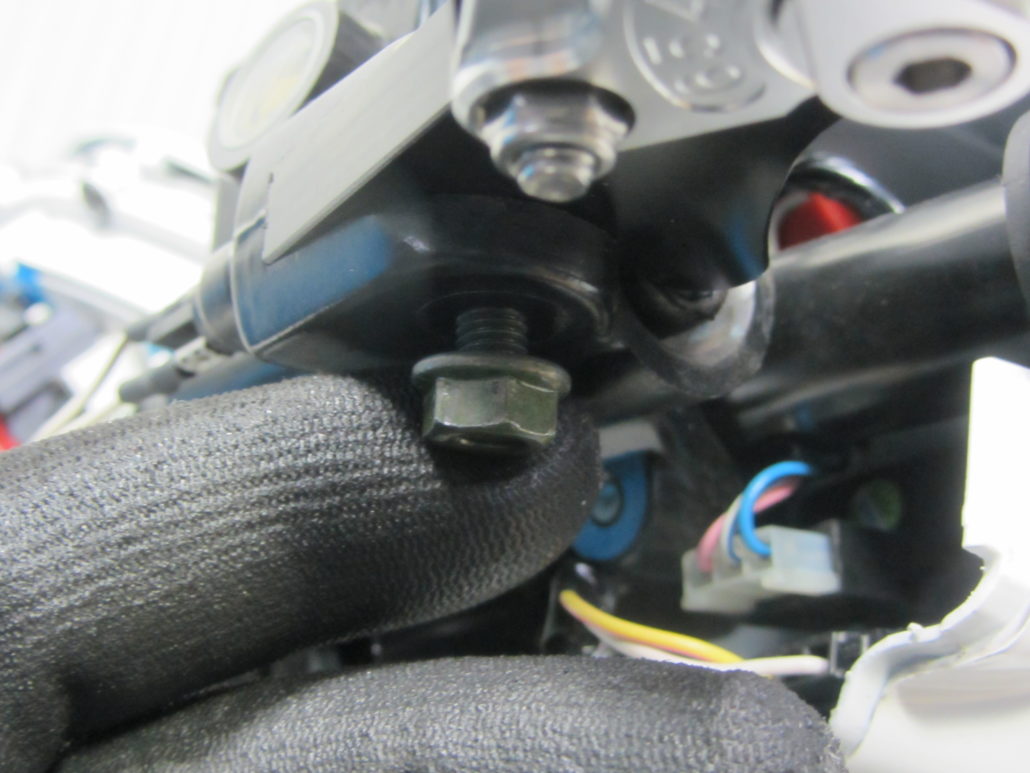
In order to take off the genuine brake levers, remove the counternut under the brake lever support with a combination wrench or box spanner SW10.
Then loosen the guide bolt, to which the brake lever is fitted, with a wider slot screw driver (min. S5.5).
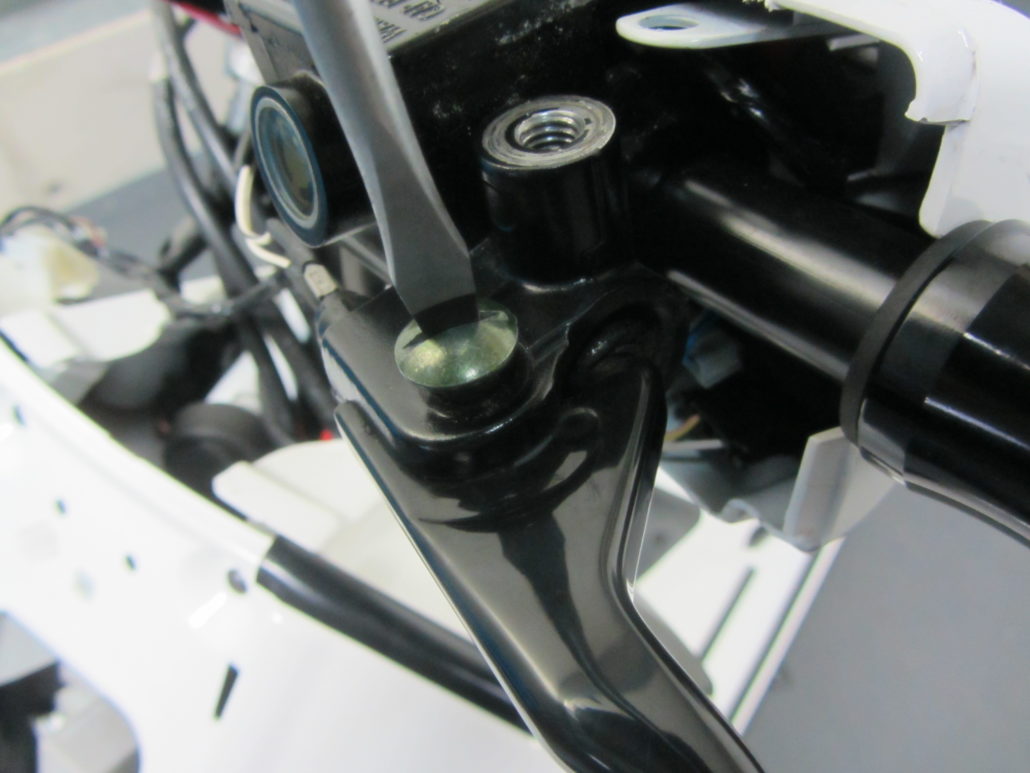
Pull out the bolt carefully and hold the brake lever.
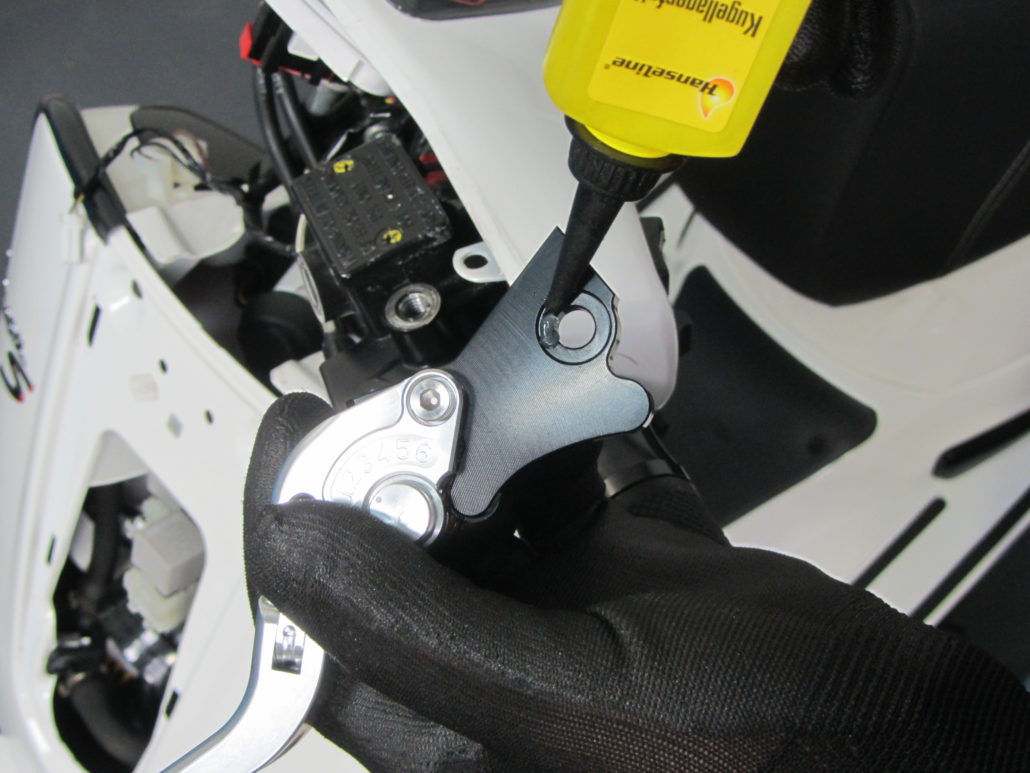
For the mounting and positioning of the brake lever there are two washers. Please make sure you don't lose them when you disassemble the levers.
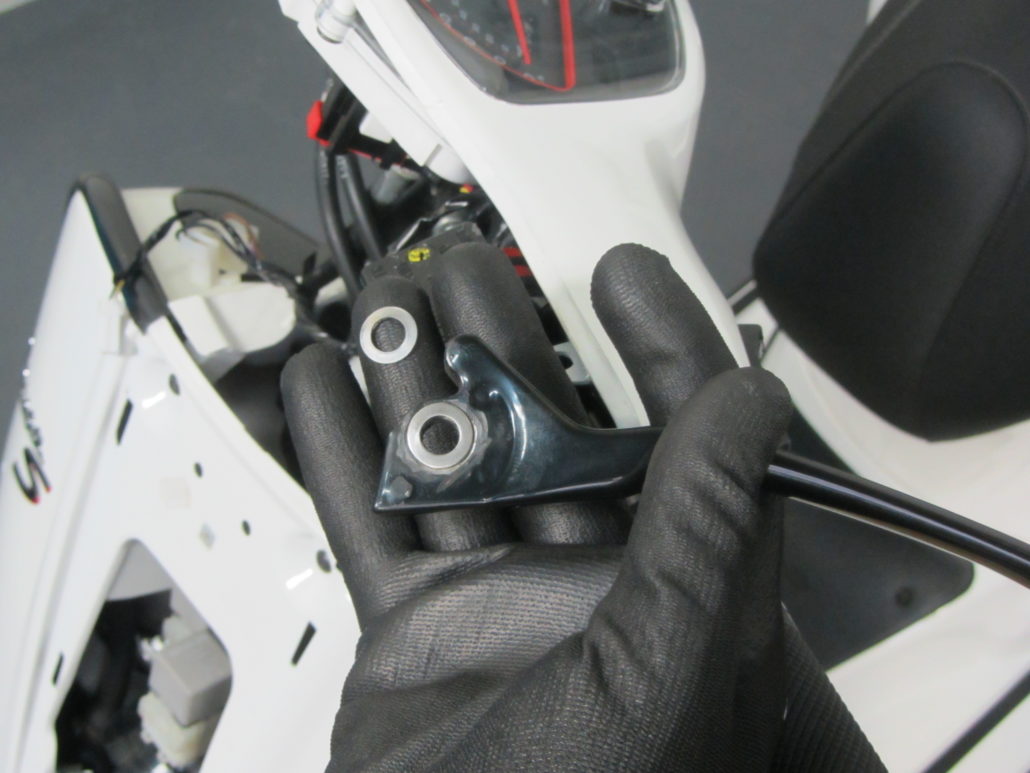
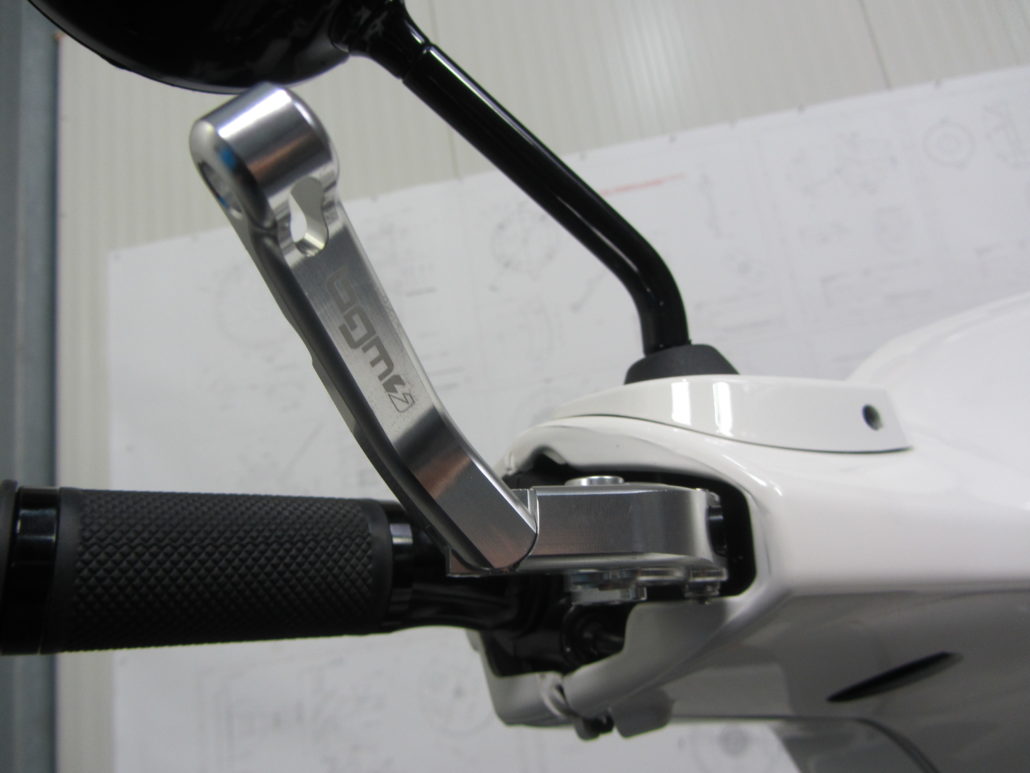
You'll need the two washers again when you fit the BGM PRO brake levers. For trouble-free mounting and for an easy movement of the lever we'll grease the two washers in order to enable the correct positioning of the lever.
For an easy mounting of the lever on the right side of the headset you can slightly spread apart the throttle below so that you can have access to the counternut.
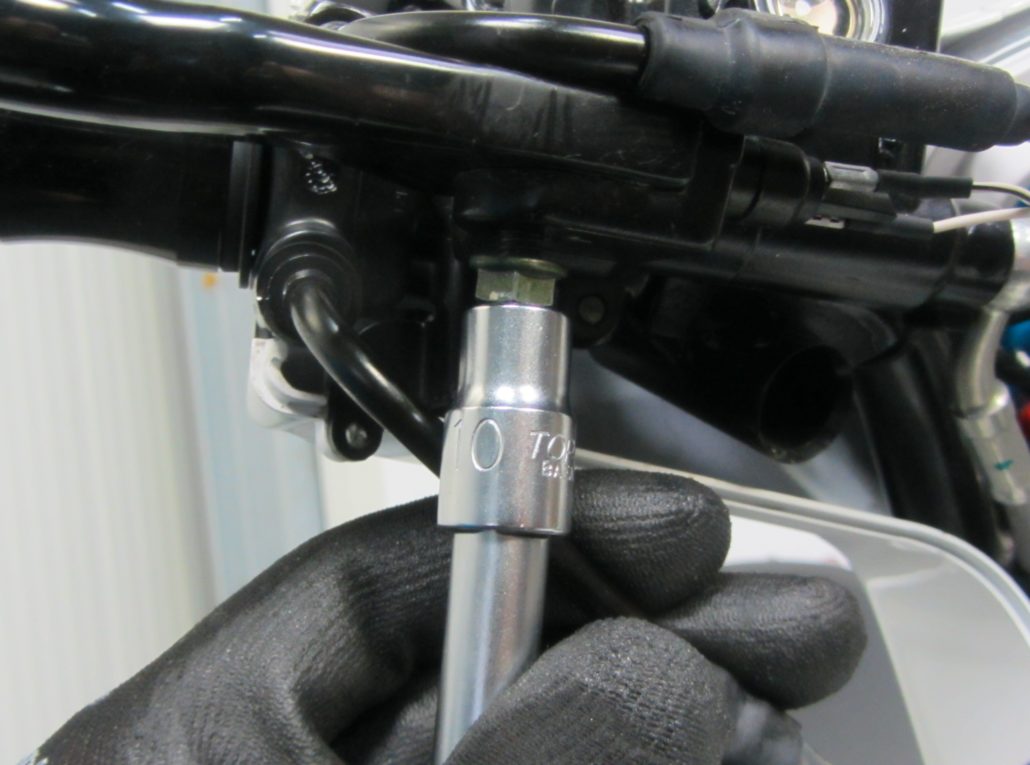
After mounting the lever, screw the guide bolt again and tighten it with the counternut.
Finally, plug the headlight again and fasten the headset cover, first with the clips and then with the three screws, fit the mirror - done!


")


Leave a Reply
Want to join the discussion?Feel free to Contribute!